Landscaping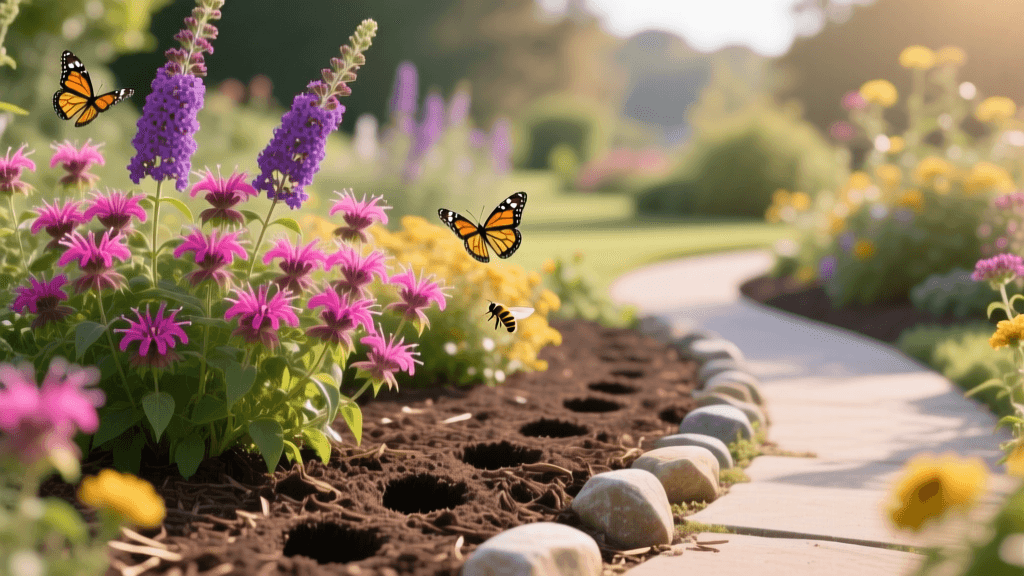
2026 Pollinator Garden: Core Aeration for Bee Balm & Butterfly Bush
The 2026 Turf-to-Pollinator Movement
As homeowners in 2026 increasingly prioritize sustainable landscaping and biodiversity, converting traditional turfgrass into vibrant pollinator habitats has become a dominant landscaping trend. However, one major hurdle stands between a barren lawn and a thriving ecosystem: severely compacted soil. Years of foot traffic, heavy mowing equipment, and shallow turf roots create a dense hardpan that repels water and suffocates new plantings. If you are planning to establish a pollinator garden featuring the wildly popular bee balm (Monarda) and butterfly bush (Buddleja davidii), skipping soil preparation is a recipe for failure.
The secret to a flourishing, low-maintenance pollinator bed lies in an unconventional first step: core aeration. While typically associated with lawn care, core aeration is a vital landscaping technique for breaking up compacted earth before garden bed installation. By mechanically removing plugs of soil, you introduce vital oxygen, improve water infiltration, and create a hospitable environment for the deep taproots of butterfly bushes and the spreading rhizomes of bee balm.
Why Core Aeration is Crucial for Bee Balm and Butterfly Bush
Before breaking ground on your new garden, it is essential to understand the root architecture of your chosen plants. According to the Xerces Society, proper soil preparation is the foundation of any successful pollinator-friendly garden, as native and adapted plants require specific soil structures to access deep moisture and nutrients.
- Butterfly Bush (Buddleja davidii): This vigorous shrub develops a deep, extensive root system. In compacted soil, the roots will circle the planting hole, leading to girdling, stunted growth, and eventual drought stress. Core aeration fractures the hardpan, allowing roots to penetrate deeply into the subsoil.
- Bee Balm (Monarda): Bee balm spreads via shallow underground rhizomes. It requires well-oxygenated topsoil to spread effectively and resist fungal diseases like powdery mildew, which thrives in poorly drained, compacted environments.
The University of Minnesota Extension notes that core aeration relieves compaction far more effectively than simple spike aeration or shallow tilling, which can actually worsen hardpan layers by smearing the soil. By pulling actual cores from the earth, you create permanent channels for air, water, and organic matter to reach the root zone of your new pollinator plants.
Step-by-Step Core Aeration for Garden Bed Preparation
To successfully transition a lawn area into a pollinator garden, follow this core aeration and soil amendment protocol in early spring or early fall of 2026.
1. Site Preparation and Utility Marking
Mark the perimeter of your new pollinator garden using landscaping paint. Before operating any machinery, call your local utility locating service (such as 811 in the United States) to mark underground lines. Mow the existing grass in the designated area as short as your mower will allow to ensure the aerator tines can penetrate the soil effectively.
2. Deep Watering
Core aerators require moist soil to pull clean, deep plugs. Water the designated garden area deeply 24 to 48 hours before aeration. The soil should be moist but not muddy; if the soil is too wet, the tines will clog, and you risk further compaction.
3. The Aeration Process
Rent a walk-behind gas-powered core aerator. In 2026, expect to pay between $85 and $120 per day for rental, or hire a professional landscaping service for $250 to $400 to aerate and prep a 500-square-foot area. Run the aerator over the entire garden bed in two perpendicular directions (a crisscross pattern) to ensure maximum soil fracture and plug removal. Aim for 15 to 20 holes per square foot.
4. Topdressing with Organic Compost
Do not remove the soil plugs; let them break down naturally over the next few weeks. Immediately after aerating, spread a 1-inch layer of high-quality, screened organic compost over the entire area. Use a stiff push broom or a leveling rake to work the compost down into the aeration holes. This introduces beneficial microbes and organic matter directly into the subsoil, creating a rich, loamy environment for your new plants.
Plant Profile Comparison: Bee Balm vs. Butterfly Bush
Once the soil is aerated and amended, you are ready to design your layout. Both bee balm and butterfly bush are magnetic to pollinators, but they serve different structural roles in the garden. For detailed horticultural data, the NC State Extension provides excellent guidelines on establishing Buddleja in varied soil types.
| Feature | Bee Balm (Monarda) | Butterfly Bush (Buddleja davidii) |
|---|---|---|
| Plant Type | Herbaceous Perennial | Deciduous Shrub |
| Mature Size | 2 to 4 feet tall, 2 to 3 feet wide | 5 to 10 feet tall, 4 to 10 feet wide |
| Sun Requirement | Full sun to partial shade | Full sun (minimum 6-8 hours) |
| Soil Preference | Moist, well-drained, organically rich | Well-drained, tolerates poor soils |
| Bloom Time | Mid to late summer | Early summer to first frost |
| Primary Pollinators | Native bees, hummingbirds, swallowtails | Monarchs, swallowtails, sphinx moths |
| Spacing Needs | 18 to 24 inches apart | 5 to 8 feet apart |
Designing and Planting Your Aerated Pollinator Bed
With your soil prepped via core aeration, the actual planting process becomes significantly easier and more successful. Because the hardpan has been broken, you will find that digging planting holes requires much less physical effort, and the risk of creating a 'bathtub effect' (where water pools in the planting hole and drowns the roots) is drastically reduced.
Strategic Layout and Spacing
When designing your bed, place the taller, woody butterfly bushes toward the back or center of the garden bed to serve as a structural anchor and windbreak. Plant them at least 5 feet apart to accommodate their mature spread and ensure adequate air circulation. In the foreground and mid-ground, plant your bee balm in drifts of three or five. The vibrant red, pink, or purple tubular flowers of the bee balm will create a stunning visual contrast against the arching panicles of the butterfly bush.
The Planting Technique
- Dig holes that are twice as wide as the nursery pot but no deeper than the root ball. The aerated soil will make this step a breeze.
- Gently tease out the outer roots of the nursery plants to encourage them to grow outward into the newly fractured soil.
- Backfill with the native soil you just dug out. Avoid adding heavy fertilizers; pollinator plants generally thrive on moderate soil fertility. Excessive nitrogen will produce weak, leggy growth with fewer flowers.
- Water deeply immediately after planting to settle the soil around the roots and eliminate air pockets.
Long-Term Maintenance and Soil Health
The beauty of utilizing core aeration during the initial garden installation is that it sets the stage for long-term resilience. In 2026, sustainable landscaping is all about working with natural soil ecology rather than fighting it. To maintain the benefits of your initial aeration, avoid walking on the garden bed once planted. Apply a 2-inch layer of natural wood chip mulch around the base of the butterfly bushes and bee balm to retain moisture, suppress weeds, and slowly feed the soil microbiome as it breaks down.
Deadhead the butterfly bushes throughout the summer to encourage continuous blooming and prevent excessive self-seeding. For the bee balm, cut the foliage back to the ground in late fall or early spring to promote vigorous new growth and prevent fungal pathogens from overwintering. By investing the time and effort into core aeration before planting, you ensure that your bee balm and butterfly bush will establish robust root systems, resulting in a spectacular, buzzing pollinator sanctuary for years to come.