Landscaping
Corner Lot Curved Beds: Landscape Drainage Pipes 2026
Mastering Corner Lot Landscape Design with Curved Beds and Drainage Pipes
Corner lots are the crown jewels of neighborhood curb appeal, offering expansive visibility and unique architectural framing. However, they also present a formidable landscaping challenge: dual-street stormwater runoff. When you combine this heavy water flow with the elegant, sweeping lines of curved bed borders, you risk creating hidden pooling zones, soil erosion, and structural damage to your hardscapes. In 2026, integrating high-performance landscape drainage pipes into curved corner lot designs is no longer just an afterthought—it is the foundational step of modern landscape architecture.
Designing a corner lot with curved beds requires a delicate balance between aesthetic fluidity and rigid hydrological engineering. This comprehensive guide will walk you through the strategies, materials, and installation techniques required to seamlessly route landscape drainage pipes beneath and around your curved garden borders, ensuring your property remains pristine and compliant with modern municipal codes.
The Corner Lot Runoff Dilemma
Unlike interior lots that typically manage runoff from a single street or adjacent property, corner lots intercept water from two intersecting roadways. During heavy spring thaws or intense summer downpours, the volume of water cascading off municipal sidewalks and street gutters can easily overwhelm standard yard grading. According to the EPA's Green Infrastructure guidelines, managing localized stormwater runoff is critical to preventing neighborhood flooding and protecting local watersheds from pollutant loading.
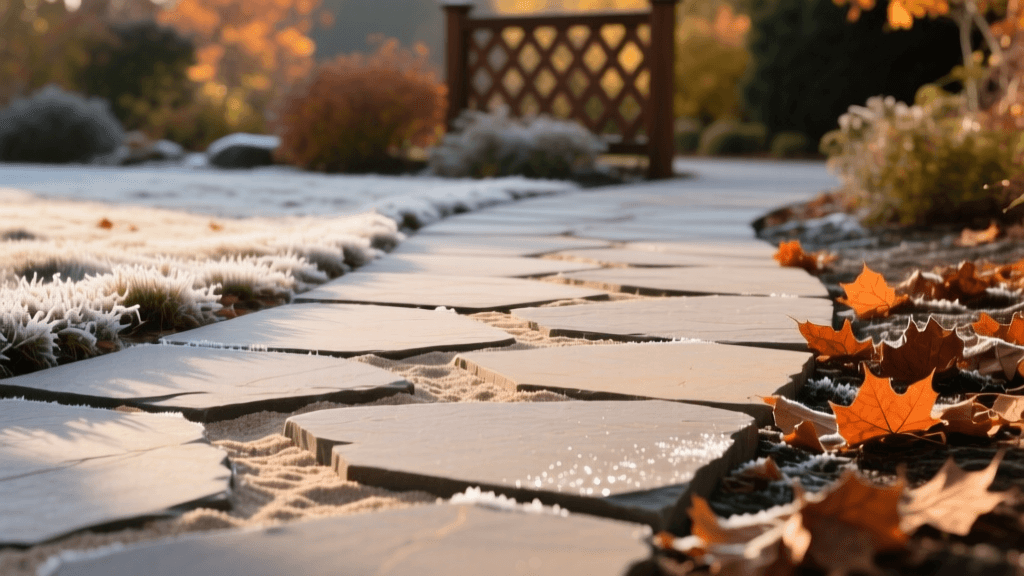
When homeowners install curved landscape beds without addressing this dual-runoff issue, the convex edges of the curves often act as unintended dams. Water pools against the mulch and edging, eventually saturating the root zones of your prized ornamentals or undermining nearby retaining walls. To combat this, landscape drainage pipes must be strategically routed along the interior concave arcs of your curved beds, acting as hidden arteries that whisk water away to municipal storm drains or designated dry wells.
Designing Curved Borders Around Drainage Infrastructure
The golden rule of 2026 landscape design is to map your subsurface drainage before you stake out your curved bed borders. Start by observing your lot during a heavy rainstorm. Identify the natural swales and the points where municipal street runoff breaches your property line.
Once you have identified the water's entry and exit points, use a garden hose to lay out the sweeping curves of your new beds. The key is to design the curves so that they naturally cradle the drainage trenches. Instead of fighting the topography, let the curved borders follow the natural depression of the land where the drainage pipe will sit. This allows you to hide catch basins and channel drains within the deepest parts of the curves, disguised by river rock or low-creeping groundcovers.
Selecting the Right Landscape Drainage Pipe for Curves
Not all pipes are created equal, especially when navigating the tight radii of a curved landscape bed. Rigid PVC is excellent for straight, high-volume runs, but it requires numerous fittings and elbow joints to navigate a curve, increasing the risk of leaks and root intrusion at the joints. For curved bed borders, flexible corrugated pipes and specialized geotextile systems are the industry standard in 2026.
2026 Landscape Drainage Pipe Comparison Chart
Below is a comparison of the top drainage pipe materials used in modern curved landscape designs, complete with updated 2026 pricing and application data.
| Pipe Type | Flexibility for Curves | Avg. 2026 Cost (per ft.) | Best Application in Curved Beds |
|---|---|---|---|
| 4-in. Corrugated Slotted (ADS/NDS) | High (Bends easily) | $1.30 - $1.80 | Primary French drains wrapping along the back edge of curved borders. |
| NDS EZ-Flow Geotextile Pipe | Moderate | $3.50 - $4.20 | Shallow curved trenches where gravel backfill is undesirable or space is limited. |
| Schedule 40 Solid PVC | Low (Requires heat/fittings) | $2.50 - $3.20 | Straight exit runs from the curved bed to the street or dry well. |
| Permeable Soil-Wrap Drainage Coil | Very High | $2.00 - $2.60 | Tight, decorative radius curves beneath shallow-rooted annual flower beds. |
Step-by-Step Installation for Curved Trenches
Installing a drainage system beneath a curved landscape bed requires precision trenching to maintain a consistent downward slope, which is notoriously difficult on a winding path. Follow these steps to ensure optimal water flow:
- Step 1: The String and Paint Method. Mark your curved bed border with landscaping paint. Then, mark a secondary line 12 inches inside the bed where the trench will be dug. This ensures the pipe is centered and protected by the bed's soil mass.
- Step 2: Trenching with a 1% Slope. Dig a trench 14 to 18 inches deep. Use a laser level or a string line with a line level to ensure a minimum 1% slope (1 inch of drop per 8 feet of run) toward your designated outlet. In 2026, compact laser levels are affordable and essential for curved trenching where visual estimation fails.
- Step 3: Base Preparation. Lay down a 2-inch base of washed drain gravel. This prevents the flexible corrugated pipe from sagging in the low points of the curve.
- Step 4: Pipe Routing and Fabric Wrapping. Lay your 4-inch slotted corrugated pipe with the slots facing down (a modern best practice that prevents top-soil from clogging the slots before water reaches the pipe's invert). Wrap the entire pipe and gravel base in a non-woven geotextile fabric to prevent silt intrusion.
- Step 5: Backfilling and Bed Shaping. Cover the wrapped pipe with more gravel, then top with soil to shape the convex curve of your landscape bed. The curve will naturally shed surface water into the mulch, which will percolate down to the slotted pipe below.
Navigating the Corner Sight Triangle
One of the most critical, yet frequently overlooked, aspects of corner lot landscaping is the municipal "sight triangle." This is the designated area at the intersection of two streets that must remain visually clear to ensure drivers and pedestrians can see oncoming traffic. According to guidelines supported by the Federal Highway Administration's Manual on Uniform Traffic Control Devices (MUTCD), sight triangles typically extend 20 to 30 feet back from the intersection along both property lines.
How does this affect your curved beds and drainage pipes? You are entirely permitted to run subsurface landscape drainage pipes through the sight triangle. In fact, it is an excellent place to bury solid PVC transition lines. However, you cannot install raised catch basins, tall dry creek beds, or plant shrubs taller than 3 feet in this zone. Your curved bed borders in the sight triangle must feature low-growing, drought-tolerant groundcovers like creeping thyme or sedum, while the drainage infrastructure remains completely flush and subterranean.
"When designing corner lots, the integration of subsurface drainage is non-negotiable. By utilizing flexible corrugated piping along the concave arcs of curved beds, landscapers can manage heavy dual-street runoff without compromising the soft, organic aesthetics that homeowners desire." — 2026 National Association of Landscape Professionals (NALP) Design Symposium.
Hiding Outlets with Curved Hardscape Features
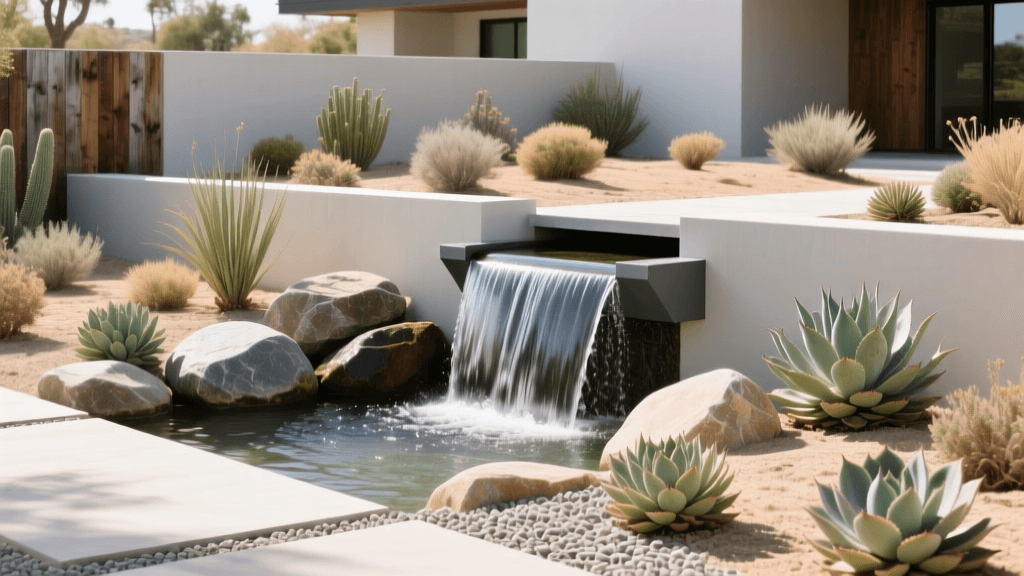
Where your drainage pipe eventually daylights or empties into a dry well, you need an aesthetic finish. On a corner lot, the side-street facing yard is highly visible. Instead of an ugly plastic pipe sticking out of the turf, use your curved bed design to incorporate a dry creek bed or a decorative gravel swale.
Line the outlet of your corrugated pipe with heavy riprap stone to dissipate the water's energy, preventing soil erosion. From there, use river rocks of varying sizes (ranging from 2 inches to 8 inches) to create a meandering, curved dry creek bed that flows away from the pipe outlet and into a rain garden or municipal storm drain. This technique, heavily favored by University of Minnesota Extension landscaping experts, turns a necessary drainage outlet into a striking focal point that complements the sweeping curves of your plant beds.
Planting Strategies Over Subsurface Drainage
When planting your newly formed curved beds, be mindful of what sits directly above the landscape drainage pipe. Avoid planting large, deep-rooted trees or aggressive shrubs (like willows or certain viburnums) directly over slotted corrugated pipes. Over time, their roots will seek out the moisture and nutrients inside the pipe, leading to severe clogs and system failure.
Instead, reserve the soil directly above the drainage trench for shallow-rooted perennials, ornamental grasses, and annual color beds. Place your larger anchor trees and structural shrubs on the outer, convex edges of the curved beds, well away from the subsurface drainage infrastructure. This zoning ensures your landscape remains both visually balanced and hydrologically sound for decades to come.
Conclusion
Designing a corner lot with curved bed borders is an exercise in balancing form and function. The dual-street runoff inherent to corner properties demands a robust, well-planned subsurface water management system. By selecting the right flexible landscape drainage pipes, carefully trenching with precise slopes, and respecting municipal sight triangles, you can achieve a breathtaking, fluid landscape design that stands up to the heaviest 2026 rainstorms. Plan your drainage first, draw your curves second, and enjoy a stunning, erosion-free corner lot for years to come.