Landscaping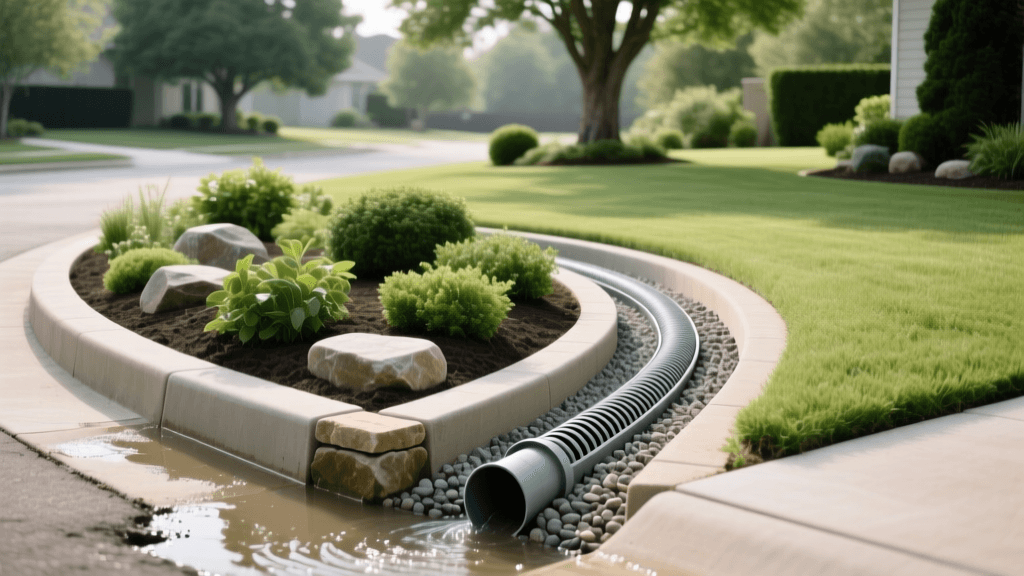
2026 French Drain Install for Corner Lot Curved Beds
The Unique Hydrology of Corner Lots
Corner lots present a unique set of challenges and opportunities for landscape designers and homeowners alike. Offering expansive views, dual-street frontage, and abundant natural light, these properties are highly sought after in the 2026 real estate market. However, this dual frontage also means your yard is exposed to surface runoff from two different streets, sidewalks, and neighboring driveways. According to the United States Geological Survey, surface runoff is a primary driver of residential erosion and landscape degradation, especially where impervious surfaces like asphalt and concrete converge. When you introduce the elegant, sweeping lines of curved landscape bed borders into this mix, you create a beautiful but hydrologically complex environment.
Water does not flow in straight lines on a corner lot; it wraps, pools, and erodes the outer edges of your carefully designed curved beds. In 2026, integrating a French drain system into these curved designs is no longer just a functional necessity—it is an essential art form that preserves your hardscaping, protects your plantings, and maintains your curb appeal. The Environmental Protection Agency strongly advocates for integrating subsurface drainage with sustainable landscape designs to mitigate stormwater issues and protect local watersheds from sediment pollution.
The Challenge of Curved Bed Borders
The primary challenge with curved bed borders is that traditional, rigid drainage solutions often fail to accommodate the organic, flowing radii of modern landscape design. Rigid Schedule 40 PVC pipes require numerous angled fittings to navigate a curve. Each fitting increases the risk of clogs, reduces water flow velocity, and creates long-term maintenance nightmares. Fortunately, the 2026 landscaping market offers advanced, highly flexible drainage solutions that seamlessly follow the contour of your curved beds while providing superior water management.
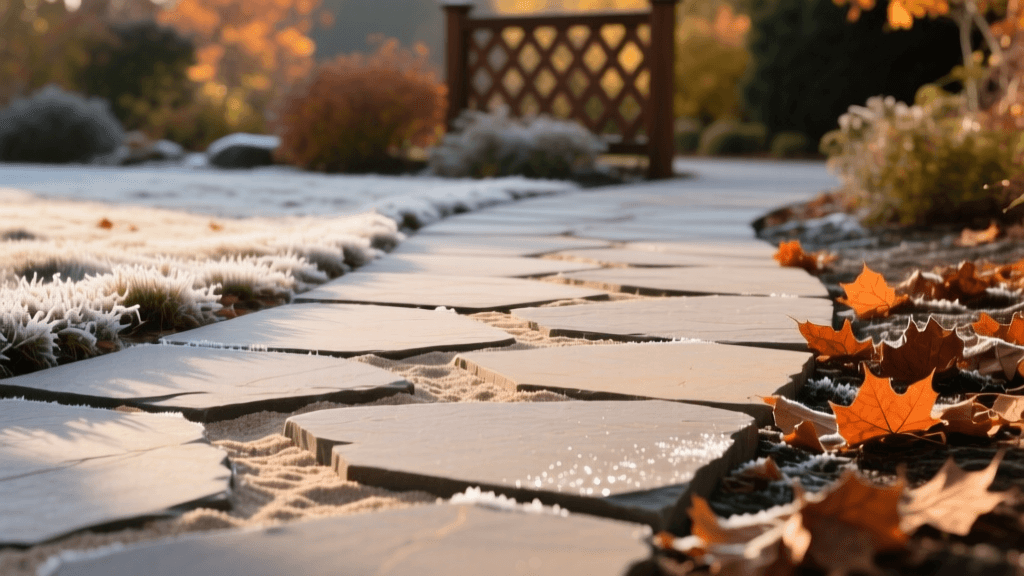
By routing a French drain along the inside or outside edge of your curved borders, you can intercept lateral water movement before it washes away your premium mulch, exposes plant roots, or creates muddy sinkholes in your turfgrass. The key is to use the curve to your advantage, creating a gentle, sweeping trench that naturally guides water toward a safe discharge point, such as a municipal storm drain, a dry well, or a lower-elevation pop-up emitter.
2026 Material Comparison for Curved Trenches
Before breaking ground, it is crucial to select the right materials for a curved French drain. The evolution of drainage technology has provided homeowners with options that balance flexibility, flow rate, and longevity. Below is a comparison of the top materials used for curved trench installations in 2026.
| Material Type | Flexibility for Curves | Flow Rate & Clog Resistance | 2026 Est. Cost per Linear Ft. |
|---|---|---|---|
| Rigid Schedule 40 PVC | Poor (Requires elbows) | Excellent (Smooth interior) | $4.50 - $6.00 |
| Corrugated Flex Pipe (Slotted) | Excellent (Bends easily) | Moderate (Ridges trap debris) | $2.00 - $3.50 |
| Foam-Aggregate Systems (e.g., EZ-Flow) | Very Good (Flexible bundles) | High (No gravel needed) | $8.00 - $11.00 |
| Smooth-Wall Corrugated HDPE | Good (Large radius bends) | High (Smooth interior) | $5.50 - $7.50 |
For sweeping curved beds, Smooth-Wall Corrugated HDPE or Foam-Aggregate Systems are the top recommendations for 2026. They provide the necessary flexibility to follow your landscape borders without sacrificing the smooth interior flow required to prevent silt buildup.
Step-by-Step Installation Guide
Step 1: Mapping the Curve and Slope
A French drain relies entirely on gravity. You must maintain a minimum slope of 1% (a 1-inch drop for every 8 feet of pipe). For corner lots with subtle grading, use a 2026 smart laser level with Bluetooth smartphone integration to map the exact elevation changes along your curved bed border. Mark the trench line using landscaping spray paint, ensuring the curve remains smooth and avoids sharp, jagged angles that could impede water flow or kink your flexible pipe.
Step 2: Trenching the Radius
Dig a trench that is 12 to 18 inches wide and 18 to 24 inches deep. When digging along a curve, use a flat-bottomed trenching shovel to keep the base of the trench perfectly level relative to the downward slope. Avoid stepping on the trench floor, as compacted soil can alter your carefully calculated grade. Always call your local utility marking service (like 811 in the US) at least three business days before digging to ensure you do not strike buried gas, water, or fiber-optic lines.
Step 3: Lining the Trench with Geotextile Fabric
Line the entire trench with a high-quality, non-woven geotextile fabric (minimum 4 oz weight). This fabric is the unsung hero of your drainage system; it allows water to pass through while completely blocking soil, silt, and invasive tree roots from entering the gravel matrix. Leave at least 12 inches of excess fabric hanging over the edges of the trench so you can fold it back over the top of the gravel later, creating a complete 'burrito' wrap around your drain.
Step 4: Pipe Placement and Gravel Backfill
Lay your chosen flexible perforated pipe at the bottom of the trench, ensuring the perforations face downward. This counterintuitive placement forces water to rise through the gravel bed before entering the pipe, which significantly reduces the amount of fine sediment that washes into the system. Cover the pipe with 3/4-inch washed drain rock. Do not use pea gravel or crushed limestone, as these can compact and clog the pipe over time. Fill the trench with gravel until it is about 4 inches below the soil surface.
Step 5: Wrapping and Backfilling
Fold the excess geotextile fabric over the top of the gravel bed, overlapping the seams by at least 6 inches. This creates a barrier that prevents topsoil from migrating down into the gravel. Finally, cap the trench with 2 to 3 inches of premium topsoil, matching the existing grade of your curved landscape bed.
Concealing the Drainage in Your Landscape Design
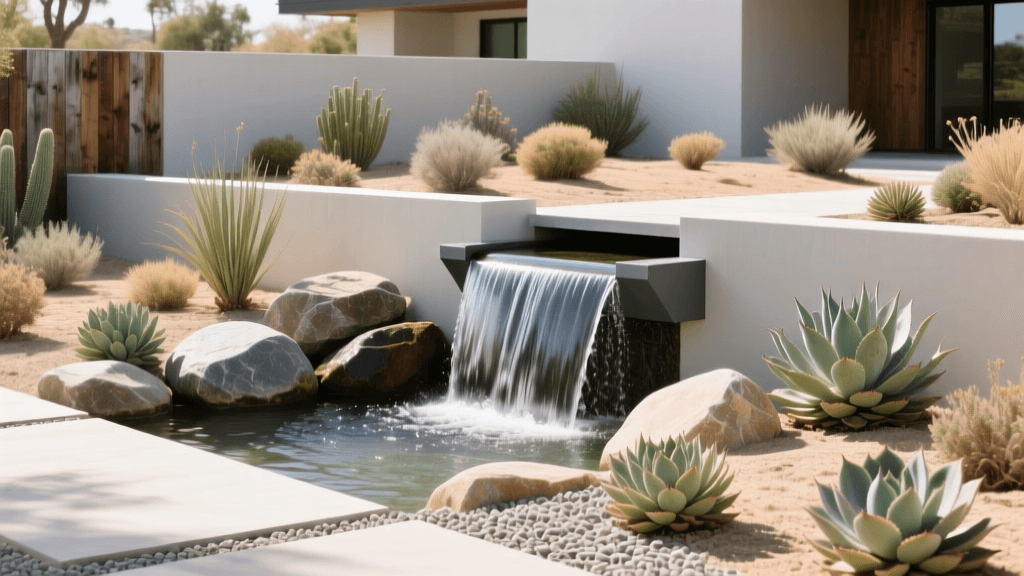
The beauty of a well-executed French drain is that it remains entirely invisible once completed. However, the discharge point—the area where the water exits your property—requires careful aesthetic consideration. On a corner lot, the discharge often occurs near the sidewalk or street curb. Instead of leaving an unsightly plastic pipe exposed, disguise the exit zone using a decorative dry creek bed constructed with large river cobbles, or install a concealed pop-up emitter nestled within a bed of water-tolerant groundcover.
To further enhance the 2026 sustainable landscaping aesthetic, plant deep-rooted, moisture-loving perennials along the curve of the bed directly above the trench. Species like Swamp Milkweed, Blue Flag Iris, or ornamental rushes will thrive in the slightly elevated moisture zone, their roots helping to stabilize the soil while their blooms soften the hardscape edges of your corner lot. By marrying advanced subsurface drainage with thoughtful, curved botanical design, you transform a problematic runoff zone into the most striking feature of your exterior property.