Landscaping
Corrugated vs PVC Drainage: 2026 Photo Documentation Guide
The Invisible Infrastructure: Why Drainage Documentation Matters in 2026
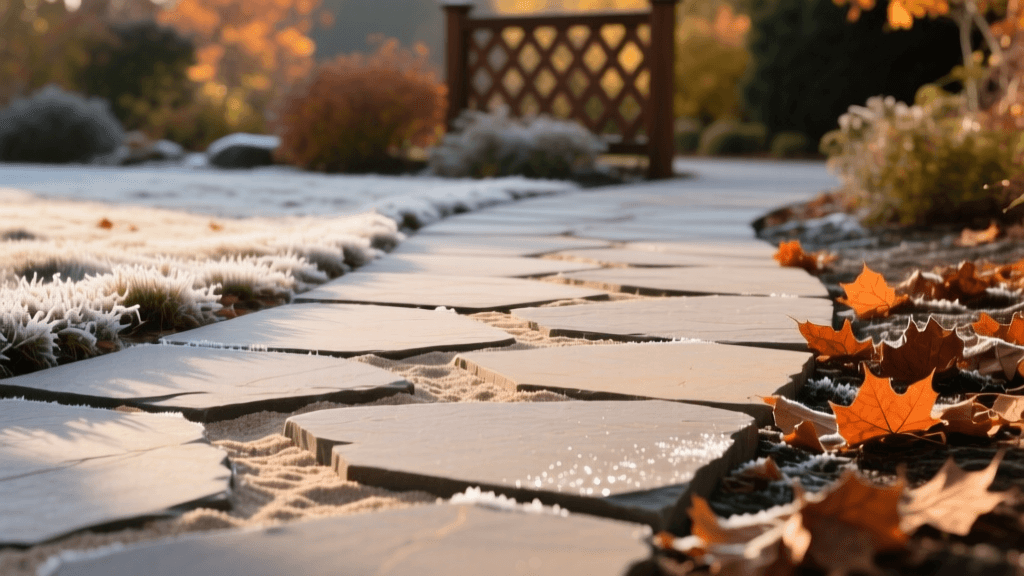
As we navigate the increasingly volatile weather patterns of 2026, subsurface landscape drainage has transitioned from a luxury to an absolute necessity for property preservation. Heavy spring downpours and prolonged saturation periods mean that a well-designed French drain or catch basin system is critical. However, once the trench is backfilled and the sod is laid, this vital infrastructure becomes completely invisible. This is where the discipline of garden photography and landscape documentation becomes invaluable.
As a landscape documentation specialist, I operate by a strict rule: if you did not photograph the trench and the pipe layout, the system effectively does not exist for future maintenance. Documenting your drainage installation is not just about taking a few quick snapshots with your smartphone; it is about creating a comprehensive, geotagged, visual 'as-built' archive. This archive protects your investment, aids in future garden redesigns, and prevents catastrophic utility strikes during subsequent landscaping projects. In this guide, we will break down the perennial debate of corrugated vs. PVC drainage pipes, and more importantly, how to properly photograph and document whichever material you choose to bury in your yard.
Corrugated vs. PVC: The 2026 Material Breakdown
Before you can document your system, you must understand the visual and physical characteristics of the materials you are installing. The two dominant players in residential landscape drainage are corrugated high-density polyethylene (HDPE) pipe and rigid PVC (Schedule 40 or SDR 35). Each has distinct visual markers that you will need to capture in your photographic archive.
According to the University of Minnesota Extension, proper yard drainage relies heavily on maintaining a consistent slope and utilizing materials that resist soil compression and root intrusion. Let us compare the two materials side-by-side to understand what you will be photographing.
| Feature | Corrugated HDPE (Flexible) | Rigid PVC (Schedule 40 / SDR 35) |
|---|---|---|
| Visual Profile | Ribbed exterior, usually black or green. Interior can be ribbed or smooth. | Smooth exterior and interior, typically white or green. |
| Cost per Foot (2026) | $1.50 - $2.50 (Highly economical) | $4.00 - $7.00 (Premium investment) |
| Flow Rate | Moderate (Interior ribs create friction) | Excellent (Smooth interior maximizes velocity) |
| Root Resistance | Low (Roots can penetrate couplings and slits) | High (Glued joints form a solid barrier) |
| Joint Documentation | External snap couplers and stainless steel hose clamps. | PVC primer (purple) and solvent cement joints. |
| Flexibility | High (Can curve around garden beds easily) | Low (Requires specific angled fittings for turns) |
When planning your photo documentation shoot, these material differences dictate your photographic approach. Corrugated pipe requires close-up macro shots of the mechanical couplings to prove they were secured properly, while PVC requires wide-angle and detail shots of the glued joints and fitting insertion depths.
The Photographer’s Guide to Trench Documentation
Capturing a drainage installation requires a methodical, phased approach. You cannot simply take a photo of a pipe in a hole; you must capture the context, the geometry, and the scale. Here is your step-by-step photography guide for the three critical phases of drainage installation.
Phase 1: Topography and Slope Verification
Before a single pipe is laid, you must document the empty trench. The USGS Water Science School emphasizes the importance of understanding surface runoff and how subsurface gradients intercept water flow. Your photos must prove that your trench has the correct gradient (typically a 1% to 2% drop, or 1/8 inch per foot).
Photographic Technique: Place a bright yellow or orange digital laser level or a physical string line inside the trench. Use a wide-angle lens (around 16mm-24mm on a full-frame equivalent) to capture the entire run of the trench from the catch basin to the daylight exit point. Shoot from a low angle, placing your camera near the soil surface to exaggerate the perspective of the slope. Ensure the laser line or string is in sharp focus, as this serves as your visual proof of proper grading.
Phase 2: Pipe Placement and Joint Photography
This is where the corrugated vs. PVC distinction becomes the star of your documentation. Once the pipe is laid in the trench, you must capture both the macro details and the overall layout.
For Corrugated Pipe: The weakest points of corrugated systems are the joints. Document every single coupling. Use a macro lens or your smartphone's macro mode to photograph the stainless steel hose clamps securing the fittings. Ensure the photo clearly shows that the corrugated ridges are fully seated inside the coupling and that the clamps are tightened. If you are using perforated corrugated pipe, photograph the orientation of the holes (they should face downward to allow the water table to rise into the pipe, a common mistake that your photos will help verify).
For PVC Pipe: Rigid PVC relies on chemical welding. Your documentation should capture the purple hue of the PVC primer on the pipe and fitting, proving that the surfaces were properly prepared before the solvent cement was applied. Photograph the insertion depth lines on the fittings to ensure the pipe was fully seated. Because PVC requires elbows and tees for directional changes, take overhead 'flat-lay' style photos of every junction, ensuring the angle of the fitting (e.g., 45-degree vs 90-degree) is clearly visible for future reference.
Phase 3: Bedding, Fabric, and Backfill
A pipe is only as good as the gravel bed it rests upon and the landscape fabric that protects it. Before the dirt goes back in, you must document the bedding layer.
Photographic Technique: Capture the depth of the washed drainage gravel (typically 3/4-inch crushed stone) surrounding the pipe. Place a standard 2026 digital scale bar or a high-visibility tape measure vertically in the gravel to provide an exact measurement of the bedding depth. If you are wrapping the system in non-woven geotextile fabric, photograph the overlap seams. Use a polarizing filter on your lens if you are shooting on a sunny day; this will cut the harsh glare off the wet PVC or the shiny surfaces of the gravel, revealing the true texture and coverage of the materials.
Visual Archiving: LiDAR and Metadata in 2026
In 2026, relying solely on 2D photographs is no longer sufficient for high-end landscape documentation. Modern smartphones and tablets are equipped with advanced LiDAR (Light Detection and Ranging) scanners that can generate millimeter-accurate 3D meshes of your landscape.
Before backfilling, use a LiDAR-enabled device to scan the entire trench network. This creates a 3D digital twin of your subsurface infrastructure. When you pair this 3D model with your 2D high-resolution photographs, you create an interactive map. Future landscapers or homeowners can use augmented reality (AR) applications to 'see' through the grass and visualize exactly where the PVC elbows or corrugated couplings are buried.
Furthermore, metadata management is critical. Every photograph you take must be geotagged. Ensure your camera or smartphone has location services enabled. When you upload these images to your cloud storage or property management software, rename the files using a standardized nomenclature. For example: 2026-05-14_Backyard-FrenchDrain_PVC-Tee-NorthCorner.jpg. Add tags in your photo management software such as 'drainage', 'PVC', 'Schedule40', 'subsurface', and 'catch-basin'. This ensures that five or ten years down the line, when a tree root inevitably clogs a line, you can instantly search your archive and locate the exact visual coordinates of the problem area.
Conclusion: The Value of the Visual Record
The debate between corrugated and PVC drainage pipes will continue, with budget-conscious projects leaning toward flexible corrugated and premium, long-term installations favoring rigid PVC. However, regardless of the material you choose, the true mark of a professional landscaping project in 2026 is the quality of its documentation. By treating your drainage installation as a photographic subject—paying attention to lighting, scale, macro details, and 3D spatial mapping—you transform a buried utility into a permanent, accessible asset. Do not let your hard work and investment disappear into the dirt; capture it, archive it, and secure the future of your landscape.