
How to Diagnose and Fix Smart Sprinkler Valve Leaks
The Hidden Cost of Smart Irrigation Valve Leaks
Upgrading to a smart irrigation controller like the Rachio 3 or Hunter Hydrawise is one of the most effective ways to bridge smart home technology with energy-efficient landscaping. These devices use local weather data to optimize watering schedules, saving thousands of gallons of water annually. However, your smart controller is only as reliable as the mechanical sprinkler valves it commands. When a valve fails, it can lead to severe water waste, soggy lawn patches, and damaged garden beds.
Diagnosing a leaking or malfunctioning sprinkler valve requires a systematic approach to determine whether the issue is electrical (a wiring or solenoid fault) or mechanical (a torn diaphragm or debris blockage). In this comprehensive guide, we will walk you through the exact problem diagnosis and solutions for smart sprinkler valve leaks, complete with tool requirements, cost estimates, and step-by-step repair instructions.
Recognizing the Symptoms of Valve Failure
Before grabbing a shovel, it is crucial to identify the specific symptoms your irrigation system is exhibiting. Smart controllers often mask mechanical issues because the software assumes the hardware is functioning perfectly. Look out for the following common indicators of a failing sprinkler valve:
- Weeping Sprinkler Heads: Water continuously seeps from the lowest sprinkler head in a zone long after the smart controller has shut the system off.
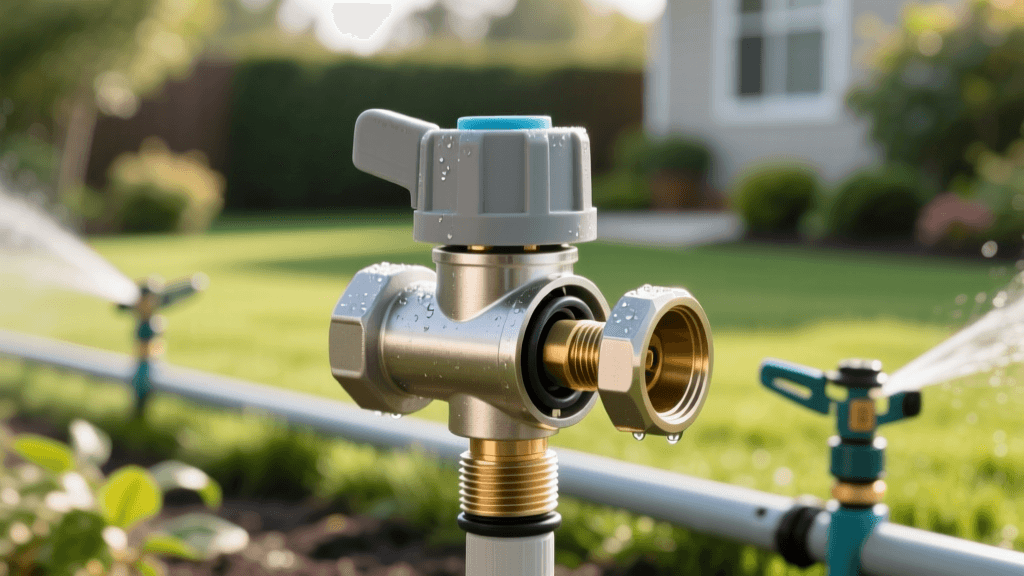
- Pooling Water in the Valve Box: A soggy, muddy mess inside the green plastic valve box indicates a pressurized leak at the valve joints or a cracked valve body.
- Zone Fails to Activate: The smart app shows the zone is running, but no water is spraying. This usually points to a severed wire, a blown solenoid, or a stuck diaphragm.
- Controller Error Codes: Advanced smart controllers may display a "valve fault" or "short circuit" warning if the electrical resistance in the solenoid wiring is out of bounds.
Diagnostic Table: Mechanical Leak vs. Electrical Fault
Use the comparison chart below to quickly narrow down the root cause of your sprinkler valve issues based on your field observations.
| Issue Type | Primary Symptom | Diagnostic Tool | Solution | Estimated Cost |
|---|---|---|---|---|
| Diaphragm Leak | Weeping heads, zone won't shut off completely | Visual inspection, manual bleed screw | Replace rubber diaphragm and spring | $8 - $15 |
| Debris Blockage | Zone fails to close, erratic water pressure | Visual inspection of valve ports | Flush valve body, clean solenoid ports | $0 (Labor only) |
| Solenoid Failure | Zone won't turn on via app, works manually | Digital Multimeter (Ohms/Voltage) | Replace 24VAC solenoid | $15 - $25 |
| Wiring Short | Controller offline, tripped transformer | Multimeter (Continuity test) | Splice new 14 AWG wire, use grease caps | $20 - $40 |
| Cracked Body | Geysers or heavy pooling in valve box | Visual inspection under pressure | Cut PVC, install new valve with slip-fix | $35 - $60 |
Step 1: Diagnosing Electrical and Solenoid Issues
If your smart controller indicates a zone is active, but the sprinklers do not pop up, you must first rule out an electrical fault. Smart controllers send a 24VAC (Volts Alternating Current) signal through the common wire and the zone-specific hot wire to energize the solenoid.
Testing the Solenoid with a Multimeter
Set your digital multimeter to measure resistance (Ohms). Disconnect the two wires leading to the suspect solenoid and touch the multimeter probes to the wire ends. A healthy solenoid typically reads between 20 and 60 ohms. If the reading is infinite (open circuit) or zero (short circuit), the solenoid is dead and must be replaced. The Hunter 458200 or Rain Bird 330002 solenoids are universal replacements for most standard 1-inch valves.
Checking the Controller Output
If the solenoid tests fine, move to your smart controller's wiring terminal. Set your multimeter to 24VAC. With the zone manually activated via your smartphone app, touch one probe to the common wire terminal and the other to the active zone terminal. If you do not read approximately 24VAC, the issue lies within the smart controller's internal relay or a tripped transformer, not the valve in the yard.
Step 2: Diagnosing Mechanical Leaks and Diaphragm Failure
If the electrical system checks out but water continues to weep from your sprinkler heads or pool in the garden bed, you are dealing with a mechanical failure. The most common culprit is a compromised rubber diaphragm.
The Manual Bleed Screw Test
Locate the manual bleed screw on top of the valve. Slowly turn it counterclockwise. If the valve opens and water flows to the sprinkler heads, the water supply and valve body are intact. Turn the screw clockwise to close it. If the valve still fails to shut off completely, debris is likely trapped under the diaphragm, or the rubber has developed a micro-tear, preventing a watertight seal against the valve seat.
Inspecting for Debris
Small grains of sand, mineral scale, or root fragments can bypass the upstream filter and lodge in the tiny solenoid exhaust port or under the diaphragm. When the smart controller cuts the power, the water pressure above the diaphragm fails to equalize, leaving the valve partially open.
Step-by-Step Guide to Rebuilding a Sprinkler Valve
Rebuilding a valve is a cost-effective alternative to replacing the entire unit. You will need a few basic tools: a Phillips-head screwdriver, a small wire brush, Teflon tape, and a replacement diaphragm kit (such as the Rain Bird 330002, which costs about $10).
- Shut Off the Water Supply: Always close the main irrigation shut-off valve and release system pressure by running a zone manually until the water stops.
- Remove the Solenoid: Unscrew the solenoid counterclockwise. Keep track of the tiny metal plunger and spring inside; if they fall into the grass, they are nearly impossible to find.
- Open the Valve Bonnet: Use your screwdriver to remove the 6 to 8 stainless steel screws securing the top half (bonnet) of the valve. Carefully lift the bonnet.
- Extract and Clean: Remove the rubber diaphragm and the heavy metal weight. Inspect the plastic valve seat at the bottom of the valve body for scratches or embedded grit. Flush the body with a garden hose and use the wire brush to gently clean the small pilot ports.
- Install the New Diaphragm: Place the new rubber diaphragm over the metal weight. Ensure the alignment pin on the diaphragm seats perfectly into the corresponding hole in the valve body. Misalignment will cause an immediate leak.
- Reassemble and Test: Hand-tighten the bonnet screws in a star pattern (like tightening a car tire) to ensure even pressure. Turn the water back on slowly to prevent water hammer, which can crack the PVC pipes.
Expert Insights and Preventative Maintenance
Proper installation and seasonal maintenance are the keys to ensuring your smart home irrigation integration remains leak-free. According to agricultural engineering experts, environmental factors and poor wiring practices cause the majority of premature valve failures.
According to the University of Florida IFAS Extension (Publication AE351: Troubleshooting Irrigation Systems), "Most electrical problems in irrigation systems are caused by poor wire splicing practices. Direct burial wire connectors that are not waterproof will eventually corrode, leading to voltage drops that prevent the solenoid from fully engaging or disengaging the valve."
To combat this, never use standard electrical tape for underground irrigation splices. Instead, invest in 3M DBR/Y-6 Waterproof Wire Connectors or silicone-filled Grease Caps. These cost roughly $2 each and completely seal the copper connections from moisture and soil acidity.
Furthermore, protect your valve boxes from heavy landscaping equipment. A cracked valve body from a stray weed-whacker strike or a riding mower tire will require cutting the PVC pipe and installing a new valve using a "slip-fix" expansion coupling. By performing a mid-season audit of your valve boxes, clearing out mud, and checking for ant infestations (which love the warmth of solenoids), you can ensure your smart controller's water-saving algorithms are executed flawlessly by the mechanical hardware.

