Pest Control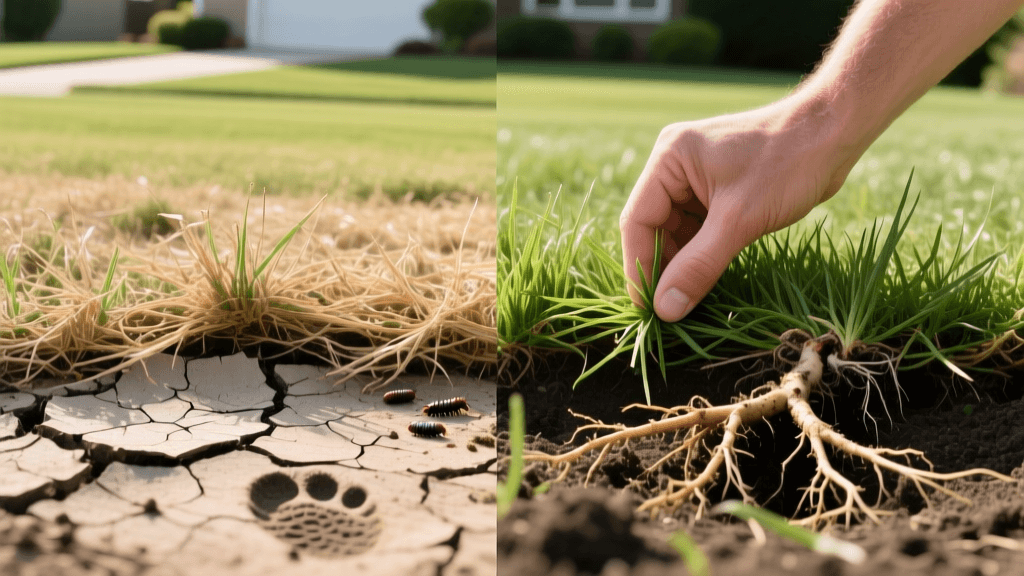
Diagnosing Lawn Grubs vs Drought: Troubleshooting Brown Patches
The Core Problem: Why Lawns Turn Brown in Late Summer
When mid-to-late summer arrives, many homeowners step outside to find unsightly brown patches spreading across their once-lush turf. The immediate assumption is often drought stress, leading to increased irrigation that fails to revive the dying grass. However, a more insidious culprit may be lurking just beneath the soil surface: white grubs. Diagnosing the true cause of these brown patches is a critical first step in integrated pest management (IPM). Applying expensive fertilizers or overwatering a lawn suffering from a severe grub infestation will not solve the problem, just as applying harsh chemical insecticides to a drought-stressed lawn will only compound the environmental stress. Troubleshooting lawn damage requires a methodical, diagnostic approach to differentiate between abiotic environmental factors and biotic pest pressures.
Step-by-Step Troubleshooting: Grub Damage vs. Drought Stress
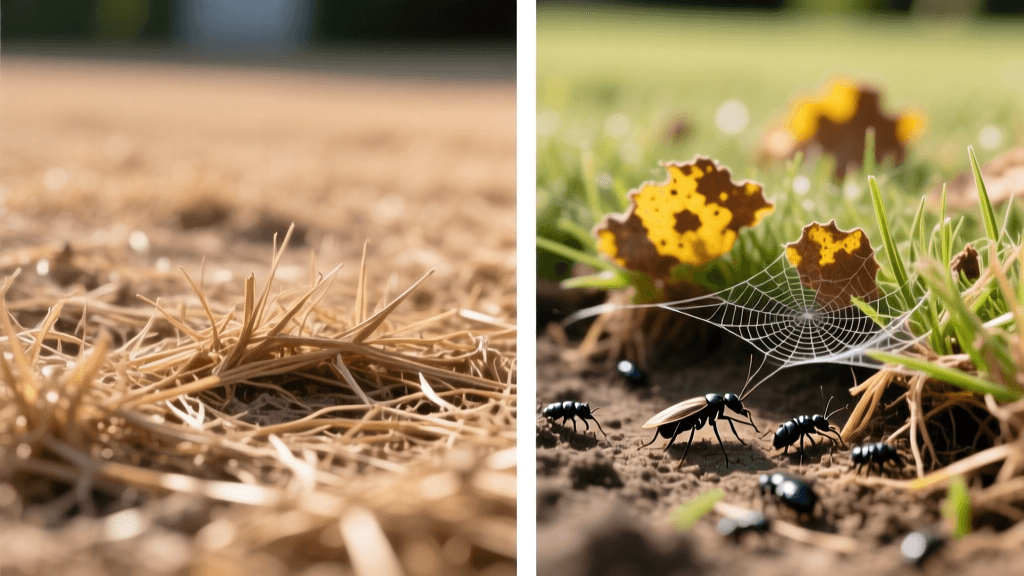
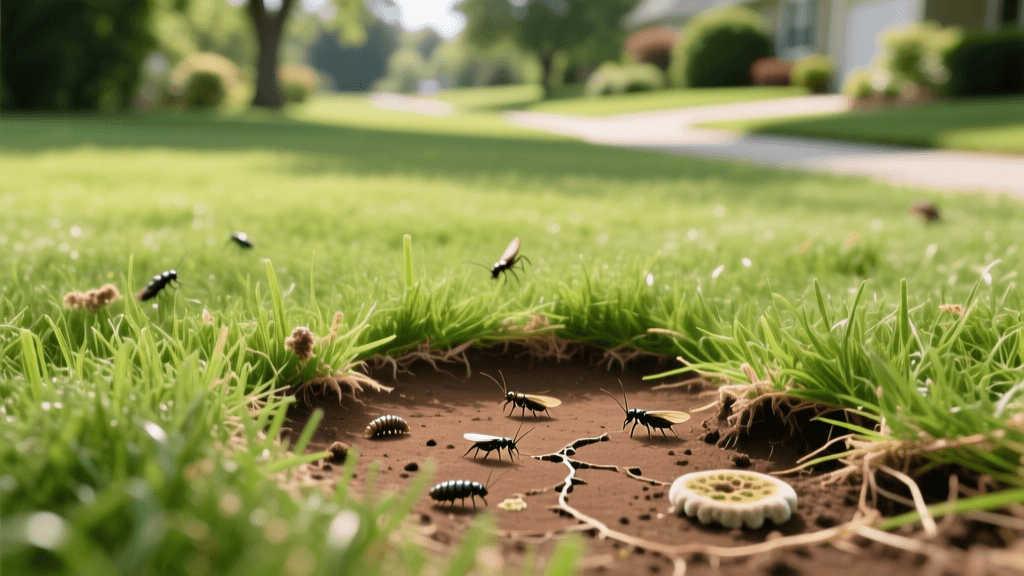
Before reaching for a hose or a bag of pesticides, you must confirm the root cause of the turf decline. White grubs—the larval stage of Japanese beetles, June bugs, and European chafers—feed aggressively on grassroots. This severs the plant's ability to uptake water, creating symptoms that perfectly mimic drought. Use the following diagnostic steps to troubleshoot the issue.
1. The Tug Test (Diagnosing Root Severing)
The most reliable field test for grub damage is the "tug test." Walk to the margin of a brown patch where the dying grass meets the healthy, green grass. Grab a handful of the brown turf and pull upward gently. If the grass lifts easily like a freshly rolled carpet, revealing severed roots and loose soil, you likely have a grub infestation. Grubs chew through the root zone, completely detaching the turf from the soil. If the grass resists pulling and the roots remain firmly anchored in dry, hard soil, the issue is almost certainly drought stress or a fungal disease, not grubs.
2. The Soap Drench Test (Forcing Grubs to the Surface)
If the tug test is inconclusive, you can force subterranean pests to reveal themselves using a soap drench. Mix 2 to 3 tablespoons of liquid dish soap into 1 gallon of water. Pour this solution evenly over a 1-square-yard area at the edge of the damaged patch. The soap irritates the skin of soil-dwelling insects, forcing them to the surface within 5 to 10 minutes. If you see C-shaped, creamy-white larvae with brown heads and six legs near the thorax, you have confirmed a grub problem. This test is also highly effective for diagnosing chinch bugs and caterpillars.
3. Soil Moisture Evaluation
Use a soil probe or a long screwdriver to test soil moisture. Push the tool into the brown patch and the adjacent green lawn. In a drought-stressed lawn, the tool will struggle to penetrate the dry, compacted earth, and the soil will crumble into dust. In a grub-infested lawn, the soil may remain perfectly moist and spongy because the damaged grass is no longer transpiring water. Additionally, look for secondary signs of grubs, such as small holes dug by foraging skunks, raccoons, or crows, which actively hunt the protein-rich larvae.
Comparison Chart: Grub Damage vs. Drought Stress
| Diagnostic Feature | Grub Damage | Drought Stress |
|---|---|---|
| Root Attachment | Roots severed; turf rolls back easily like a carpet. | Roots intact but dry; turf resists pulling. |
| Soil Moisture | Soil may remain moist despite brown, dying grass. | Soil is visibly dry, hard, and difficult to penetrate. |
| Patch Pattern | Irregular, localized dead spots; evidence of animal digging. | Uniform browning, especially in sunny, sloped, or sandy areas. |
| Presence of Pests | C-shaped white larvae found in the top 2 inches of soil. | No insect larvae present in soil samples. |
| Response to Water | Grass remains brown and dies despite deep, thorough watering. | Grass recovers and greens up after deep irrigation. |
Confirming the Diagnosis: Thresholds for Treatment
Finding one or two grubs in your lawn does not warrant chemical intervention. According to Penn State Extension, a healthy, well-maintained lawn can tolerate a low population of grubs without showing visible damage. To determine if treatment is necessary, cut out three to four 1-square-foot sections of turf at the edges of the damaged areas, about 2 to 3 inches deep. Crumble the soil and count the grubs. The generally accepted economic threshold for treatment is 5 to 10 grubs per square foot. If your count exceeds this threshold, curative action is required immediately to save the remaining turf.
Troubleshooting Treatment Failures: Why Did the Grub Control Fail?
Many homeowners apply grub control products only to find the lawn continues to deteriorate. Troubleshooting these failures usually comes down to timing, product selection, and application methods.
Preventive vs. Curative Products
A common mistake is applying a preventive product when a curative product is needed, or vice versa. Preventive insecticides containing Imidacloprid (e.g., Bayer Advanced Season Long Grub Control) or Chlorantraniliprole (e.g., Scotts GrubEx) must be applied between May and early July. These chemicals take weeks to translocate into the root zone and are designed to kill young, newly hatched grubs in late summer. They will not kill large, mature grubs actively destroying your lawn in September.
If you are troubleshooting an active, late-summer infestation, you must use a fast-acting curative insecticide containing Trichlorfon or Carbaryl (e.g., Bayer 24 Hour Grub Killer Plus). These products cost roughly $15 to $25 per 5,000 square feet and work within 24 hours to eliminate mature larvae. The University of California Statewide Integrated Pest Management Program emphasizes that proper identification of the grub's life stage is crucial for selecting the correct chemical control, as older grubs possess thicker exoskeletons that resist milder preventive chemicals.
The Importance of Watering In
Another frequent point of failure is neglecting to water the product into the soil. Grubs live in the root zone, not on the grass blades. If you apply a granular grub killer and fail to irrigate the lawn with at least 0.5 inches of water immediately afterward, the active ingredient will remain trapped in the thatch layer. The thatch will bind the chemicals, preventing them from reaching the soil where the grubs are feeding. Always irrigate heavily after application, but avoid applying treatments if heavy rainfall is forecasted within 24 hours, which can cause runoff and environmental contamination.
Lawn Recovery Post-Diagnosis and Treatment
Once the grubs have been eradicated, the damaged turf will not magically turn green again; the roots are gone. Recovery requires mechanical intervention and reseeding. Begin by raking out the dead, loose grass to expose the bare soil. Core aeration is highly recommended at this stage to alleviate soil compaction and improve seed-to-soil contact. Research from Michigan State University Extension highlights that maintaining a thick, vigorous turf through proper cultural practices is the best long-term defense against future grub invasions.
Overseed the bare patches with a drought-tolerant, deep-rooting grass species appropriate for your region, such as Turf-Type Tall Fescue or Kentucky Bluegrass. Apply a starter fertilizer to promote rapid root development, and top-dress the area with a thin layer of compost to retain moisture. Keep the seedbed consistently moist with light, frequent watering until the new grass reaches a height of 2 inches. By accurately diagnosing the initial problem and following through with targeted IPM strategies, you can restore your lawn's health and build resilience against future environmental and pest-related stressors.