Lawn Care
Documenting Lime Application on Acidic Lawns in 2026
The Intersection of Turfgrass Science and Visual Documentation
For the dedicated lawn care enthusiast, fixing an acidic lawn is not just a chore; it is a scientific experiment unfolding in your own backyard. When soil pH drops below 6.0, essential nutrients like nitrogen, phosphorus, and potassium become locked up, unavailable to your turfgrass roots. The result is a pale, thin, and struggling lawn that no amount of fertilizer can fix. The solution is the application of agricultural lime to raise the soil pH. But how do you truly measure the success of your intervention? In 2026, the most rewarding approach is to combine agronomic best practices with garden photography and meticulous visual documentation. By treating your lawn as a living canvas and your camera as a scientific instrument, you can create a stunning visual journal that captures the exact moment your turf recovers from nutrient lockout.
Understanding Soil pH and the Role of Lime
Before setting up your tripod, it is crucial to understand the chemistry you are about to alter. According to Penn State Extension, turfgrasses generally thrive in a soil pH range of 6.0 to 7.0. When soil becomes overly acidic—often due to heavy rainfall leaching base cations, the use of ammoniacal fertilizers, or the decomposition of organic matter—the turf exhibits classic signs of distress. You will notice interveinal chlorosis (yellowing of the grass blades while the veins remain green), stunted root growth, and an invasion of acid-loving weeds like moss and bentgrass.
Applying lime (calcium carbonate) neutralizes the hydrogen ions in the soil, effectively raising the pH and unlocking the trapped nutrients. However, lime is not a quick fix. It moves through the soil profile at a rate of roughly one to two inches per year. This slow, deliberate transformation makes it the perfect subject for a long-term photographic documentation project.
Establishing Your Photographic Baseline
The most critical step in any documentation project is capturing the 'before' state with absolute consistency. If your baseline photos are poorly lit or taken from varying angles, your 'after' photos will lack scientific and visual impact.
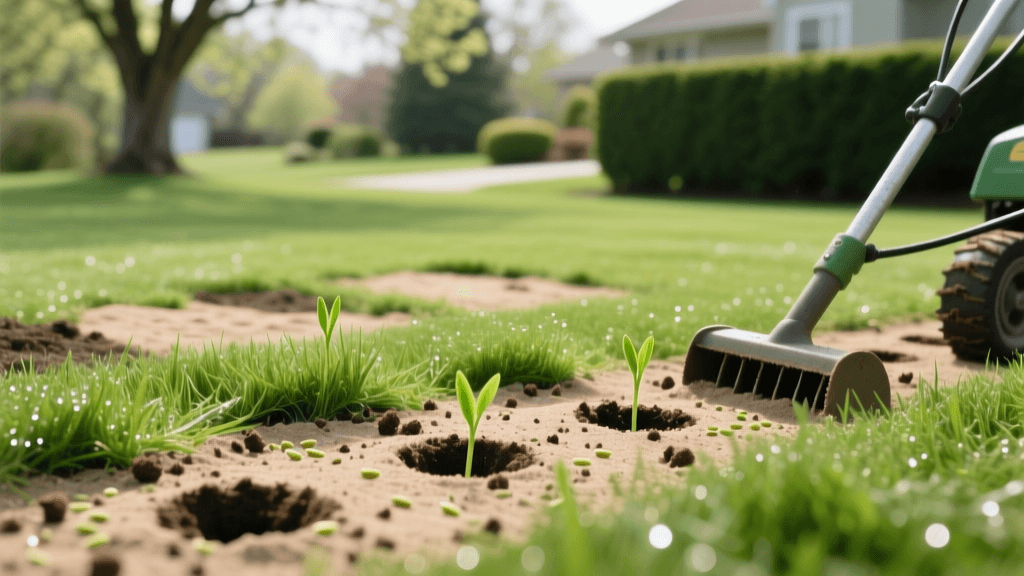
Setting Permanent Ground Stakes
Choose three to five representative zones in your lawn that clearly exhibit the symptoms of acidic soil. Drive a small, unobtrusive ground stake or a painted golf tee into the ground at the exact spot where you will place your tripod leg. This ensures that every subsequent photo is taken from the exact same focal point, eliminating parallax errors and making time-lapse or side-by-side comparisons incredibly striking.
Lighting and Color Calibration
Outdoor photography is at the mercy of the sun. To maintain consistency, schedule your documentation shoots during the 'golden hour'—the first hour after sunrise or the last hour before sunset. The soft, directional light will highlight the texture of the turf and cast long shadows that reveal lawn density. Furthermore, invest in a physical color calibration card (like the X-Rite ColorChecker). Place it in the corner of your frame for every shot. In 2026, while smartphone computational photography and AI white-balancing are advanced, they often artificially enhance greens. A physical color card allows you to correct the white balance in post-processing, ensuring that the 'green-up' you document is a true representation of the turf's health, not a digital filter.
Selecting the Right Lime for the Photographer-Gardener
Not all lime is created equal, and your choice will impact both your soil and your camera gear. The two primary types of lime are calcitic (high in calcium) and dolomitic (high in calcium and magnesium). Your soil test will dictate which one you need. If your soil test reveals a magnesium deficiency alongside low pH, dolomitic lime is required. For a comprehensive guide on interpreting these results, refer to the Clemson University Home & Garden Information Center.
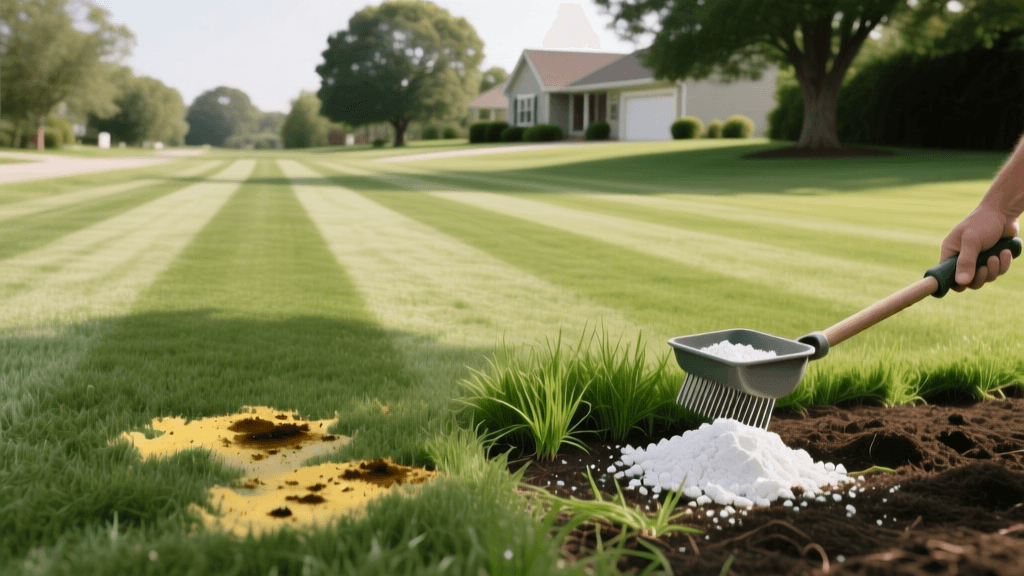
Pelletized vs. Powdered Lime: A Gear Protection Perspective
From a documentation standpoint, the physical form of the lime matters immensely. Powdered lime is incredibly fine and creates a massive dust cloud when spread, especially on a breezy day. This dust is the enemy of camera sensors, lenses, and drone gimbals. In 2026, pelletized lime is the undisputed choice for the lawn care photographer. Pelletized lime consists of finely ground limestone bound into small, uniform cylinders. It spreads cleanly with a rotary or drop spreader, dissolves upon contact with moisture, and most importantly, keeps your expensive photography gear free of abrasive alkaline dust.
The Application Process: Capturing the Work
Documenting the application process adds a dynamic, human element to your lawn journal. Switch your camera to a faster shutter speed (1/500s or higher) to freeze the motion of the lime pellets flying from the spreader. Use a polarizing filter to cut the glare from the sun and saturate the color of the existing, struggling grass, providing a stark contrast to the white lime pellets resting on the surface.
After spreading, water the lawn lightly. This is a vital agronomic step to wash the lime off the grass blades and into the soil, preventing foliar burn. Photograph the water droplets on the lime pellets as they begin to break down; these macro shots beautifully illustrate the transition from application to soil integration.
Visualizing the pH Recovery: A Documentation Timeline
Because lime reacts slowly, your photographic timeline must be patient. Below is a structured documentation schedule to track the visual recovery of your acidic lawn.
| Timeframe | Agronomic Milestone | Photographic Focus & Technique |
|---|---|---|
| Day 0 | Application and initial watering. | Wide-angle landscape shots with color checker; macro shots of pellets on yellowing blades. |
| Day 30 | Lime begins dissolving into the topsoil; minimal visual turf change. | Focus on soil surface macro photography; document the breakdown of pellets and early root zone integration. |
| Day 60 | pH shifts in the top 2 inches; early signs of nutrient uptake. | Return to tripod stakes. Shoot at golden hour. Look for subtle shifts in turf canopy color from pale yellow to light green. |
| Day 90 | Active growing roots access unlocked phosphorus and potassium. | Capture lawn density. Use a shallow depth of field (f/2.8) to highlight new, vibrant green tillers emerging from the crown. |
| Month 6 | Significant pH correction; moss recedes, turf thickens. | Create side-by-side composites with Day 0. Fly a drone at exactly 50 feet to map the overall green-up across the entire property. |
Macro Photography: Spotting Nutrient Lockout Reversal
The true magic of documenting lime application happens at the micro level. Acidic soils notoriously lock up iron and magnesium, leading to severe chlorosis. Equip your camera with a dedicated macro lens (or use the macro mode on modern flagship smartphones) to photograph individual grass blades at 1:1 magnification.
In your baseline photos, you will clearly see the cellular structure of the leaf lacking chlorophyll between the vascular veins. As the lime raises the pH over the 60 to 90-day mark, your macro lens will capture the exact moment the chloroplasts begin producing chlorophyll again. The interveinal spaces will flood with deep, rich green. These macro shots are not just beautiful art; they are undeniable, peer-reviewed-level proof that your soil amendment strategy is working.
Compiling Your 2026 Lawn Journal
Once your timeline is complete, compile your images into a digital or physical lawn journal. Include your initial soil test results, the exact brand and weight of the pelletized lime applied, your spreader settings, and the corresponding photographic evidence. By merging the rigorous science of soil chemistry with the art of garden photography, you elevate lawn care from a weekend chore to a deeply rewarding, documented pursuit. Your 2026 lawn journal will not only serve as a personal trophy of your hard work but as an invaluable reference for troubleshooting and maintaining your turf's health for years to come.