Lawn Care
Documenting Lawn Soil pH: Luster Leaf Rapitest Kit 2026
The Art and Science of Visual Soil Documentation
In the modern era of lawn care, maintaining a pristine turf is no longer just about mowing patterns and seasonal fertilization; it is about data-driven stewardship. As we move through 2026, the intersection of agronomy and visual documentation has become a cornerstone for dedicated lawn enthusiasts and professional landscapers alike. Creating a visual garden journal allows you to track the invisible changes happening beneath the surface, correlating your lawn's above-ground vigor with below-ground chemistry. One of the most critical metrics to document is soil pH, and the Luster Leaf Rapitest Soil Test Kit (Model 1601) remains the gold standard for at-home colorimetric testing. Priced affordably at around $18 in 2026, this kit provides a reliable chemical reaction that translates complex soil chemistry into a readable color spectrum.
However, simply testing your soil is only half the battle. Documenting the process and the results through high-quality photography ensures you have a permanent, searchable record of your lawn's health journey. Whether you are building a digital portfolio on platforms like Notion, contributing to community lawn care forums, or simply keeping a personal time-lapse archive, mastering the photographic documentation of your Luster Leaf Rapitest results will elevate your lawn care regimen from guesswork to a precise, visual science.
Why Document Your Soil pH Journey?
Soil pH dictates nutrient availability. According to the Cornell University Soil Health initiative, if your soil pH is too acidic or too alkaline, essential macronutrients like nitrogen, phosphorus, and potassium become locked up, rendering even the most expensive 2026 fertilizer blends useless. By visually documenting your pH tests over time, you create a baseline. When your lawn suddenly develops chlorosis (yellowing) or fails to respond to iron supplements, you can refer back to your visual journal. A photograph of a vibrant blue-green test tube from last spring compared to a stark yellow tube today provides immediate, undeniable proof of soil acidification, prompting timely intervention with calcitic lime or sulfur.
Essential Gear for Your 2026 Soil Photography Kit
To accurately capture the subtle color shifts of the Rapitest chemical reaction, you need more than just a casual smartphone snapshot. Color accuracy is paramount when matching a liquid solution to a printed reference chart. Here is what you need for your documentation kit:
- Luster Leaf Rapitest Soil Test Kit (Model 1601): The classic chemical dye kit featuring powder capsules and dual-chamber comparators.
- Smartphone with Macro Capability: Modern flagships like the iPhone 16 Pro or Samsung Galaxy S25 Ultra feature dedicated macro lenses that can capture the intricate texture of soil aggregates and the meniscus of the test liquid.
- 18% Gray Card or White Balance Reference: Essential for calibrating your camera's white balance, ensuring the green and blue hues of the pH reagent are not skewed by ambient lighting.
- Portable Diffused Light Source: A small LED light panel with a softbox attachment, or simply a translucent white umbrella to diffuse harsh direct sunlight, which causes glare on the plastic test chambers.
- Non-Reflective Backdrop: A matte gray or black cardstock background to isolate the test kit and eliminate background color contamination.
Step-by-Step Guide: Testing and Capturing the Rapitest Results
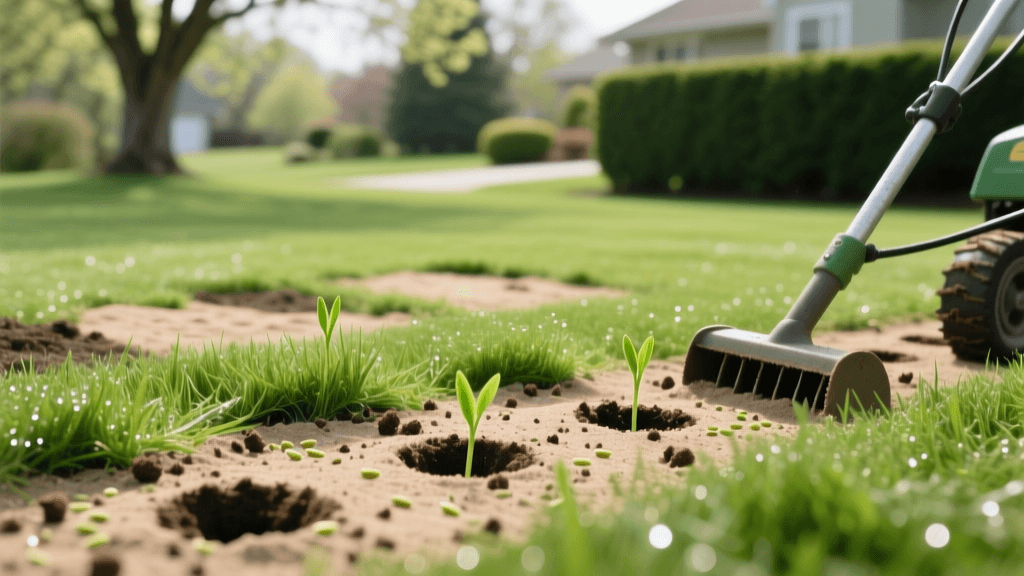
Step 1: Soil Sampling and Texture Macro Photography
Before you even open a reagent capsule, document the soil itself. The University of Minnesota Extension recommends taking core samples from the top 3 to 6 inches of soil, as this is the primary root zone for most turfgrasses. Collect 5 to 10 random cores across your lawn and mix them in a clean plastic bucket. Before adding water, use your smartphone's macro mode to photograph the dry soil mixture. Look for visual indicators of soil health: the presence of organic matter (dark, crumbly aggregates), earthworm activity, and moisture retention. Tag this photo in your digital journal with the GPS coordinates and the specific zone of your lawn (e.g., 'Front Yard - High Traffic Zone').
Step 2: Executing the Rapitest Chemical Reaction
Transfer the mixed soil into the Rapitest comparator chamber up to the designated 'SOIL' fill line. Next, carefully open the green pH test capsule and pour the powder into the chamber. Add distilled water (never tap water, as its own pH and mineral content will skew the results and ruin your documentation accuracy) up to the 'FILL' line. Seal the chamber and shake vigorously for one minute. Allow the mixture to settle for about 60 seconds so the soil particles sink to the bottom and the colored liquid rises to the top. This waiting period is the perfect time to set up your lighting and white balance reference.
Step 3: Photographing the Colorimetric Result
This is where the art of scientific documentation comes into play. The liquid will change color based on the pH level, ranging from yellow (acidic) to dark blue (alkaline). To photograph the result accurately:
- Eliminate Glare: Position your diffused light source at a 45-degree angle to the test chamber. Direct overhead lighting will create a white hotspot on the plastic, obscuring the liquid's true color.
- Include the Reference Chart: Frame your shot so that both the liquid in the comparator and the printed color chart on the side of the Rapitest kit are in the same focal plane. This allows anyone viewing your digital journal to verify your reading.
- Use a Gray Card: Place your white balance card next to the kit. If you are shooting in RAW format, you can use this card in post-processing to neutralize any color casts introduced by your environment, ensuring the green and blue hues are scientifically accurate.
- Capture the Meniscus: Tap your screen to focus exactly on the liquid line. The clarity of the extracted liquid (whether it is cloudy or crystal clear) is also valuable data regarding your soil's clay and organic content.
Visual Documentation Checklist for Soil pH Testing
To maintain consistency across your 2026 garden journal, use this structured checklist every time you perform and document a soil test. Consistency in your photographic methodology ensures that seasonal comparisons are valid and scientifically sound.
| Documentation Stage | Photographic Technique | Metadata & Journaling Tags |
|---|---|---|
| Dry Soil Sample | Macro lens, natural diffused light, matte black backdrop | Date, Zone, Moisture Level, Organic Matter Estimate |
| Reagent Mixing | Overhead angle, capturing capsule and distilled water bottle | Kit Lot Number, Water Source (Distilled), Time |
| Color Result (Wide) | Standard lens, include printed color chart and 18% gray card | pH Reading, Color Match, Ambient Light Temp |
| Color Result (Macro) | Macro lens, focus on liquid meniscus, 45-degree lighting | Liquid Clarity, Sediment Depth, Exact Hex Color Match |
Interpreting Colors and Logging Your Digital Journal
Once you have captured the perfect image, it is time to log the data. The Luster Leaf Rapitest pH color chart generally follows this spectrum:
- pH 4.5 - 5.0 (Yellow to Yellow-Green): Highly acidic. Common in areas with heavy rainfall or excessive use of ammonium-based fertilizers. Nutrient lockout is severe.
- pH 5.5 - 6.0 (Green to Dark Green): Moderately acidic. Acceptable for some fine fescues, but suboptimal for Kentucky Bluegrass and Bermudagrass.
- pH 6.5 (Blue-Green): The sweet spot for most cool-season and warm-season turfgrasses. Nutrient availability is at its peak.
- pH 7.0 - 7.5 (Blue to Dark Blue): Neutral to alkaline. Often found in arid regions or soils with high limestone content. Iron and manganese deficiencies are common here.
In your digital journal app, extract the dominant hex color code from your photograph using an eyedropper tool and log it next to your numerical pH estimate. Over the years, you will build a proprietary database correlating specific hex codes with your lawn's visual health and fertilizer response rates.
Tracking Amendments: The Before and After Photo Series
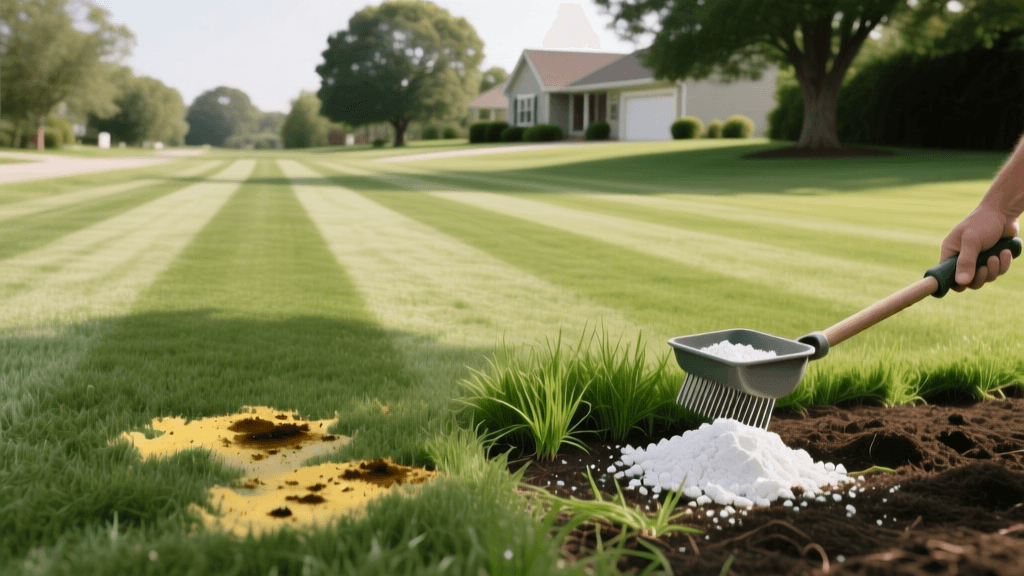
The true power of visual documentation lies in tracking the efficacy of your soil amendments. If your Rapitest kit yields a yellow-green liquid indicating a pH of 5.5, and you decide to apply pelletized calcitic lime at a rate of 50 lbs per 1,000 square feet, your journal becomes a time-lapse of recovery. Schedule a follow-up test 60 to 90 days post-application. When you photograph the new test result, use your journaling software's 'slider' or 'side-by-side' comparison feature to place the new blue-green liquid next to the old yellow-green image. This visual proof not only validates your investment in soil amendments but also provides compelling content if you share your lawn care journey on social media or community forums.
Conclusion
Treating lawn care as a visual science transforms routine maintenance into an engaging, rewarding hobby. By meticulously documenting your soil pH using the Luster Leaf Rapitest kit and modern smartphone photography techniques, you eliminate the guesswork from turf management. In 2026, the most successful lawns are those managed by gardeners who respect the data beneath their feet and know how to capture it beautifully. Grab your kit, set up your diffused lighting, and start building your visual soil archive today—your turf will thank you with vibrant, resilient growth season after season.