Lawn Care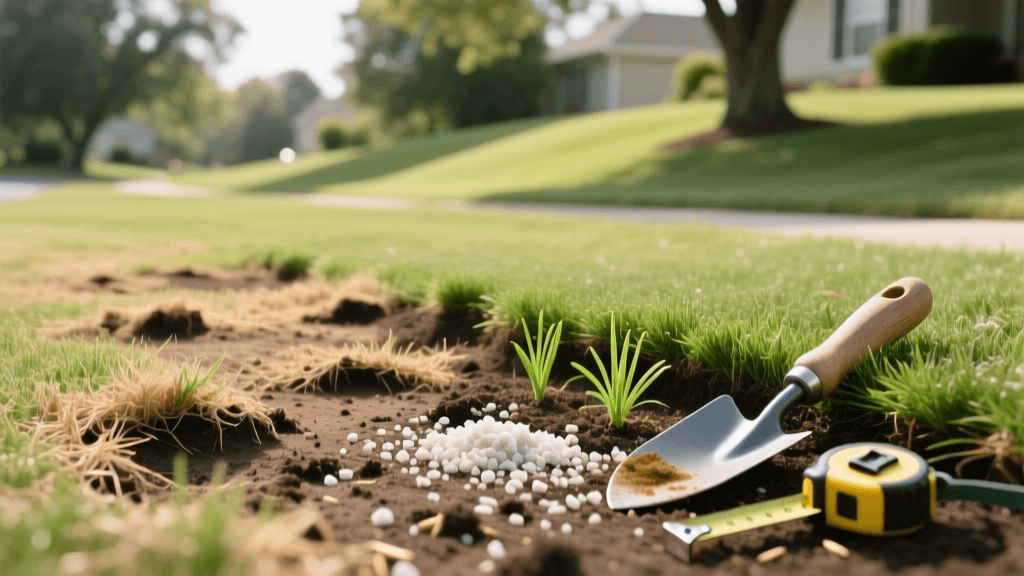
Fix Dog Urine Spots: Gypsum & Reseeding Guide 2026
From the Canopy to the Turf: A Web Worm Specialist's Perspective
As a specialist who spends the spring and summer suspended in bucket trucks treating fall webworms (Hyphantria cunea) and eastern tent caterpillars, I am used to looking up. My days are governed by the lifecycle of canopy-level pests, and my focus is usually on preserving the structural integrity of ancient oaks and maples. However, when I descend from the canopy and walk across a client's property to pack up my arborist gear, my eyes are inevitably drawn downward to the turf. In 2026, the most common question I get from homeowners is not about defoliated branches or the silk webbing in their trees; it is about the necrotic, yellow-ringed craters dotting their fescue and Kentucky bluegrass.
Homeowners often mistake these damaged patches for fungal pathogens, drought stress, or even the fallout from my web worm treatments. In reality, the culprit is usually man's best friend. Dog urine spots are a pervasive turf issue that can ruin an otherwise pristine landscape. Today, I am trading my canopy-level perspective for a ground-level turf management plan. Drawing on the same principles of environmental balance and systemic soil health that we use in advanced arboriculture, I will show you how to repair dog urine damage using gypsum and modern reseeding techniques.
Misdiagnosing the Damage: Web Worm Fallout vs. Urine Burn
Before we dive into the repair process, it is crucial to correctly identify the damage. When I treat trees for web worms, the frass (insect droppings) and discarded silk can occasionally fall onto the lawn below. While this debris might temporarily shade the grass or cause minor cosmetic irritation, it does not kill the turf in distinct, circular patterns. Furthermore, the organic insecticides we use in 2026 for canopy pests are highly targeted and break down rapidly in sunlight, posing zero threat to the grass below.
Dog urine damage, on the other hand, presents a very specific visual signature. You will typically see a dead, brown or yellow center surrounded by a lush, dark green halo. This 'fried egg' appearance is the hallmark of nitrogen overload. The center of the spot receives a concentrated dose of urea and salts that essentially burns the grass roots to death, while the outer edges receive a diluted, fertilizer-like dose that triggers rapid, dark green growth. Recognizing this pattern is the first step toward effective remediation.
The Chemistry of the Burn and the pH Myth
There is a persistent myth in the lawn care industry that dog urine is highly acidic and that the damage is caused by a sudden drop in soil pH. This is fundamentally incorrect. The primary damaging agents in dog urine are urea (a nitrogen compound) and various dissolved salts. When a dog relieves itself, it deposits a massive, concentrated dose of nitrogen into a very small area. While nitrogen is essential for turf growth, this extreme concentration causes osmotic stress, drawing water out of the grass roots and causing them to desiccate and die.
Furthermore, the accumulation of sodium and other salts in the soil alters the soil structure, causing clay particles to bind tightly together. This compaction prevents water and oxygen from reaching the root zone, creating a hostile environment for new seed. To fix this, we do not need to alter the pH; we need to improve soil structure and flush out the salts. This is where gypsum becomes our most valuable tool.
Why Gypsum is the Ultimate 2026 Soil Amendment for Pet Damage
Gypsum, scientifically known as calcium sulfate (CaSO4), is a naturally occurring mineral that has been used in agriculture for centuries. In the context of dog urine repair, gypsum is nothing short of a miracle worker. When applied to salt-damaged soil, the calcium in the gypsum replaces the sodium on the soil's cation exchange sites. This process, known as flocculation, causes the tightly bound clay particles to clump together, instantly improving soil porosity and drainage.
Once the soil structure is opened up, the harmful sodium salts can be easily flushed deep below the root zone with water. Unlike lime, gypsum does not alter the soil pH, making it an incredibly safe and predictable amendment for spot treatments. According to pet safety guidelines from the American Veterinary Medical Association, natural mineral amendments like gypsum are highly preferred over harsh chemical neutralizers, ensuring that the repaired area remains safe for your pets once the new grass is established. When sourcing gypsum in 2026, look for products that carry the EPA Safer Choice label, which guarantees the product is free from heavy metal contaminants and safe for residential environments.
Soil Amendment Comparison Chart
Not all soil amendments are created equal when it comes to pet damage. Here is a comparison of common DIY and professional remedies to help you avoid making the problem worse.
| Amendment | Primary Function | Effect on Urine Salts | Verdict for 2026 |
|---|---|---|---|
| Gypsum (Calcium Sulfate) | Soil structure and salt displacement | Replaces sodium, allowing salts to leach out of the root zone | Highly Recommended |
| Hydrated Lime | Raises soil pH | Does not remove salts; can cause severe chemical burns to existing grass | Not Recommended |
| Baking Soda | Alkaline neutralizer | High sodium content actually worsens salt buildup and soil compaction | Avoid Completely |
| Tomato Juice | Mythical pH alterer | Zero effect on soil salts; adds unnecessary sugars and acidity | Debunked Myth |
Step-by-Step Repair Protocol: Gypsum and Reseeding
Repairing a dog urine spot requires a systematic approach. Just as we use integrated pest management to save a compromised tree, we must use integrated soil management to rebuild the turf. Follow these steps for a permanent repair.
Step 1: The Deep Flush
Before applying any amendments, you must dilute the remaining urea and salts. Take a garden hose and deeply water the damaged spot and the surrounding two feet of healthy grass. Apply at least one inch of water to begin pushing the salts down through the soil profile. Allow the area to drain for 24 hours before moving to the next step.
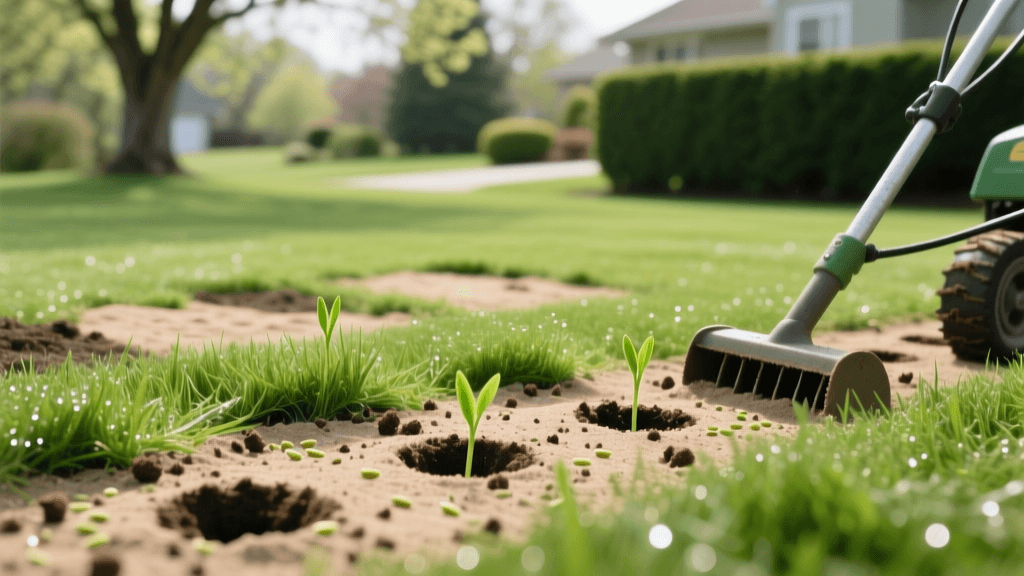
Step 2: Mechanical Debridement
Using a heavy-duty thatch rake or a manual core aerator, aggressively break up the dead grass and compacted soil in the center of the spot. You need to expose bare dirt and create small channels in the soil. This mechanical disruption is vital for allowing the gypsum to penetrate the root zone and for giving new grass seed a place to make soil contact.
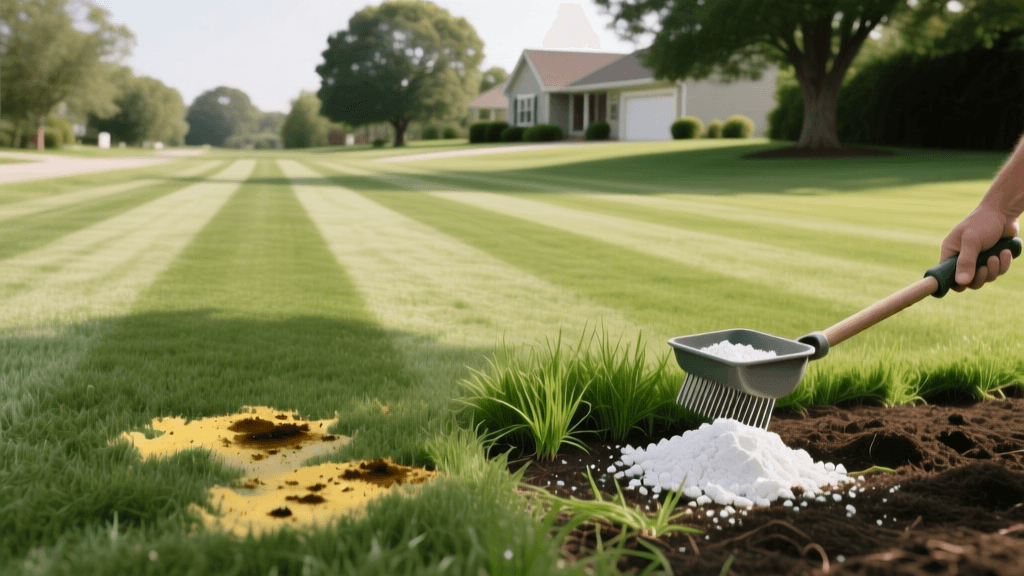
Step 3: Gypsum Application
For spot treatments, you need a higher concentration than a standard broadcast application. Apply pelletized gypsum (such as Espoma Organic Gypsum) at a rate of 10 to 15 pounds per 100 square feet directly over the damaged area. Use a hand spreader or simply scatter it evenly by hand, ensuring the granules fall into the aeration holes you created in Step 2. Water the area lightly to begin dissolving the calcium sulfate.
Step 4: 2026 Seed Selection and Sowing
Choosing the right seed is critical. In 2026, turfgrass breeding has advanced significantly, offering endophyte-enhanced seeds that are naturally more resistant to environmental stress and localized dry spots. For cool-season lawns, I recommend a Tall Fescue blend like Pennington Smart Seed with MYCO Advantage, which includes beneficial mycorrhizal fungi that help new roots scavenge for water and nutrients in compromised soil. For high-traffic areas, a Perennial Ryegrass mix will germinate rapidly to hold the soil together. Sow the seed heavily over the gypsum-treated area, aiming for roughly 10 to 15 seeds per square inch.
Step 5: Topdressing and Moisture Management
Cover the newly sown seed with a quarter-inch layer of organic compost or a specialized seed starter mulch. This topdressing protects the seed from birds and helps retain moisture. For the next 14 to 21 days, the area must be kept consistently moist. Water lightly two to three times a day until the new grass reaches a height of two inches. Once established, transition back to your normal, deep-and-infrequent watering schedule.
Preventative Measures for the Future
While gypsum and reseeding will fix the damage, preventing future spots is the ultimate goal. As an arborist, I always tell my clients that a healthy tree is the best defense against pests; similarly, a well-managed pet routine is the best defense against turf burn.
- Hydration is Key: Encourage your dog to drink more water. A well-hydrated dog produces more dilute urine, which significantly reduces the concentration of urea and salts deposited on the lawn.
- Designated Potty Areas: Train your dog to use a specific area of the yard that is mulched with gravel or wood chips. This sacrifices a small, non-turf area to save the rest of your lawn.
- Immediate Dilution: If you catch your dog in the act, immediately follow them with a watering can and douse the spot. Flushing the area within five minutes prevents the urea from binding to the soil and burning the roots.
- Dietary Adjustments: Consult your veterinarian about your dog's diet. Some premium 2026 dog foods are formulated with specific protein-to-carbohydrate ratios that naturally reduce the nitrogen output in their waste.
Final Thoughts from the Canopy
Treating a lawn for dog urine damage requires the same patience and scientific understanding as managing a complex canopy pest like the fall webworm. By abandoning the outdated pH myths and embracing the structural benefits of gypsum, you can effectively neutralize the salts that destroy your turf. Combine this with modern, stress-tolerant seed varieties, and your lawn will recover beautifully. The next time I am up in a bucket truck bagging web worms, I want to look down and see a vibrant, uniform, and healthy lawn, free from the tell-tale yellow craters of pet damage. With the right amendments and a little elbow grease, that vision is entirely within your reach.