Lawn Care
Dollar Spot Photo Guide: Bayer Advanced Treatment Steps 2026
The Intersection of Lawn Care and Garden Photography in 2026
In the modern era of turfgrass management, maintaining a pristine lawn goes far beyond simply pushing a mower. For the dedicated home gardener and lawn care enthusiast, garden photography and meticulous documentation have become essential tools for diagnosing issues, tracking treatment efficacy, and building a long-term visual journal of your landscape's health. As we navigate the 2026 turfgrass season, the ability to accurately capture and identify turf diseases through a camera lens is just as critical as knowing which chemicals to apply.
One of the most common and frustrating ailments to plague both cool-season and warm-season grasses is dollar spot. By combining macro photography techniques with a targeted Bayer Advanced treatment protocol, you can create a stunning, data-rich visual diary that not only helps you cure your lawn but also contributes to citizen science and local extension office databases.
Identifying Dollar Spot Through the Lens
Dollar spot, caused by the fungal pathogen Clarireedia jacksonii (formerly known as Sclerotinia homoeocarpa), presents unique visual markers that are best appreciated through macro photography. To the naked eye, it appears as small, silver-dollar-sized bleached patches scattered across the turf canopy. However, through a macro lens, the true signature of the disease reveals itself.
According to Penn State Extension's comprehensive guide on Dollar Spot, the most definitive diagnostic feature is the hourglass-shaped lesion on individual grass blades. These lesions feature tan or bleached centers with distinct, dark reddish-brown margins. When photographing your lawn for disease identification, capturing these microscopic details is the gold standard for confirmation.
Camera Settings and Gear for Lawn Disease Documentation
To properly document dollar spot and other turf anomalies, you need to approach your lawn with the same rigor as a botanical photographer. Here is the recommended 2026 gear setup for turf pathology documentation:
- Macro Lens: A 90mm to 105mm f/2.8 macro lens is ideal. It allows you to capture the hourglass lesions and the delicate, cobweb-like mycelium without casting a shadow over the subject.
- Lighting: The mycelium of the dollar spot fungus is most visible in the early morning when dew is present. Use a diffused off-camera flash or a ring flash to illuminate the fungal threads without blowing out the highlights on the water droplets.
- Aperture and Focus: Shoot between f/8 and f/11 to maximize the depth of field. Because turfgrass moves in the wind, utilize focus stacking techniques or a fast shutter speed (1/500s or faster) to ensure the lesions remain tack-sharp.
- Scale Reference: Always place a small, recognizable object—like a standard coin or a color-checker passport—next to the affected grass blade. This provides crucial scale data for your visual journal and for experts reviewing your photos.
The 2026 Bayer Advanced Treatment Protocol
Once your photographic evidence confirms the presence of dollar spot, it is time to intervene. The Bayer Advanced (often branded under the BioAdvanced umbrella in recent retail environments) line of systemic fungicides remains a cornerstone of residential turf management in 2026. Their Fungus Control Plus formulations typically utilize active ingredients like Propiconazole, which is absorbed by the plant and translocated through the xylem, protecting new growth from the inside out.
Application and Documentation Steps
When applying the treatment, your documentation should shift from diagnostic macro photography to wide-angle landscape and action shots. This helps you track coverage and environmental conditions during the application process.
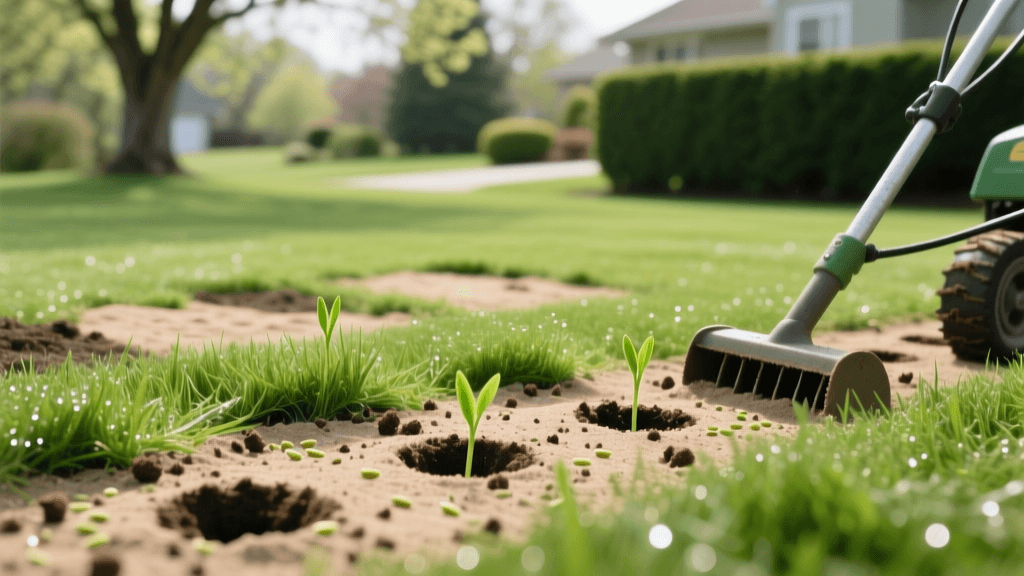
- Mow First: Mow your lawn to its standard height and bag the clippings to remove as much fungal biomass as possible. Photograph the lawn's overall condition pre-treatment.
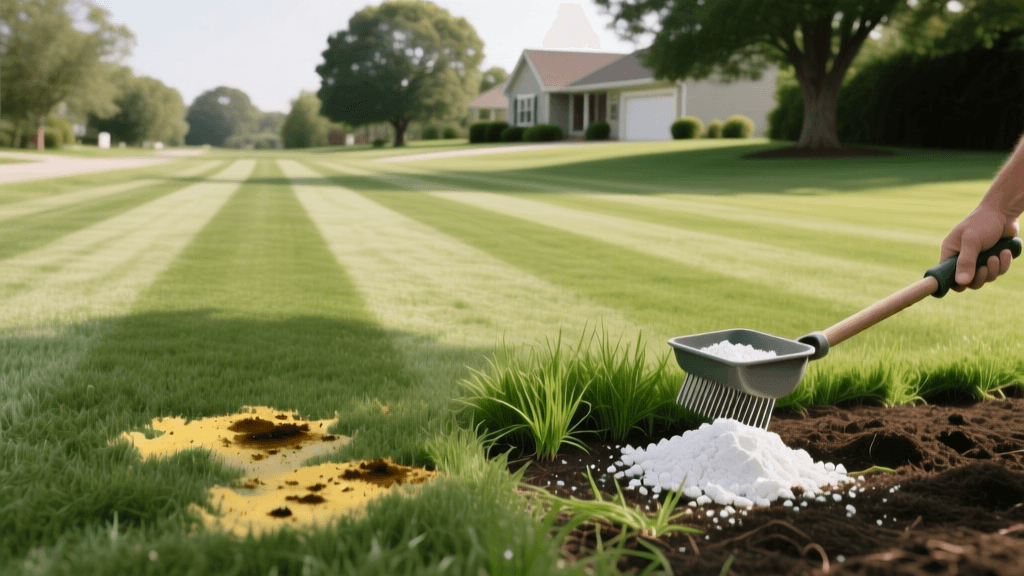
- Mix and Apply: For liquid Bayer Advanced concentrate, mix according to the 2026 label instructions—typically 2 to 3 fluid ounces per gallon of water for every 1,000 square feet. If using the granular version, calibrate your spreader and document the settings used.
- Watering In: Systemic fungicides require moisture to reach the root zone and lower stem. Apply roughly 1/4 inch of irrigation immediately after application. Photograph your irrigation setup or rain gauge to log the exact water volume applied.
- Safety Gear: Always document your PPE (gloves, long sleeves, eye protection). This not only ensures you are following safety protocols but also serves as a visual reminder for future applications.
The University of Minnesota Extension emphasizes that cultural practices, such as reducing thatch and managing nitrogen levels, must accompany chemical treatments. Be sure to photograph your aeration or dethatching efforts as part of your holistic treatment gallery.
Creating a Visual Treatment Timeline
The true power of garden photography lies in the ability to create a time-lapse or sequential visual timeline. Dollar spot does not vanish overnight; the grass must grow out of the damage. Set up a fixed tripod position or use permanent landscape markers (like small, discreet survey flags) to ensure you are photographing the exact same square foot of turf throughout the recovery process.
- Day 1 (Pre-Treatment): Capture macro shots of active lesions and mycelium. Take a wide shot of the silver-dollar patches.
- Day 3 (Post-Application): The mycelium should be gone. Photograph the same blades to document the cessation of fungal growth.
- Day 14 (Recovery Phase): Document the new green tissue emerging from the crown of the plant, pushing past the bleached, necrotic tissue.
- Day 28 (Resolution): Capture the final wide shot showing the canopy filling in, alongside a final macro shot of the healthy, unblemished leaf blades.
Dollar Spot vs. Other Turf Diseases: A Visual Comparison
When reviewing your photographic archives, it is vital to differentiate dollar spot from other common turf diseases. Use the following visual comparison chart to cross-reference your images before reaching for the Bayer Advanced treatment.
| Disease | Patch Size & Shape | Macro Photo Cue (Lesion) | Best Time to Photograph |
|---|---|---|---|
| Dollar Spot | 2-6 inches, circular, distinct margins | Hourglass-shaped, tan center, red-brown border | Early morning (dew reveals mycelium) |
| Brown Patch | 1-3 feet, irregular, often has a 'smoke ring' | Large irregular tan blotches, no hourglass shape | Warm, humid mornings |
| Fairy Ring | Large arcs or circles, dark green or dead | Mushrooms at the perimeter, hydrophobic soil | After heavy rain or irrigation |
| Pythium Blight | Small, greasy-looking, irregular spots | Water-soaked, slimy leaves that mat together | Hot, humid nights or early dawn |
Expert Tips for Archiving Your Lawn's Health Data
In 2026, digital asset management is just as important as the physical application of fungicides. Store your lawn photography in a dedicated cloud folder organized by year, season, and disease type. Use metadata tagging in your photo editing software to embed crucial data directly into the image files. Tag your photos with the date, the specific Bayer Advanced product used, the application rate, the ambient temperature, and the soil moisture level.
By maintaining this rigorous photographic and chemical documentation, you not only ensure that your Bayer Advanced treatments are applied with scientific precision, but you also build an invaluable historical record of your landscape. Whether you are sharing your macro disease shots with a local turfgrass pathology forum or simply admiring the lush, recovered canopy of your lawn, the lens remains one of the most powerful tools in the modern gardener's shed.