
Gardening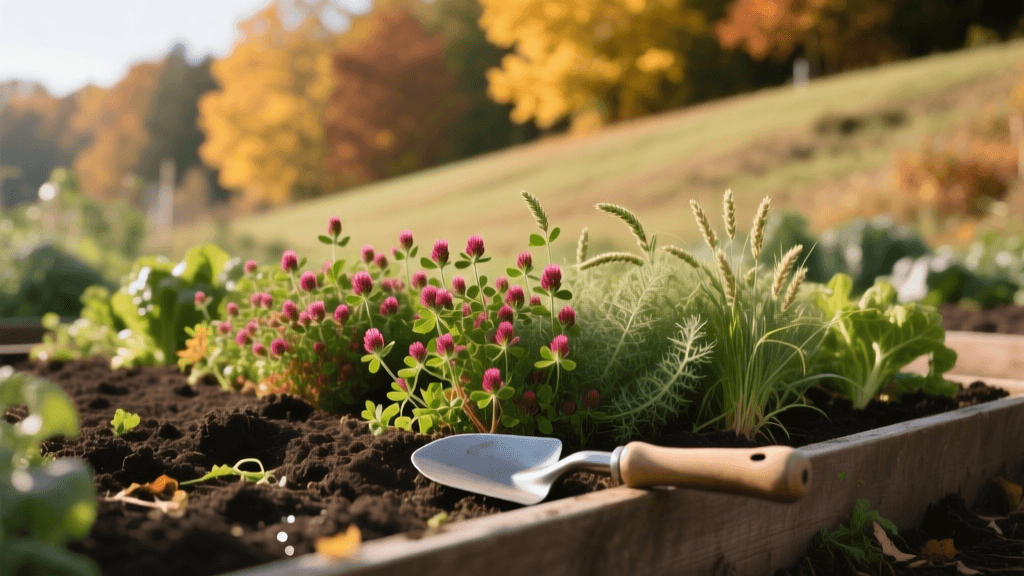
Fall Cover Cropping Guide for Vegetable Garden Soil Health
The Importance of Seasonal Soil Maintenance
When the autumn harvest concludes, many gardeners mistakenly believe their work is done until spring. However, from a seasonal maintenance and soil health perspective, fall is the most critical time to invest in your garden's future. Leaving vegetable beds bare over the winter invites soil erosion, nutrient leaching, and aggressive weed colonization. The most effective, scientifically backed strategy to combat these issues is planting fall cover crops, often referred to as 'green manure'.
According to the Cornell University College of Agriculture and Life Sciences (CALS), maintaining living roots in the soil year-round is a foundational principle of soil health. Cover crops feed the soil microbiome, suppress soil-borne pathogens, and physically break up compacted soil layers. In this comprehensive guide, we will explore the exact timing, seed selections, and termination methods required to maintain peak soil health for your vegetable garden.
Timing Your Fall Cover Crop Planting
Success with cover crops hinges entirely on timing. The goal is to establish sufficient root and foliar biomass before the ground freezes solid or the plants enter winter dormancy. As a general rule, you should plant your cover crops 4 to 6 weeks before your region's first expected killing frost.
- Zone 3-4: Late August to early September.
- Zone 5-6: Mid-September to early October.
- Zone 7-8: Late October to November.
- Zone 9-10: November to December (often utilizing cool-season crops that thrive in mild winters).
Before broadcasting any seed, it is vital to conduct a seasonal soil test. Sending a sample to your local university extension office (such as the University of Massachusetts Amherst Soil and Plant Tissue Testing Laboratory or your state's equivalent) typically costs between $15 and $30. This test will reveal your soil's pH, phosphorus, potassium, and organic matter levels, allowing you to tailor your cover crop mix to address specific deficiencies.
Top Cover Crops for Winter Soil Maintenance
Choosing the right seed depends on your primary garden health goals: nitrogen fixation, weed suppression, or breaking up hardpan clay. Below is a structured comparison of the most reliable fall cover crops for home vegetable gardens.
| Crop Type | Seeding Rate (per 1,000 sq ft) | Winter Hardiness | Primary Soil Benefit | Approx. Seed Cost (5 lbs) |
|---|---|---|---|---|
| Cereal Rye | 3.0 - 4.0 lbs | Extremely Hardy (to -30°F) | Erosion control, weed suppression, massive root biomass | $15 - $20 |
| Hairy Vetch | 1.0 - 2.0 lbs | Hardy (to -20°F) | Nitrogen fixation (up to 100 lbs/acre), soil conditioning | $35 - $45 |
| Crimson Clover | 0.5 - 1.0 lbs | Moderate (to 0°F) | Early spring nitrogen, attracts beneficial pollinators | $25 - $35 |
| Winter Peas | 2.0 - 3.0 lbs | Moderate (to 10°F) | Quick nitrogen fixation, tender biomass for easy termination | $30 - $40 |
| Daikon Radish | 0.5 - 1.0 lbs | Winter-kills (at 20°F) | Bio-drilling compacted clay, scavenging excess nitrogen | $20 - $30 |
Expert Tip: For the ultimate soil health boost, plant a mix of Cereal Rye and Hairy Vetch. The rye provides a structural trellis for the vining vetch, while the combination balances the high carbon-to-nitrogen (C:N) ratio, ensuring the biomass breaks down efficiently in the spring without tying up soil nitrogen.
Supporting the Soil Microbiome and Mycorrhizal Fungi
Beyond physical erosion control, fall cover crops serve as a vital lifeline for the soil food web. During the winter months, beneficial mycorrhizal fungi require living plant roots to exude carbon-rich sugars. Without these living roots, the fungal networks die back, forcing you to rely on synthetic fertilizers to feed your spring crops. By maintaining a living root system via cover crops like Cereal Rye or Crimson Clover, you sustain these symbiotic fungi. Furthermore, when planting legume cover crops such as Hairy Vetch or Winter Peas, it is highly recommended to coat the seeds with a specific bacterial inoculant (such as Rhizobium leguminosarum, available from suppliers like Arbico Organics for about $10 per packet). This inoculant ensures the legumes can effectively pull atmospheric nitrogen and fix it into root nodules, maximizing the nutritional payoff for your subsequent vegetable crops.
Step-by-Step Planting and Maintenance Guide
Proper seed-to-soil contact is the most common failure point for home gardeners planting cover crops. Follow these actionable steps to ensure high germination rates:
- Clear the Bed: Remove all spent summer crops, diseased foliage, and heavy mulch. If you had severe pest issues (like root-knot nematodes), remove the root masses entirely.
- Lightly Cultivate: Use a garden fork or a broadfork to gently aerate the top 2 to 3 inches of soil. Avoid deep tilling, which disrupts the fungal hyphae networks essential for long-term soil health.
- Broadcast the Seed: Use a handheld rotary broadcaster (like the EarthWay 2050P, approx. $25) for even distribution. For small mixes, combine the seed with dry sand to help you see where you have broadcasted.
- Rake and Roll: Gently rake the seeds into the top 0.5 inches of soil. If possible, use a lawn roller or walk over the bed with flat-soled boots to press the seeds firmly into the soil.
- Water Thoroughly: Apply 0.5 to 1 inch of water immediately after planting. Keep the top inch of soil consistently moist for the first 7 to 10 days until germination is uniform.
Overwintering and Spring Termination Strategies
Maintaining your cover crops through the winter requires minimal effort, but how you terminate them in the spring dictates the success of your upcoming vegetable planting. According to the USDA Natural Resources Conservation Service (NRCS), cover crops should be terminated at least 3 to 4 weeks before planting your spring cash crops to allow for decomposition and to prevent allelopathic effects (where decaying roots inhibit the germination of new seeds).
Method 1: Occultation (Tarping)
For no-till gardeners, tarping is the gold standard. In early spring (or late winter), mow the cover crop as low as possible. Cover the bed with a 6-mil black/white silage tarp (costing roughly $150 for a 20x100 ft roll from suppliers like Johnny's Selected Seeds). Secure the edges with sandbags or soil. Leave the tarp in place for 3 to 4 weeks. The lack of light and trapped heat will kill the cover crop and stimulate soil microbes to break down the residue, leaving a perfect, weed-free seedbed.
Method 2: Mechanical Crimping and Mowing
If you are growing a grain like Cereal Rye, wait until the plant reaches the 'anthesis' (flowering/pollen-shed) stage. At this stage, the plant is naturally trying to die back. Use a weed whacker or a specialized roller-crimper to knock the crop down flat. The thick mat of dead rye will act as an organic mulch, retaining soil moisture and suppressing early spring weeds while you plant transplants (like tomatoes and peppers) directly into the residue.
Method 3: Incorporation (Tilling)
While less ideal for long-term soil structure, shallow incorporation is viable for quick spring prep. Mow the cover crop finely, let it dry for two days, and use a rear-tine tiller to mix the green manure into the top 4 inches of soil. You must wait 3 weeks before planting to avoid nitrogen tie-up as the fresh green matter decomposes.
Final Thoughts on Seasonal Garden Health
Treating your vegetable garden's soil as a living ecosystem rather than a sterile growing medium is the hallmark of advanced seasonal maintenance. By investing a few hours and roughly $20 to $40 in fall cover crops, you eliminate the need for synthetic winter fertilizers, drastically reduce spring weed pressure, and build the rich, dark humus that heavy-feeding vegetables require. Start your soil health journey this autumn, and your spring garden will reap the rewards.

