
Gardening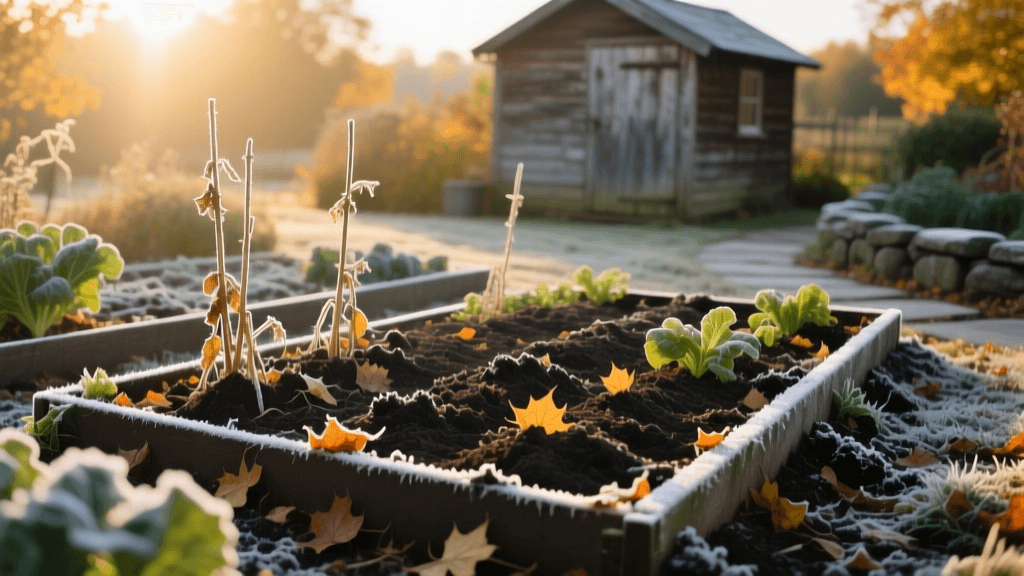
Fall Garden Cleanup and Winter Soil Preparation Guide
The Critical Role of Fall Garden Maintenance
As the vibrant growing season winds down and the first frost approaches, many gardeners are tempted to simply close the gate and wait for spring. However, from a seasonal maintenance and plant health perspective, autumn is arguably the most critical time of the year for your garden. Proper fall garden cleanup and winter soil preparation dictate the health, vigor, and yield of your vegetable and flower beds for the following year. Neglecting this transitional period invites overwintering pests, allows fungal pathogens to survive in plant debris, and leaves your soil microbiome vulnerable to erosion and nutrient leaching.
This comprehensive guide will walk you through the exact steps, product recommendations, and timing required to winterize your garden, protect your soil structure, and set the stage for a thriving spring planting season.
Step 1: Strategic Debris Removal and Disease Management
The first step in seasonal maintenance is clearing out spent annual crops and decaying foliage. However, not all plant matter should be treated equally. The golden rule of fall cleanup is to separate healthy biomass from diseased material.
Managing Diseased Plant Material
Pathogens like Septoria leaf spot, early blight, and powdery mildew overwinter on infected plant tissue. If you had tomatoes suffering from blight or cucumbers coated in powdery mildew, do not compost these plants. Most home compost piles do not reach the sustained 140°F to 160°F required to kill these fungal spores. Instead, bag diseased plants in heavy-duty contractor bags and send them to the municipal landfill, or burn them if local ordinances permit.
Composting Healthy Biomass
Healthy spent crops, such as bean stalks, lettuce plants, and marigolds, should be chopped into 2-to-3-inch pieces and added to your compost bin. Chopping accelerates decomposition and prevents the matting that can lead to anaerobic conditions. To speed up the breakdown process over the winter, mix in a nitrogen-rich activator like Jobe's Organics Compost Starter (approximately $12 for a 4 lb bag) and keep the pile as moist as a wrung-out sponge.
Step 2: Disrupting Overwintering Pest Life Cycles
Many destructive garden pests use the winter months to pupate in the soil or hide in garden debris. Disrupting their life cycle in the fall drastically reduces the pressure you will face next summer.
- Squash Vine Borers: These moths lay eggs at the base of cucurbits, and the larvae overwinter in the soil as pupae. Carefully turn the top 2 inches of soil around where squash and zucchini were planted to expose the pupae to freezing temperatures and foraging birds.
- Cucumber Beetles: They hide in dense, weedy areas and under leaf litter. Clearing all weeds and mulch from the immediate perimeter of your garden beds removes their winter sanctuary.
- Root-Knot Nematodes: If you suffered from stunted, yellowing plants with knobby roots, fall is the time to apply beneficial nematodes. Products like Scanmask (costing roughly $35 for 10 million nematodes) can be watered into the soil while temperatures are still above 55°F to hunt down pest larvae before the deep freeze.
Step 3: Soil Testing and Targeted Amendments
Before adding any fertilizers or minerals, you must understand what your soil actually needs. Fall is the ideal time for a soil test because it gives slow-acting amendments like lime and sulfur months to react and adjust the soil pH before spring planting.
Contact your local university cooperative extension office for a soil test kit (typically costing between $15 and $25). When the results return, focus on these common fall adjustments:
- Raising pH (Sweetening Soil): If your soil is too acidic (below 6.2 for most vegetables), apply pelletized agricultural lime. A standard application is 5 lbs per 100 square feet to raise the pH by one point.
- Building Phosphorus and Potassium: Fall is perfect for adding rock phosphate and greensand. These slow-release minerals take 3 to 6 months to break down, meaning they will be perfectly bioavailable to plant roots by the time you set out spring tomato transplants.
Step 4: Winterizing with Cover Crops
Leaving soil bare over the winter is a recipe for structural degradation, nutrient leaching, and weed invasion. Planting a cover crop (often called 'green manure') is the hallmark of advanced seasonal garden health management. Cover crops prevent erosion, suppress winter weeds, and, in the case of legumes, fix atmospheric nitrogen into the soil.
Seasonal Cover Crop Comparison Chart
| Cover Crop | Seeding Rate (per 100 sq ft) | Primary Benefit | Spring Termination Method | Est. Seed Cost |
|---|---|---|---|---|
| Winter Rye | 2.0 lbs | Massive root biomass, weed suppression, erosion control | Chop and drop 3 weeks before planting; tarping | $4.00 |
| Crimson Clover | 0.5 lbs | Nitrogen fixation, early spring pollinator forage | Mow at first bloom; no-till incorporation | $6.50 |
| Hairy Vetch | 1.5 lbs | High nitrogen fixation, heavy mulch production | Roll/crimp or mow at flowering | $8.00 |
| Daikon Radish | 0.25 lbs | Deep soil aeration (biodrilling), compaction relief | Winter-kills in zones 6 and below; no work needed | $3.50 |
Note: Plant cover crops at least 4 to 6 weeks before your first expected hard frost to ensure adequate root establishment.
Step 5: Mulching and Raised Bed Protection
If you choose not to plant a cover crop, or if you are protecting perennial flower beds, applying a thick layer of organic mulch is non-negotiable. Mulch acts as an insulating blanket, protecting soil microbes from extreme temperature fluctuations and preventing frost heave, which can push shallow-rooted perennials out of the ground.
Choosing the Right Winter Mulch
For vegetable beds, avoid using wood chips or bark mulch, as these tie up nitrogen as they decompose and are difficult to incorporate in the spring. Instead, use:
- Straw: Apply a 3-to-4-inch layer. Ensure you are buying straw, not hay, to avoid introducing thousands of weed seeds. A standard bale costs around $8 to $12 and covers roughly 100 square feet at a 3-inch depth.
- Shredded Leaves: Never apply whole leaves, as they form an impenetrable, water-repellent mat. Run your lawnmower over autumn leaves to shred them, then apply a 4-inch layer to your garden beds. This is a free, nutrient-dense option that earthworms love.
Step 6: Tool Sanitization and Storage
Garden health extends to the tools you use. Storing dirty, sap-covered pruners and shovels guarantees that you will transfer diseases from one plant to another next spring, while also ensuring your tools rust and degrade over the winter.
- Clean: Scrub all shovels, hoes, and trowels with a stiff wire brush and soapy water to remove caked-on soil.
- Sanitize: Wipe down the metal blades of your pruners (like your Felco F-2 bypass pruners) and loppers with a 10% bleach solution (1 part household bleach to 9 parts water) to kill lingering bacterial and fungal spores. Let them air dry completely to prevent rust.
- Protect: Rub boiled linseed oil onto all wooden handles to prevent them from drying out and splintering. For metal blades, apply a light coat of mineral oil or a specialized tool oil before storing them in a dry shed.
Expert Insights on Winter Soil Health
The shift toward no-till gardening and continuous soil coverage is heavily supported by agricultural scientists. According to the Penn State Extension, maintaining living roots in the soil for as much of the year as possible is the single most effective way to build soil organic matter and support the soil food web.
'Cover crops are the foundation of a resilient soil health management system. By keeping the soil covered and providing living roots throughout the fall and early spring, gardeners feed the mycorrhizal fungi and bacteria that make nutrients available to summer crops. Bare soil is dead soil.' — Penn State Extension, Soil Health Guidelines
By adopting these seasonal maintenance practices, you transition your garden from a state of winter dormancy into a period of active biological regeneration. The effort you invest in cleaning, testing, amending, and covering your soil this autumn will pay dividends in the form of robust root systems, fewer pest outbreaks, and bountiful harvests when the next gardening season arrives.

