
Gardening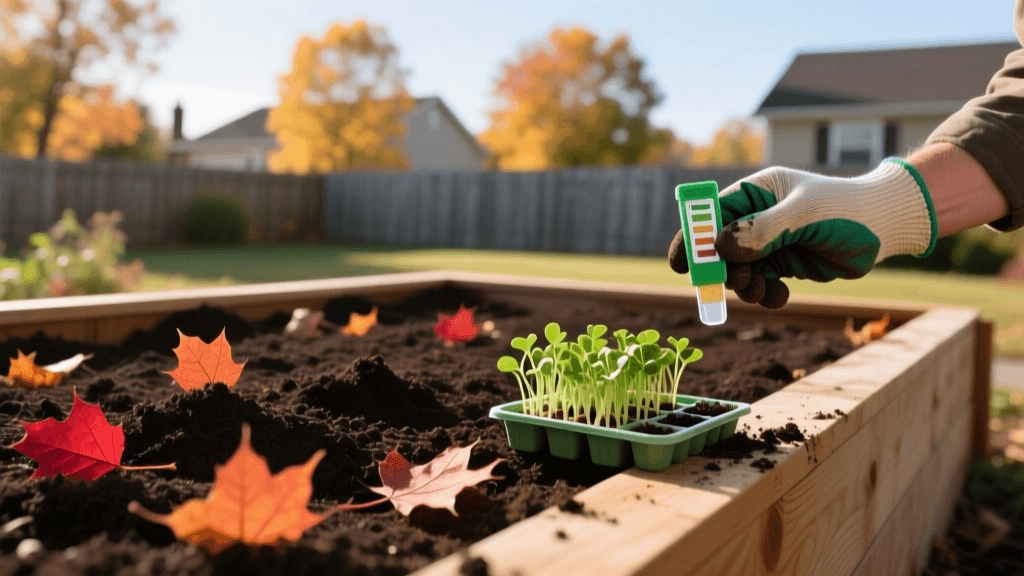
Fall Raised Bed Maintenance: Soil Prep and Cover Cropping
As the vibrant days of summer fade and the final tomatoes are pulled from the vine, many home gardeners view the end of the growing season as a time to rest. However, from the perspective of seasonal maintenance and long-term soil health, autumn is arguably the most critical time of the year for your raised bed vegetable garden. The actions you take between September and November dictate the vigor, disease resistance, and yield of next year's crops. Raised beds, while offering excellent drainage and ergonomic benefits, require deliberate seasonal care because their soil ecosystem is entirely managed by you. Unlike in-ground gardens that benefit from deep subsoil interactions, raised beds are closed systems that can quickly become depleted of nutrients or compacted if left unattended over the winter months. This comprehensive guide will walk you through the essential fall maintenance protocols for raised beds, focusing on debris management, soil rejuvenation, structural checks, and the strategic use of cover crops.
The Importance of Fall Soil Rejuvenation
Over a single growing season, heavy feeders like tomatoes, corn, and brassicas can strip the soil of vital macronutrients and micronutrients. Furthermore, the physical structure of the soil degrades due to watering, harvesting, and foot traffic. Fall maintenance is about rebuilding the soil food web. By introducing organic matter and living roots before the ground freezes, you give soil microbes the necessary fuel to break down complex nutrients into bioavailable forms by the time spring planting arrives. According to the University of Minnesota Extension, incorporating organic amendments in the fall allows them ample time to integrate and stabilize within the soil profile, preventing the nutrient lockout that often occurs when fresh compost is applied just days before spring planting.
'Cover crops and fall amendments are the closest thing to a magic bullet for soil health, providing living roots and organic matter that feed soil microbes throughout the dormant season.'
— University of Minnesota Extension
Step 1: Sanitation and Debris Management
The first step in fall maintenance is a thorough cleanup. Remove all spent annual crops, fallen leaves, and rotting fruit. This step is not merely cosmetic; it is a vital disease prevention measure. Many fungal pathogens, such as early blight (Alternaria solani) and powdery mildew, overwinter in plant debris. Leaving infected material in the bed guarantees a reinfection cycle the following spring.
Actionable Advice: Inspect your plants carefully before composting. If you observe signs of disease or severe pest infestations (like squash vine borers or hornworms), do not put this material in your home compost bin. Most home compost piles do not reach the sustained 140°F to 160°F required to kill these pathogens. Instead, bag diseased plant material and dispose of it in the municipal trash. Healthy, disease-free plant matter can be chopped and added to your compost pile or used as a base layer for sheet mulching.
Step 2: Comprehensive Soil Testing
Before adding any amendments, you must understand your soil's current baseline. Guessing your soil's needs can lead to nutrient toxicities or imbalances that hinder plant health and waste money on unnecessary products.
Timing and Costs: Conduct a soil test in early to mid-fall. You can purchase a basic DIY test kit from a garden center for $15 to $25, but for precise, actionable data, send a sample to your local university cooperative extension office. A professional lab test typically costs between $20 and $35 and will provide exact recommendations for pH adjustment and N-P-K (Nitrogen, Phosphorus, Potassium) balancing.
Adjusting pH: Most vegetables thrive in a slightly acidic pH range of 6.2 to 6.8. If your test indicates the soil is too acidic (below 6.0), apply pelletized garden lime at the rate recommended by your lab results (usually around 5 to 10 pounds per 100 square feet). If the soil is too alkaline, incorporate elemental sulfur. Applying these pH adjusters in the fall is crucial, as they take several months to react and alter the soil chemistry before spring planting.
Step 3: Top-Dressing and Organic Matter Integration
Raised beds naturally settle and compact over time. You will likely notice that your soil level is several inches lower than it was in the spring. Fall is the time to replenish this volume and restore soil structure.
Measurements and Application: For a standard 4x8-foot raised bed (32 square feet), plan to add approximately 2 to 3 cubic feet of high-quality organic matter. A blend of 50% finished compost and 50% leaf mold or well-rotted manure is ideal. Spread a 1 to 2-inch layer evenly across the surface of the bed.
To Till or Not to Till? Modern soil science heavily favors 'no-till' or minimal-till methods to preserve the delicate mycorrhizal fungal networks in your soil. Instead of aggressively turning the soil with a rototiller, use a broadfork or a garden fork to gently aerate the bed. Pierce the soil every 6 to 8 inches and rock the handle back slightly to create fissures, then simply lay your compost on top. Winter rains and snowmelt, along with earthworm activity, will naturally draw the nutrients down into the root zone.
Step 4: Sowing Winter Cover Crops
Leaving soil bare over the winter invites erosion, nutrient leaching, and weed seed establishment. Cover crops, often referred to as 'green manure,' act as a protective blanket and a biological soil builder. They scavenge leftover nitrogen, prevent runoff, and their roots exude sugars that sustain beneficial bacteria during the cold months.
Timing: Sow cover crop seeds about 4 to 6 weeks before your region's average first killing frost. This gives the plants enough time to establish a robust root system before going dormant.
Below is a comparison chart of the most effective cover crops for raised bed vegetable gardens:
| Crop Name | Type | Seeding Rate (per 100 sq ft) | Primary Benefit | Termination Method |
|---|---|---|---|---|
| Winter Rye | Grass | 2 lbs | Massive biomass production, superior erosion control | Chop and drop in early spring before seed set |
| Crimson Clover | Legume | 0.5 lbs | Atmospheric nitrogen fixation, attracts early pollinators | Winter-kill in cold zones (Zone 6 and below) or mow |
| Daikon Radish | Brassica | 1 lb | Deep soil aeration, breaks up hardpan compaction | Winter-kill (tubers rot in place, leaving nutrient holes) |
Step 5: Structural Maintenance and Pest Exclusion
Seasonal maintenance extends beyond the soil to the physical infrastructure of your raised beds. Winter weather—heavy snow, freezing, and thawing—can wreak havoc on wooden or metal frames.
Wood and Hardware Checks: Inspect cedar or redwood boards for signs of rot or warping. Tighten any loose corner brackets or screws. If you are using untreated wood that is beginning to degrade, consider lining the interior walls with heavy-duty polyethylene plastic (make sure it is food-safe and UV-resistant) to extend the bed's lifespan and prevent soil contact with rotting wood.
Pest Exclusion: Fall is when rodents like voles and mice look for warm places to overwinter. Inspect the bottom of your raised beds. If you installed hardware cloth at the base to deter burrowing pests, check for rust or gaps. Patch any holes with galvanized wire mesh and secure it with heavy-duty staples. A breach in the hardware cloth during winter can lead to a massive burrowing infestation by the time spring arrives.
Mulching for Winter Protection
If you opt not to plant a cover crop, or if you are leaving perennial crops like asparagus, rhubarb, or artichokes in the bed, applying a thick layer of mulch is non-negotiable.
Application: Apply 3 to 4 inches of weed-free straw, shredded autumn leaves, or pine needles over the soil surface. Avoid using hay, as it is typically full of weed seeds that will germinate in your bed the moment the weather warms. This mulch layer insulates the soil, preventing the destructive freeze-thaw cycles that can push plant roots out of the ground (a phenomenon known as frost heave). It also preserves soil moisture during unseasonably warm, dry winter spells and slowly breaks down to feed the soil food web.
Conclusion
Treating your raised beds with a rigorous fall maintenance routine transforms them from depleted wooden boxes into thriving, biologically active ecosystems. By sanitizing debris, testing and amending the soil, integrating organic matter, and utilizing cover crops, you are investing in the long-term health of your garden. Furthermore, this proactive approach is highly cost-effective; building soil structure with compost and cover crops in the fall drastically reduces the need for expensive synthetic fertilizers and disease treatments in the spring. When the spring thaw finally arrives, your soil will be loose, nutrient-rich, and teeming with beneficial life, giving your next season's vegetables the ultimate head start.

