
Diagnose and Fix Smart Sprinkler Leaks and Wi-Fi Drops
The Hidden Costs of a Malfunctioning Smart Irrigation System
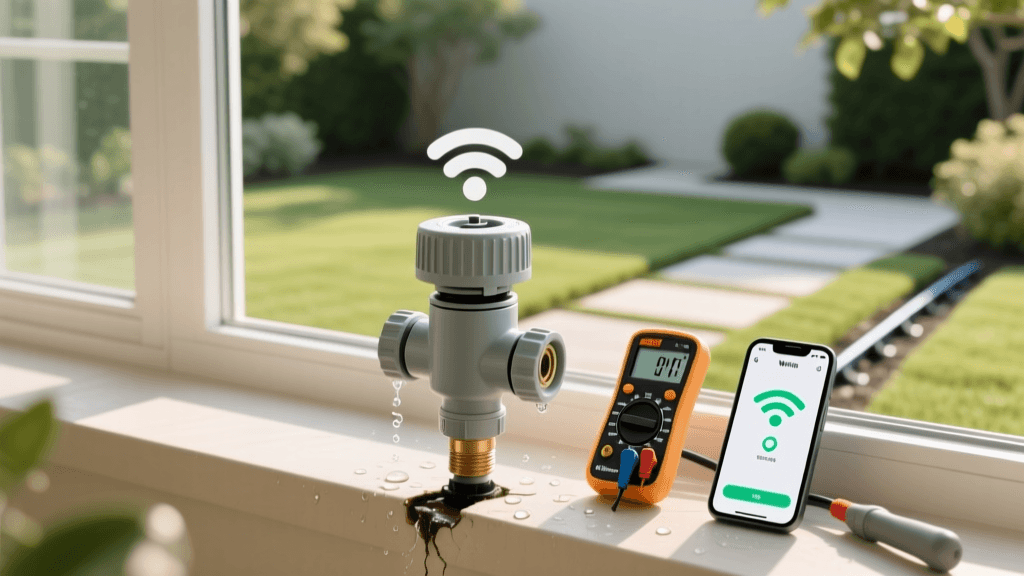
Upgrading to a smart irrigation controller like the Rachio 3 or Orbit B-hyve is one of the best energy-efficient landscaping decisions a homeowner can make. According to the EPA WaterSense program, smart controllers can save the average home nearly 7,600 gallons of water annually. However, when these systems develop valve leaks or suffer Wi-Fi connectivity drops, your water savings evaporate, and your garden-to-table vegetable patches can suffer from overwatering or drought stress. This guide provides a comprehensive problem diagnosis and actionable solutions for the two most common smart sprinkler system failures.
Problem 1: Diagnosing and Repairing Sprinkler Valve Leaks
A leaking irrigation valve not only wastes water but can erode soil, drown plant roots, and create muddy messes in your outdoor living spaces. Valve leaks generally manifest in two ways: weeping at the sprinkler heads or pooling water inside the valve box.
Low-Head Drainage vs. Debris in the Valve
If water continues to seep from the lowest sprinkler head in a zone hours after the system shuts off, you might be experiencing low-head drainage rather than a broken valve. This occurs when water naturally drains out of the lateral pipes due to gravity. To diagnose this, locate the zone valve. If the valve box is completely dry, the valve is sealing properly, and the weeping is strictly gravitational. The solution is to install check valves at the base of the sprinkler heads, such as the Toro 57000 Series Check Valve Kit (costing roughly $4 to $6 per head).
Conversely, if you open the green plastic valve box and find standing water, or hear a constant hissing sound, the valve diaphragm is compromised. Dirt, sand, or a small pebble from the mainline has likely bypassed the filter screen and become lodged under the rubber diaphragm, preventing a watertight seal.
Step-by-Step Valve Diaphragm Replacement
Fixing a debris-clogged or torn diaphragm is a straightforward DIY garden project that costs between $12 and $20 and takes about 30 minutes.
- Step 1: Shut Off the Water. Turn off the main irrigation shut-off valve, typically located in a basement, crawlspace, or an outdoor curb box.
- Step 2: Release Pressure. Manually bleed the valve using the external bleed screw (turn counterclockwise) to release trapped water pressure.
- Step 3: Remove the Bonnet. Using a Phillips head screwdriver, remove the 6 to 8 stainless steel screws holding the valve bonnet (the top half of the valve) in place. Note: If you have a Rain Bird DAS/ASF valve, be careful not to lose the small metal bonnet screws in the grass.
- Step 4: Clean and Inspect. Lift out the diaphragm and the heavy metal spring. Rinse the valve body and the diaphragm with clean water. Run your finger around the valve seat to ensure no grit remains.
- Step 5: Replace and Reassemble. If the rubber is pitted or torn, install a replacement diaphragm kit (e.g., Hunter 447400 or Rain Bird 275054). Ensure the spring is seated correctly, align the bonnet, and tighten the screws in a star pattern to ensure even pressure.
“A single leaking irrigation valve operating at 60 PSI can waste up to 25,000 gallons of water over a single summer season, drastically increasing utility bills and promoting fungal diseases in turfgrass.” — Utah State University Extension, Water Conservation Guidelines
Problem 2: Smart Controller Wi-Fi Connectivity Drops
Smart controllers rely on a stable internet connection to access hyper-local weather data and adjust watering schedules automatically. When your app displays the dreaded “Controller Offline” message, your system defaults to a basic, often inefficient, internal schedule.
The 2.4GHz vs. 5GHz Network Dilemma
The most frequent cause of setup failures and sudden disconnects is network band incompatibility. Almost all smart irrigation controllers (including Rachio, B-hyve, and Netro) operate exclusively on the 2.4GHz Wi-Fi band because it offers better range and wall penetration than the 5GHz band. If your router uses a unified SSID (network name) for both bands, the controller may attempt to connect to the 5GHz signal, fail, and drop offline. The Solution: Access your router's admin panel and enable band separation, or create a dedicated 2.4GHz IoT (Internet of Things) network specifically for your outdoor smart home devices.
Boosting Signal to Outdoor and Garage Controllers
Controllers mounted in garages, basements, or behind brick exteriors often suffer from weak signal strength. A weak signal causes intermittent schedule failures and delayed weather updates. If your controller's Wi-Fi indicator light is blinking red or showing low bars in the app, you need to bridge the connection gap.
Invest in an outdoor-rated Wi-Fi extender or a mesh network node. The TP-Link RE315 AC1200 Wi-Fi Extender (approx. $35) is an excellent, budget-friendly solution. Place the extender halfway between your main router and the irrigation controller—ideally near a window facing the controller's location. For garage installations, ensure the extender is plugged into an outlet on an interior wall rather than an exterior wall insulated with foil-backed foam, which blocks radio frequencies.
Troubleshooting Matrix: Symptoms and Solutions
| Symptom | Probable Cause | Actionable Solution | Estimated Cost |
|---|---|---|---|
| Weeping at lowest sprinkler head | Low-head drainage (gravity) | Install head check valves | $4 - $6 per head |
| Water pooling in valve box | Debris under diaphragm | Clean valve body, replace diaphragm | $12 - $20 |
| Zone will not turn on via app | Blown solenoid or cut wire | Test solenoid with multimeter, replace | $15 - $25 |
| Controller shows “Offline” | 2.4GHz/5GHz band confusion | Separate router bands, reconnect to 2.4GHz | $0 |
| Intermittent app disconnects | Weak signal through exterior walls | Install Wi-Fi extender or mesh node | $35 - $80 |
Protecting Your Garden-to-Table Investment
Whether you are growing heirloom tomatoes, bell peppers, or a delicate herb garden, consistent and precise moisture levels are critical. A malfunctioning smart system can lead to blossom end rot from erratic watering or root suffocation from undetected leaks. By performing mid-season diagnostics—specifically checking valve boxes for moisture and verifying Wi-Fi signal strength in the app—you ensure your edible landscape receives the exact hydration it needs.
Furthermore, consider integrating a smart soil moisture sensor, such as the Toro Precision Soil Sensor, into your system. These devices communicate directly with your smart controller to bypass scheduled watering if the soil moisture is already adequate, providing a secondary failsafe against both Wi-Fi dropouts and sudden summer downpours.
Seasonal Maintenance Checklist
To prevent these issues from recurring, implement the following seasonal maintenance routine:
- Spring Startup: Flush the mainline before attaching the smart controller to prevent winter debris from lodging in the valve diaphragms.
- Summer Audits: Check the app's “Watering History” tab weekly. If a zone shows as “Skipped” due to weather but the soil is dry, your local weather station data may be inaccurate; adjust the controller's micro-climate settings.
- Fall Winterization: Blow out the lines with an air compressor (never exceeding 50 PSI for polyethylene pipes) and remove the smart controller's faceplate to protect the internal electronics from freezing garage temperatures.
By systematically diagnosing leaks and optimizing your network setup, you guarantee that your smart home landscaping technology operates at peak efficiency, saving water, money, and your precious garden.

