Landscaping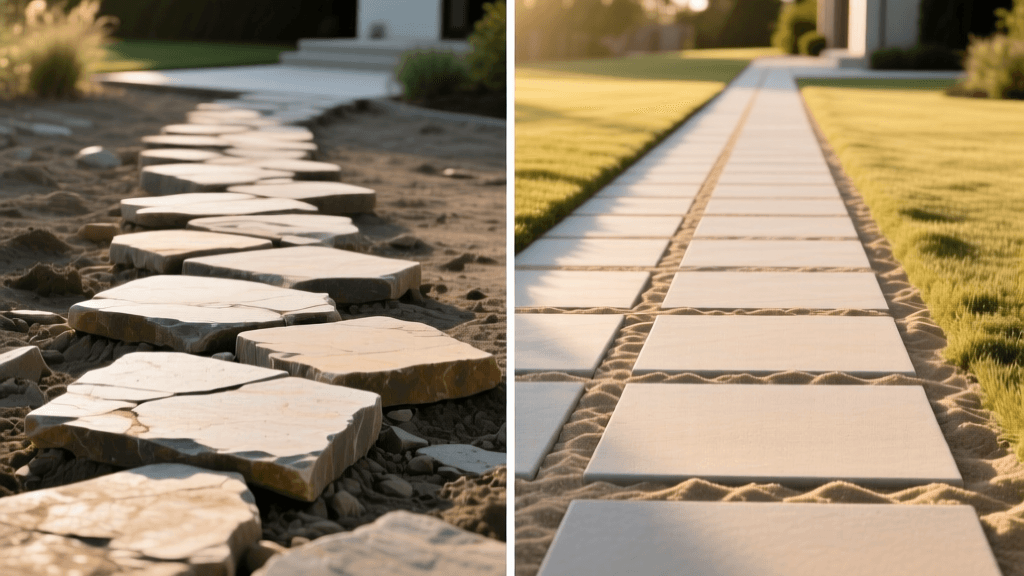
Photographing Flagstone & Polymeric Sand Walkways in 2026
The Intersection of Hardscaping and Visual Storytelling
In the modern landscaping industry, completing a beautiful hardscape project is only half the job; documenting it is the other. As we navigate 2026, the demand for high-quality visual portfolios has never been higher. Homeowners, designers, and contractors rely on meticulous garden photography and videography to showcase craftsmanship, secure future clients, and track project timelines. One of the most photogenic and technically rewarding hardscape projects is a flagstone walkway installation with polymeric sand joints. The natural cleft of the stone combined with the clean, uniform lines of cured polymeric sand creates a stunning visual contrast. This guide merges the practical steps of installing a flagstone walkway with the artistic techniques of landscape documentation, ensuring your 2026 projects are both structurally sound and visually spectacular.
Essential 2026 Camera Gear for Landscape Documentation
Before breaking ground, you must assemble the right documentation toolkit. The dusty, wet environment of hardscaping requires durable, high-resolution gear.
- Primary Camera: A weather-sealed mirrorless camera like the Sony Alpha 7R V or Canon EOS R5 Mark II. The high megapixel count allows for severe cropping on macro shots of the stone textures and sand joints.
- Lenses: A 24-70mm f/2.8 for general site documentation, and a 90mm or 100mm macro lens for capturing the granular details of the polymeric sand binding.
- Action & Time-Lapse: A rugged action camera (e.g., GoPro Hero 13 Black) with an intervalometer for dusty excavation time-lapses, and a drone like the DJI Air 3 for top-down orthomosaic mapping of the walkway layout.
- Lighting: A portable LED panel with adjustable color temperature (2700K-6500K) to fill in shadows during the stone placement phase.
Phase 1: Pre-Installation and Site Assessment
Every great landscape portfolio begins with the 'Before' state. Documenting the existing terrain provides crucial context for the transformation.
Capturing the Baseline
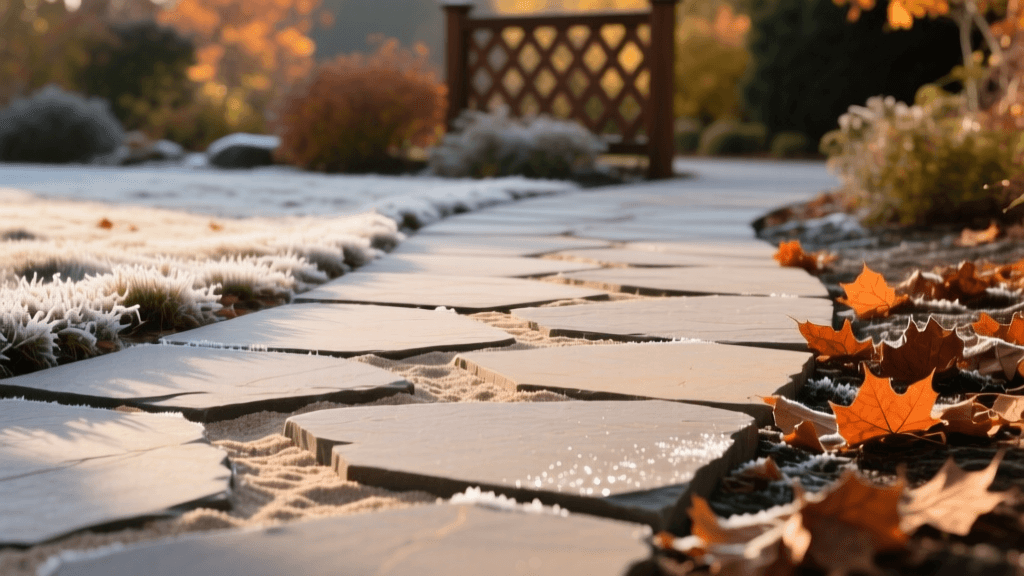
Shoot the proposed walkway path during the 'golden hour' (shortly after sunrise or before sunset) to emphasize the topography and existing vegetation through long, dramatic shadows. Use your drone to capture a top-down video flyover. This 2026 baseline data is invaluable for client presentations and permits. Take note of the soil type and drainage patterns, as these will dictate your base preparation. According to the National Association of Landscape Professionals, thorough site analysis and documentation are key indicators of premium landscaping services that justify higher project bids.
Phase 2: Base Preparation and Time-Lapse Setup
A flagstone walkway requires a solid, well-draining base to prevent frost heave and settling. This phase is messy, making it perfect for hands-free time-lapse photography.
Excavation and Aggregate Base
Excavate the path to a depth of 6 to 8 inches, depending on your local frost line and soil conditions. Mount your action camera on a nearby tree or a heavy-duty tripod positioned safely away from the debris zone. Set the interval to one frame every 5 seconds. As you and your crew lay down the geotextile fabric and compact the 4-inch layer of crushed angular gravel (typically 3/4-inch minus), the time-lapse will compress hours of grueling labor into a satisfying 15-second clip. Follow this with a 1-inch layer of coarse, sharp sand. Use a laser level and a screed board to create a perfectly flat bedding layer. Document the screeding process with a low-angle shot, placing the camera near the ground to emphasize the precision of the leveling.
Phase 3: Flagstone Layout and Texture Photography
Selecting and placing the flagstone is where the artistic vision comes to life. In 2026, premium natural stone like Pennsylvania Bluestone or Arizona Flagstone averages $6 to $10 per square foot, making it a high-value asset worth showcasing.
Dry-Laying and Pattern Recognition
Dry-lay the stones on the sand bed, aiming for tight, consistent joints (typically 1/2 inch to 1 inch wide for polymeric sand). As you arrange the puzzle pieces, use your macro lens to photograph the natural cleft, sedimentary layers, and color variations of the stone. Pro Tip: Lightly mist the stones with a spray bottle of water before shooting. This temporarily darkens the stone and reveals the rich, vibrant colors that will be visible after the final polymeric sand activation, giving you a preview of the finished product for your portfolio.
Phase 4: Polymeric Sand Application (The Visual Climax)
Polymeric sand is a mixture of fine sand and special binding agents that harden when exposed to water. It locks the joints, prevents weed growth, and stops insect infiltration. Visually, it provides a clean, mortar-like finish that contrasts beautifully with the irregular edges of natural flagstone.
Sweeping and Compacting
Ensure the stones are completely dry before application; moisture will cause the polymers to activate prematurely and ruin the stone surface. Pour the polymeric sand over the walkway and use a stiff push broom to sweep it deeply into the joints. Document the sweeping action using a fast shutter speed (1/1000s or faster) to freeze the dust and granules in mid-air, creating a dynamic, high-energy image. Next, run a plate compactor over the stones with a protective urethane pad. This vibrates the sand down to the very bottom of the joint. Photograph the compactor in action from a low angle to convey the heavy-duty nature of the installation.
2026 Polymeric Sand Visual & Performance Chart
Choosing the right sand affects both the longevity of the walkway and the aesthetic outcome of your photographs. Here is a comparison of top-tier products available in 2026:
| Product Brand | Joint Width Capacity | Finish Type | Photographic Contrast | 2026 Avg. Cost (50lb Bag) |
|---|---|---|---|---|
| Techniseal HP | 1/4 inch to 4 inches | Matte / Natural | High (Excellent for dark stone) | $45 - $55 |
| Alliance Gator Dust | 1/2 inch to 4 inches | Semi-Rough | Medium (Blends with rustic cleft) | $50 - $65 |
| DOMINATOR Polymeric | 1/8 inch to 4 inches | Smooth / Vibrant | High (Pops against light stone) | $40 - $50 |
For authoritative application guidelines and curing times, always refer to the manufacturer's latest technical data sheets, such as those provided by Techniseal, to ensure your joints cure properly without hazing.
Phase 5: Water Activation and High-Speed Capture
The activation process is a fleeting, highly photogenic moment. The polymeric sand must be misted with water to trigger the chemical binding agents.
The Shower Technique
Using a hose with a gentle shower nozzle, mist the joints until the sand is fully saturated, but stop before the polymers float to the surface (which causes an unsightly white haze). Switch your camera to burst mode or high-speed video (120fps or 240fps). Capture the exact moment the water hits the dry sand, darkening it instantly and causing the fine particles to settle and lock. This slow-motion footage is incredibly engaging for social media reels and client presentations, demonstrating the 'magic' of modern hardscape materials.
Phase 6: The Final Portfolio Reveal
Once the walkway has cured (typically 24 to 48 hours, depending on 2026 weather conditions and humidity), it is time for the final 'After' shoot.
Lighting and Composition
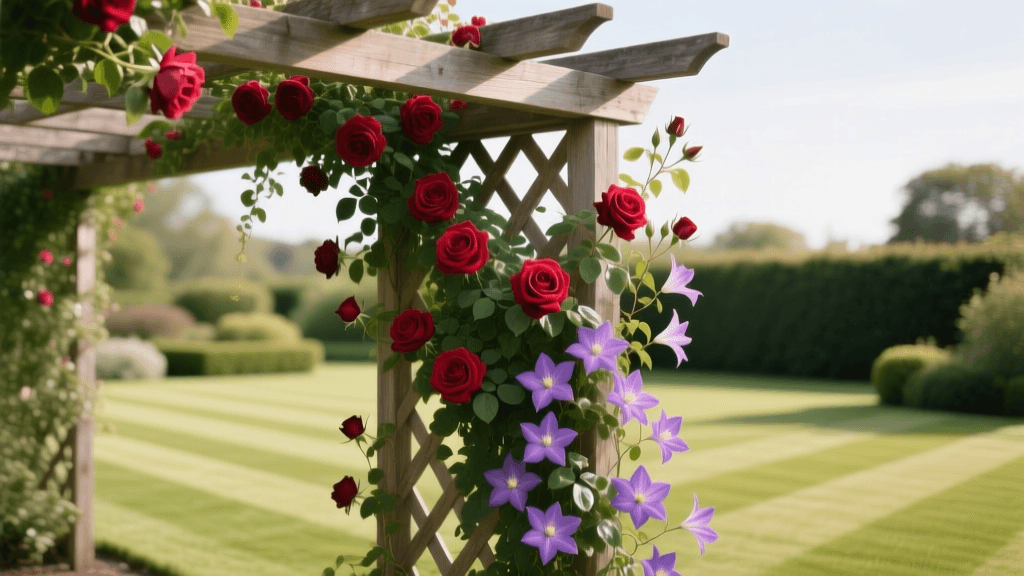
Schedule the final shoot for early morning or late afternoon. Use a circular polarizer (CPL) filter on your lens. The CPL will cut through the glare on the stone's surface, allowing the camera sensor to capture the deep, rich colors and intricate textures of the flagstone and the tight, clean lines of the polymeric sand joints. Incorporate the surrounding garden beds into your framing; the soft, organic foliage of hostas, ferns, or ornamental grasses spilling over the rigid, geometric lines of the walkway creates a powerful visual tension that defines elite landscape photography.
Archiving and Metadata Best Practices
In 2026, digital asset management is just as important as the physical installation. Embed IPTC metadata into your final images, including the project location, materials used (e.g., 'Pennsylvania Bluestone', 'Techniseal HP Polymeric Sand'), and installation dates. Store your RAW files, 8K time-lapses, and final edited JPEGs in a structured cloud hierarchy. By meticulously documenting your flagstone and polymeric sand installations, you not only protect your business with thorough project records but also build a stunning visual legacy that attracts high-end clientele for years to come.