Landscaping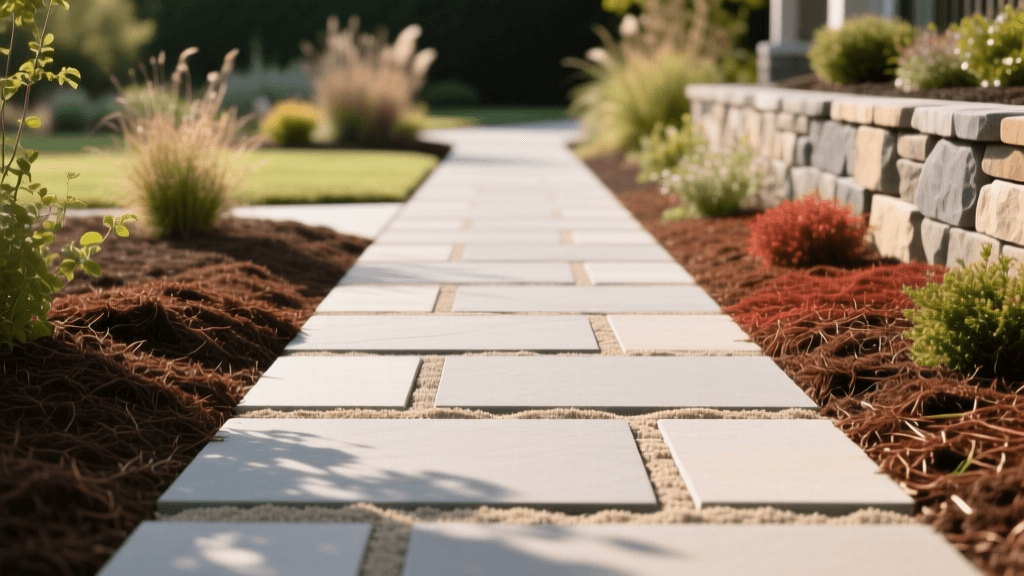
2026 Flagstone Walkway & Polymeric Sand Mulch Border Guide
Integrating Hardscaping and Softscaping in 2026
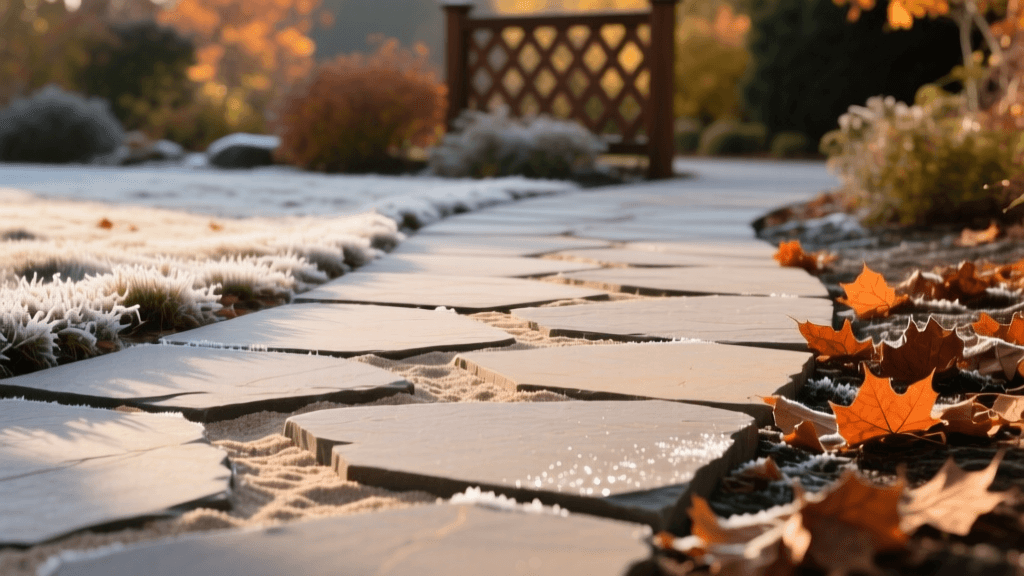
In the world of modern landscape design, the transition between hardscaping and softscaping is where true craftsmanship shines. As we navigate the 2026 landscaping season, natural flagstone walkways remain a premier choice for homeowners seeking an organic, timeless aesthetic. However, the longevity of a flagstone path relies heavily on two critical factors: the integrity of the polymeric sand joints and the mulching methods used in the adjacent garden beds. When organic mulch washes into freshly laid polymeric sand, or when tannins from dyed mulches bleed onto porous stone, the results can be disastrous. This comprehensive guide will walk you through the precise installation of flagstone walkways with polymeric sand joints, while applying expert mulching methods and materials to create a flawless, low-maintenance border.
Phase 1: Base Preparation and Flagstone Layout
Before you can worry about mulch borders, the hardscape foundation must be immaculate. Flagstone is heavy and requires a stable, well-draining base to prevent frost heave and shifting, which will inevitably crack your polymeric sand joints.
Excavation and Aggregate Base
Excavate the walkway path to a depth of 6 to 8 inches. Lay down a high-quality geotextile fabric to suppress weeds and separate the soil from your aggregate. Fill the trench with 4 to 5 inches of crushed angular gravel (such as 3/4-inch minus limestone) and compact it thoroughly using a plate compactor. The angular nature of the gravel allows it to lock together, creating a rigid sub-base.
Setting the Flagstone
Spread a 1-inch layer of coarse, sharp sand over the compacted base. Begin laying your flagstone pieces, leaving consistent joints of 1/2 inch to 1 inch between the stones. These wider joints are essential for the deep penetration of modern polymeric sands. Use a rubber mallet to tap the stones into the bedding sand, ensuring they are level and slope slightly (about 1/8 inch per foot) away from your future mulch beds to encourage proper surface drainage.
Phase 2: Sweeping and Activating Polymeric Sand Joints
The 2026 generation of polymeric sands features advanced flexible polymers that resist cracking during minor ground shifts and temperature fluctuations. However, proper installation is non-negotiable.
Dry Sweeping and Compaction
Ensure the flagstone surface and joints are completely dry. Sweep the polymeric sand over the walkway, forcing it deep into the joints. Use a plate compactor with a urethane pad to vibrate the sand down to the very bottom of the joint space. Top off the joints with more sand, leaving about 1/8 inch of space below the stone surface. This slight recess is vital; it prevents the sand from washing out and creates a natural channel that we will later use to manage our mulch borders.
The Activation Process
Mist the walkway with a gentle shower setting on your hose nozzle. The goal is to activate the polymers without washing the sand out of the joints. Water until you see a slight foaming action, then stop immediately. Allow the walkway to cure for at least 24 to 48 hours before introducing any mulch or heavy foot traffic.
Phase 3: Mulching Methods for Hardscape Borders
This is where the 'Mulching Methods & Materials' perspective becomes critical. The edge where your mulch bed meets the flagstone walkway is a high-risk zone for erosion, staining, and weed intrusion. According to EPA guidelines on green infrastructure, proper mulch application is essential for retaining soil moisture and managing runoff, but it must be carefully graded to prevent erosive washout onto adjacent hardscapes.
If you pile mulch directly over the edges of your flagstone, rain will carry organic debris, tannins, and soil directly into the polymeric joints. Over time, this organic matter traps moisture against the sand, degrading the polymer bond and inviting moss and weed growth. Furthermore, as noted by Penn State Extension's research on landscape mulching, excessive mulch depth can create hydrophobic layers that divert water unpredictably, often straight onto your stone pathways.
Material Comparison: Best Mulches for Flagstone Edges
Not all mulches are created equal when bordering porous natural stone. Below is a 2026 comparison chart of common mulching materials evaluated specifically for their compatibility with flagstone and polymeric sand joints.
| Mulch Material | Staining Risk | Washout Risk | Aesthetic Match | Verdict for Flagstone |
|---|---|---|---|---|
| Dyed Black/Red Mulch | High | Medium | Poor | Avoid. Dyes bleed onto porous stone and ruin the aesthetic. |
| Shredded Hardwood | Medium | High | Good | Use with caution. Shreds easily wash into joints during heavy rain. |
| Cedar or Cypress Bark | Low | Low | Excellent | Highly Recommended. Large pieces resist washout and low tannin bleed. |
| Pine Bark Nuggets | Low | Medium | Good | Good, but lightweight nuggets may float away in poorly drained beds. |
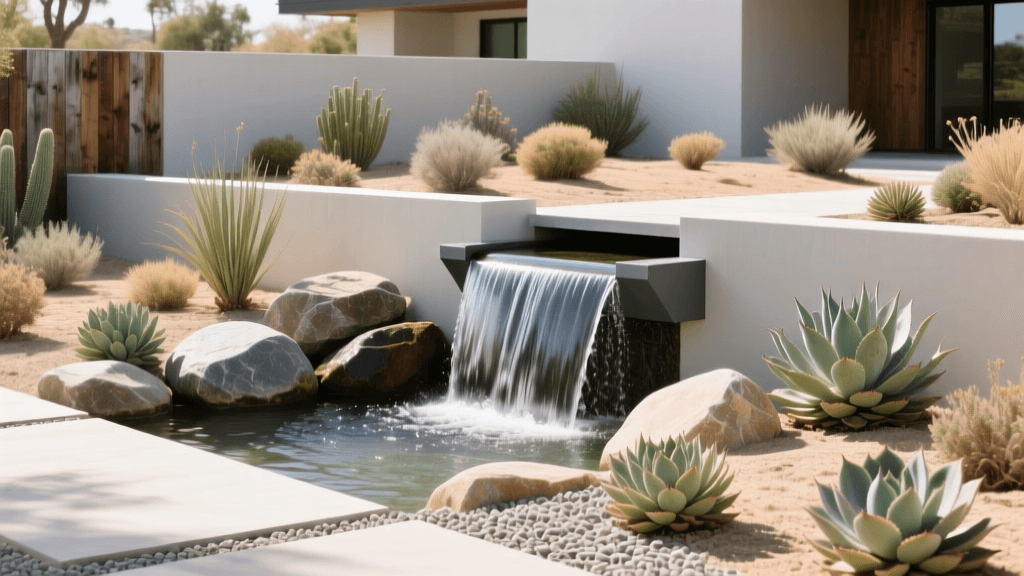
| Crushed Gravel / River Rock | None | Very Low | Modern | Excellent for drainage zones, though it can trap debris between stones. |
Phase 4: Securing the Mulch-to-Stone Transition
To achieve a pristine finish that protects your polymeric sand joints, follow these specialized mulching installation steps.
Step 1: Install Hardscape Edging
Before laying mulch, install a physical barrier along the flagstone perimeter. In 2026, Corten steel edging and heavy-duty aluminum landscape edging are the industry standards. Drive the edging stakes deep into the soil so the top lip of the edging sits exactly 1/2 inch below the surface of the flagstone. This hidden lip will hold the mulch back while maintaining a clean, invisible line.
Step 2: Grade the Soil Away from the Walkway
The soil in your garden bed should be graded so that it slopes gently away from the flagstone walkway. This ensures that when it rains, water flows into the garden bed rather than carrying mulch and soil onto the path and into the sand joints.
Step 3: Apply the Correct Mulch Depth
Apply your chosen mulch (we recommend natural Cedar bark or 3/4-inch river rock for borders) to a depth of 2 to 3 inches. The University of Minnesota Extension advises against 'mulch volcanoes,' and this is doubly true near hardscapes. Keep the mulch level at least 1 inch below the top surface of the flagstone. This 1-inch drop acts as a catchment lip, preventing wind and light rain from pushing mulch fibers over the edge and onto the polymeric sand.
Maintenance and Troubleshooting
Even with perfect installation, seasonal maintenance is required to keep the transition zone looking sharp.
- Spring Cleanup: Use a leaf blower on a low setting to clear organic debris off the flagstone before it decomposes and stains the stone or clogs the polymeric joints.
- Mulch Top-Dressing: Organic mulches like cedar will decompose by late summer. Top-dress the beds annually, but always re-check the 1-inch drop-off between the mulch surface and the flagstone lip.
- Dealing with Hazing: If polymeric sand hazing occurs (a white, cloudy film on the stone caused by improper watering during installation), use a specialized paver cleaner and a stiff bristle brush to remove it before applying your mulch borders.
Conclusion
Installing a flagstone walkway with polymeric sand joints is a rewarding hardscaping project that adds immense value and beauty to your property. However, treating the installation as an isolated hardscape project is a common mistake. By viewing your pathway through the lens of mulching methods and materials, you protect your investment from water damage, tannin staining, and joint degradation. By selecting low-bleed, low-washout mulches like cedar or river rock, installing concealed metal edging, and maintaining a strict 1-inch drop-off at the border, your landscape will remain cohesive, functional, and stunning throughout 2026 and beyond.