Lawn Care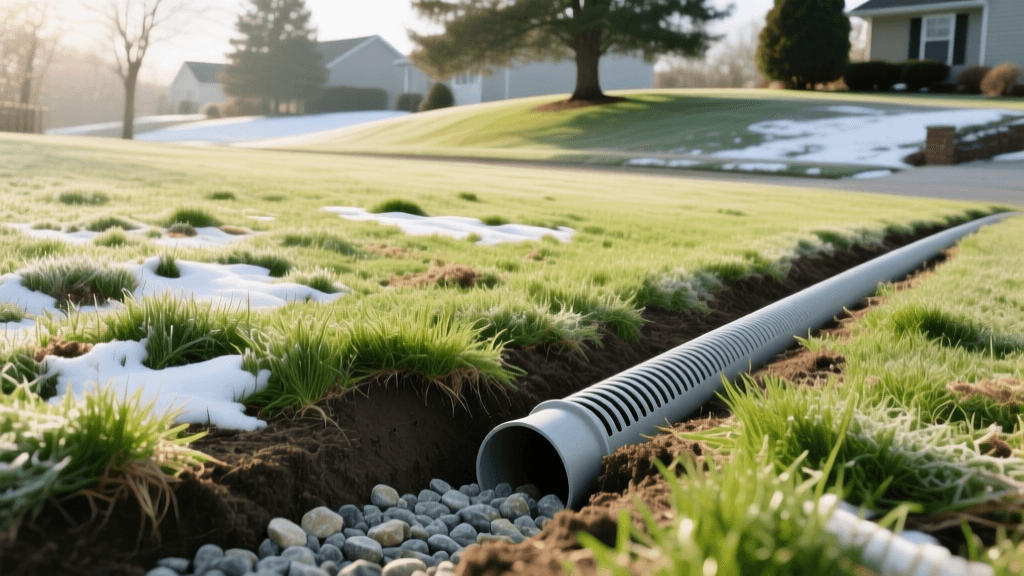
Prevent Snow Mold & Spring Lawn Recovery: French Drain Tips 2026
The Hidden Link Between Poor Drainage and Snow Mold
As winter thaws into spring, many homeowners are greeted by unsightly, matted circles of gray or pink fungal growth on their lawns. Snow mold, primarily caused by Microdochium nivale (pink snow mold) and Typhula incarnata (gray snow mold), thrives in environments where moisture is trapped beneath snow cover for extended periods. While many gardeners focus solely on late-fall fungicide applications, the most effective long-term strategy for snow mold prevention lies beneath the soil surface: proper subsurface drainage. According to the University of Minnesota Extension, snow mold severity is directly correlated with soil saturation levels prior to the first hard freeze. When lawns lack adequate drainage, the soil reaches maximum water-holding capacity. As temperatures drop, this standing water freezes, creating an impermeable ice lens that traps moisture against the turfgrass crown, providing the perfect incubator for fungal spores.
French Drain Installation: The Ultimate Preventative Measure
Installing a French drain is a transformative landscaping project that intercepts subsurface water and redirects it away from your lawn's vulnerable low spots. By lowering the water table in your yard before winter sets in, you eliminate the saturated soil conditions that snow mold requires to overwinter and proliferate.
Sizing and Materials for 2026
To ensure your drainage system can handle the increasing volume of winter precipitation and rapid spring thaws seen in 2026, you must use high-capacity, durable materials. Avoid cheap, flexible corrugated tubing that crushes under soil pressure. Instead, opt for rigid or semi-rigid slotted PVC or high-density polyethylene (HDPE).
- Pipe: Advanced Drainage Systems (ADS) 4-inch or 6-inch Corrugated Slotted Pipe, or SDR 35 PVC for heavy-load areas.
- Aggregate: 3/4-inch washed clear gravel (crushed stone). Avoid pea gravel, as it lacks the structural interlocking necessary to maintain void space.
- Fabric: 4 oz/yd² non-woven geotextile landscape fabric. This is critical to prevent fine silt and clay from migrating into the gravel and clogging the pipe over time.
- Catch Basins: NDS Pro-Series 9x9 or 12x12 catch basins with atrium grates to capture surface runoff before it percolates into the soil.
Step-by-Step Trenching and Placement
Identify the areas of your lawn where snow lingers the longest in the spring and where snow mold historically appears. These are your primary target zones.
- Map the Route: Plan a trench route that moves water away from the house foundation and low-lying lawn areas toward a municipal storm drain, dry well, or daylighted pop-up emitter. Maintain a minimum slope of 1% (1 inch of drop per 8 feet of run).
- Excavate the Trench: Dig a trench 18 to 24 inches wide and at least 18 inches deep. In regions with deep frost lines, digging below the frost line prevents the pipe from heaving during freeze-thaw cycles.
- Line with Fabric: Drape the non-woven geotextile fabric over the entire trench, leaving excess on both sides to fold over the top later.
- Add Base Gravel: Place 2 to 3 inches of washed gravel at the bottom of the trench.
- Lay the Pipe: Position the slotted pipe with the holes facing downward. This counterintuitive placement allows water to rise from the saturated soil into the pipe through the bottom slots, while the solid top prevents sediment from falling directly in.
- Backfill and Wrap: Cover the pipe with gravel until it is 3 inches below the soil surface. Fold the excess fabric over the gravel to create a complete envelope, then top with native soil and sod.
Spring Recovery: Reviving a Waterlogged, Mold-Damaged Lawn
Even with improved drainage, lawns that suffered from poor water management in previous years may still exhibit snow mold damage as the snow recedes. The Penn State Extension notes that while snow mold rarely kills established turfgrass crowns, it severely damages the blades, leading to a thin, patchy appearance that invites aggressive spring weeds like crabgrass and Poa annua. Here is your 2026 spring recovery protocol.
1. Gentle Raking and Airflow Restoration
As soon as the lawn is dry enough to walk on without leaving footprints, use a flexible leaf rake to gently break up the matted snow mold crusts. Do not use a heavy thatch rake, as the turf is highly susceptible to tearing in early spring. The goal is to stand the grass blades up and allow air and sunlight to reach the soil surface, which naturally halts fungal progression.
2. Targeted Fungicide Applications
If the snow mold is still active (characterized by a white or pinkish fuzzy leading edge at the perimeter of the patches), a curative fungicide application is necessary. For 2026, professional-grade and high-quality consumer options include:
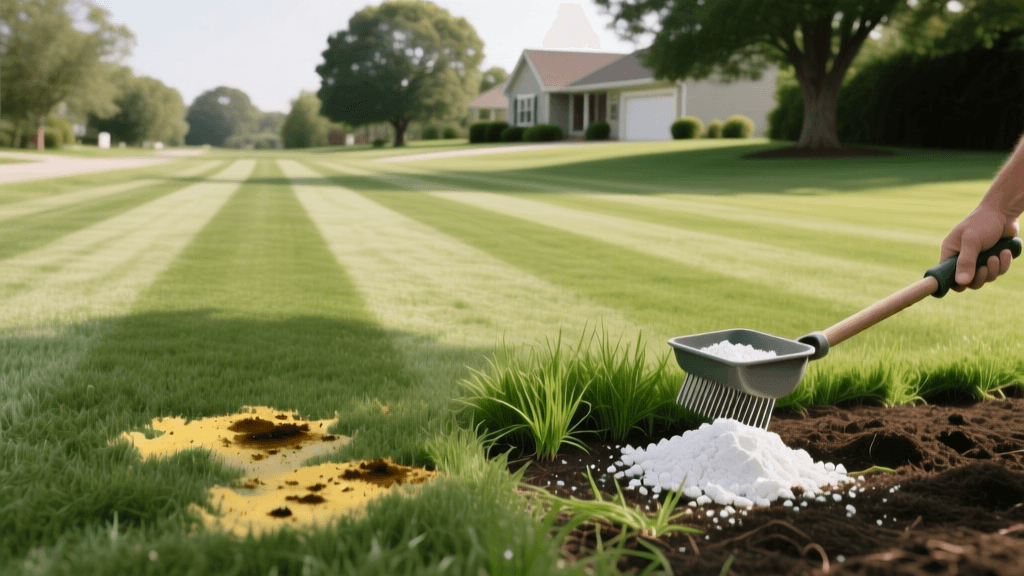
- Scotts DiseaseEx (Propiconazole): Excellent for DIY application against both pink and gray snow mold. Apply at a rate of 2.8 lbs per 1,000 sq ft.
- Syngenta Heritage Action (Azoxystrobin + Mefenoxam): A premium choice for severe infestations, offering both contact and systemic protection.
Note: Once the fungus has gone dormant and the damage is simply dead, matted grass, fungicides will not repair the turf. Focus on mechanical recovery and overseeding.
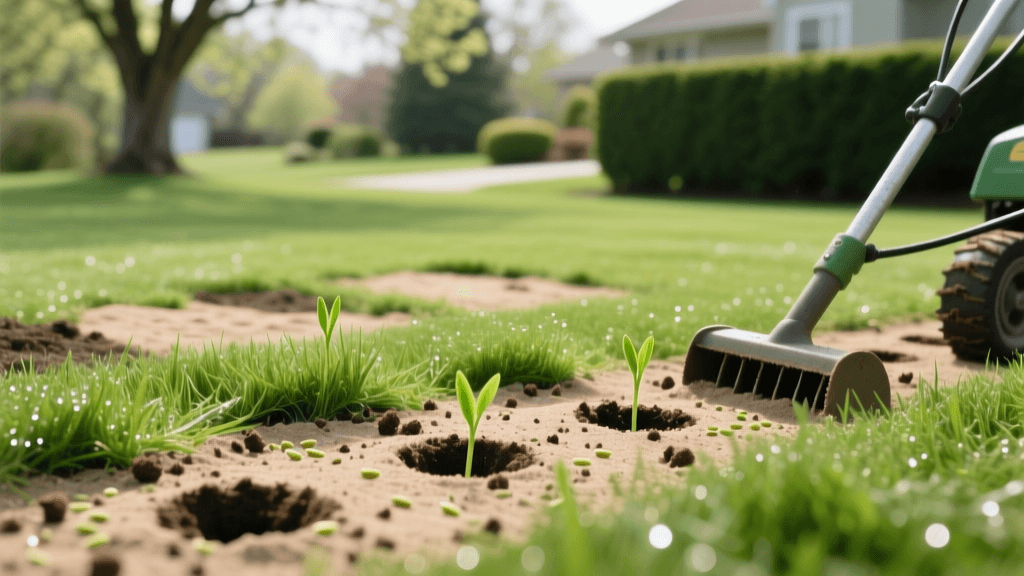
3. Core Aeration and Overseeding
Waterlogged soils become heavily compacted over winter. Once the soil temperatures consistently reach 55°F, perform core aeration to pull 3-inch soil plugs, relieving compaction and improving oxygen flow to the roots. Immediately follow aeration with overseeding using a disease-resistant turf-type tall fescue or a Kentucky bluegrass blend. Apply a starter fertilizer with a 2026-recommended ratio of 18-24-6 to promote rapid root establishment before the heat of summer.
4. Soil Testing and pH Adjustment
Before dropping expensive seed and fertilizer, conduct a soil test. Winter moisture can leach essential nutrients and alter soil pH. Aim for a pH between 6.2 and 6.8 for optimal cool-season grass health. If your soil test reveals high acidity, apply pelletized lime in early spring. If the soil is compacted and lacking organic matter, consider top-dressing with a thin layer of screened compost after aeration to improve microbial activity and water infiltration rates.
Cost Analysis: Drainage Infrastructure vs. Chemical Band-Aids
Homeowners often debate whether to invest in hardscape drainage solutions or rely on annual chemical treatments. The table below illustrates the long-term financial and ecological benefits of installing a French drain compared to recurring snow mold remediation.
| Solution | Upfront Cost (2026 Est.) | Annual Maintenance Cost | Longevity | Snow Mold Efficacy |
|---|---|---|---|---|
| French Drain Installation (50 ft DIY) | $350 - $500 | $0 (if fabric is used) | 20 - 30+ Years | Extremely High (Eliminates Root Cause) |
| French Drain Installation (50 ft Pro) | $1,200 - $2,000 | $0 | 20 - 30+ Years | Extremely High (Eliminates Root Cause) |
| Late-Fall Preventative Fungicide | $0 | $85 - $150 / year | 1 Season | Moderate to High (Weather Dependent) |
| Spring Curative Fungicide + Reseeding | $0 | $120 - $250 / year | 1 Season | Low (Only Repairs Damage) |
Conclusion
Snow mold is a symptom of a larger environmental issue: trapped moisture. While fall fertilization and fungicide applications play a role in a comprehensive turf management program, they cannot overcome the fundamental physics of a waterlogged yard. By investing in a properly engineered French drain system, you not only protect your lawn from the devastating effects of gray and pink snow mold but also create a healthier, more resilient root zone that thrives through the spring and summer of 2026 and beyond. Stop treating the symptoms and start solving the drainage problem at its source.