
Beginner Guide: Growing Cherry Tomatoes in Smart Pots
The Ultimate Beginner Guide to Growing Cherry Tomatoes in Smart Self-Watering Pots
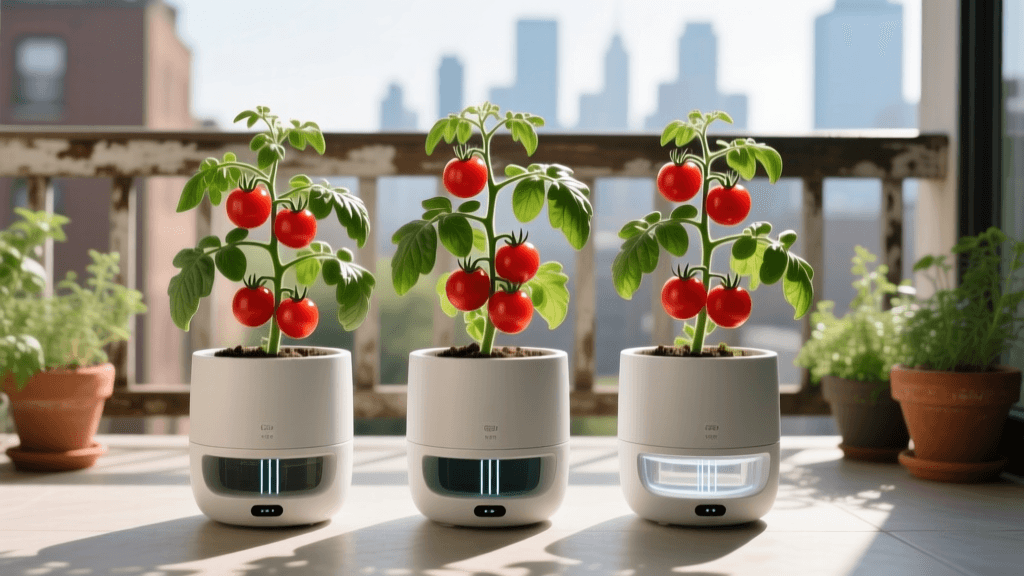
Bridging the gap between indoor convenience and outdoor garden-to-table living has never been easier. For beginners looking to cultivate their own food without the stress of daily maintenance, growing cherry tomatoes in smart self-watering containers is the perfect entry point. Cherry tomatoes are prolific, resilient, and offer a continuous harvest that elevates everything from summer salads to homemade salsas. When paired with modern self-watering technology and smart home integration, you can achieve a bountiful patio harvest with minimal effort.
This comprehensive guide will walk you through the exact steps, materials, and smart-tech integrations needed to grow sweet, juicy cherry tomatoes in self-watering planters. Whether you have a sprawling backyard deck or a compact urban balcony, this method ensures your plants stay hydrated, fed, and thriving all season long.
Why Choose Self-Watering Containers for Tomatoes?
Tomatoes are notoriously thirsty plants. In traditional terracotta or plastic pots, soil can dry out in a matter of hours during peak summer heat, leading to stressed plants and ruined fruit. Self-watering containers (SWCs) solve this problem through a built-in water reservoir and a wicking system.
The soil sits in a perforated basket above a water chamber. Using capillary action, the soil wicks moisture upward exactly as the plant needs it. This provides three massive benefits for beginners:
- Consistent Moisture: Prevents blossom end rot, a common calcium deficiency triggered by fluctuating soil moisture levels.
- Water Efficiency: Reduces water waste by delivering hydration directly to the root zone, minimizing evaporation.
- Forgiving Schedule: A fully filled 5-gallon reservoir can sustain a mature cherry tomato plant for up to a week, making it ideal for busy homeowners or weekend travelers.
Smart Home Integration: Automating Your Tomato Garden
To truly bridge outdoor gardening with modern smart home living, you can integrate basic IoT (Internet of Things) devices into your container setup. By adding a Wi-Fi-enabled soil moisture sensor, such as the Ecowitt WH51 or a Xiaomi Mi Flora monitor, you can track your reservoir levels and soil hydration directly from your smartphone.
Place the sensor probe just above the wicking basket to monitor the soil's moisture content. Many of these devices integrate with platforms like SmartThings or IFTTT, allowing you to set up automated alerts when the reservoir drops below 20%. For the ultimate automated setup, advanced DIYers can connect a smart water valve to a drip line that automatically tops off the reservoir when the sensor detects dry conditions.
Choosing the Best Cherry Tomato Varieties for Containers
Not all tomatoes are created equal when it comes to container gardening. You want 'determinate' or 'compact indeterminate' varieties that won't outgrow your patio space. Below is a comparison chart of the best beginner-friendly cherry tomatoes for self-watering pots.
| Variety | Growth Habit | Days to Maturity | Flavor Profile | Best For |
|---|---|---|---|---|
| Sun Gold | Indeterminate (Vigorous) | 57 Days | Exceptionally sweet, tropical | Snacking, salads |
| Sweet Million | Indeterminate | 65 Days | Classic sweet-tart balance | High yield, canning |
| Tiny Tim | Determinate (Dwarf) | 45 Days | Mild, traditional tomato | Small balconies, kids |
| Black Cherry | Indeterminate | 64 Days | Rich, smoky, complex | Gourmet dishes, roasting |
Materials and Budget: What You Need to Get Started
Setting up a smart self-watering tomato garden requires a modest initial investment, but the components are reusable for years. Here is your beginner shopping list with estimated costs:
- Self-Watering Planter (5-Gallon Minimum): Look for brands like EarthBox or Lechuza. Ensure it has a water level indicator tube. (Cost: $35 - $60)
- Potting Mix Ingredients: Peat moss or coco coir, coarse perlite, and organic compost. Do not use heavy garden topsoil. (Cost: $20 total)
- Organic Granular Fertilizer: Espoma Garden-tone (3-4-4) or Tomato-tone. (Cost: $12)
- Dolomitic Lime: Essential for adding calcium and preventing blossom end rot. (Cost: $8)
- Tomato Cage or Trellis: A heavy-duty steel cage or a vertical string trellis system. (Cost: $15 - $25)
- Smart Moisture Sensor (Optional): Bluetooth or Wi-Fi soil monitor. (Cost: $15 - $30)
Step-by-Step Planting Guide
Step 1: Mix the Perfect Wicking Soil
The success of a self-watering container relies entirely on the soil's ability to wick water. In a large wheelbarrow or tarp, mix 40% peat moss (or coco coir), 40% coarse perlite, and 20% organic compost. To this 5-gallon batch, add 1 cup of dolomitic lime and 1/2 cup of organic granular fertilizer. Mix thoroughly with a trowel until the lime and fertilizer are evenly distributed.
Step 2: Fill the Planter and Wet the Wicks
Place the aeration screen and wicking basket into the planter. Fill the basket with your soil mix first, packing it down firmly to ensure a solid capillary bridge. Then, fill the rest of the planter with the remaining soil, leaving a 2-inch gap at the top for watering and mulching. Before planting, pour water directly into the soil until it runs out of the overflow hole, ensuring the wicking basket is fully saturated.
Step 3: Plant the Tomato Seedling
Purchase a healthy, stocky cherry tomato transplant from a local nursery. Dig a hole deep enough to bury the stem up to the first set of true leaves. Tomatoes will grow adventitious roots along the buried stem, creating a massive, robust root system. Place the plant in the hole, backfill with soil, and gently tamp it down.
Step 4: Fill the Reservoir and Add Mulch
Pour water into the designated fill tube until the reservoir is completely full and water begins to exit the overflow drain. Finally, apply a 1-inch layer of organic mulch, such as straw or shredded leaves, over the soil surface. This prevents soil-borne diseases from splashing onto the lower leaves and reduces surface evaporation.
Step 5: Install the Cage and Smart Sensor
Place your tomato cage over the plant immediately to avoid damaging the roots later. Insert your smart moisture sensor probe into the top inch of the soil to begin monitoring hydration levels via your smartphone app.
Ongoing Care and Maintenance
Feeding Your Tomatoes
Self-watering containers constantly wick water, which means nutrients can deplete faster than in traditional garden beds. Once your cherry tomato plant begins to produce its first yellow flowers, it is time to 'side-dress' with fertilizer. Sprinkle 2 tablespoons of your organic granular fertilizer in a ring around the base of the plant, scratch it lightly into the top inch of soil, and water it in. Repeat this process every three weeks throughout the growing season.
Pruning and Airflow
For indeterminate varieties like Sun Gold, pruning is essential to maintain airflow and direct the plant's energy into fruit production. Pinch off 'suckers'—the small shoots that grow in the 'V' junction between the main stem and the branches. Additionally, remove any yellowing leaves at the base of the plant to prevent fungal diseases like early blight.
Pollination Assistance
Tomatoes are self-pollinating, but they need a little help to release their pollen, especially in sheltered patio environments where wind is scarce. Every morning, gently tap the main stems or the back of the flower clusters with your finger. This mimics the vibration of a bumblebee and dramatically increases your fruit set.
Harvesting and Garden-to-Table Tips
Cherry tomatoes are best harvested when they are fully colored and yield slightly to a gentle squeeze. For the sweetest flavor, pick them in the early morning after the plant has had all night to translocate sugars into the fruit. Never store fresh, garden-picked tomatoes in the refrigerator; the cold breaks down their cellular structure and destroys their volatile flavor compounds. Keep them on your kitchen counter in a bowl, out of direct sunlight.
For a quick garden-to-table treat, toss your freshly harvested Sun Gold tomatoes with a drizzle of high-quality olive oil, flaky sea salt, and fresh basil from your indoor herb garden. Roast them at 400°F for 15 minutes until they burst, and serve over toasted sourdough or mixed into a warm quinoa salad.
Expert Insights on Container Hydration
According to the Cornell University College of Agriculture and Life Sciences, container-grown tomatoes require consistent moisture to prevent blossom end rot. Self-watering systems utilize capillary action to maintain uniform soil hydration, significantly reducing the risk of moisture-related diseases and fruit deformities compared to erratic hand-watering methods.
— Cornell Cooperative Extension, Container Vegetable Gardening
By leveraging the science of self-watering planters and the convenience of smart home sensors, even the most novice gardener can cultivate a thriving, productive cherry tomato garden. This setup not only saves time and water but also provides a deeply rewarding, sustainable connection to the food on your plate.

