
Beginner Guide To Growing Herbs Indoors With Smart LEDs
Why Bring the Garden Indoors with Smart Tech?
Gardening is no longer confined to those with sprawling backyards or sun-drenched windowsills. By bridging the gap between indoor living and outdoor cultivation, smart home technology has revolutionized how we approach the garden-to-table lifestyle. For beginners, the idea of growing culinary herbs indoors can seem daunting, primarily due to the challenge of providing adequate sunlight. However, integrating smart LED grow lights with automated home systems eliminates the guesswork, ensuring your plants thrive year-round regardless of the weather outside.
Whether you are looking to garnish a homemade pizza with fresh basil or brew a calming cup of peppermint tea, an indoor smart herb garden offers unparalleled convenience. In this comprehensive guide, we will walk you through setting up a beginner-friendly, automated indoor herb garden. We will cover specific product recommendations, exact measurements, cost breakdowns, and expert-backed lighting schedules to guarantee a bountiful harvest from the comfort of your kitchen.
Top 3 Beginner-Friendly Herbs for Indoor Smart Gardens
Not all herbs are created equal when it comes to indoor cultivation. Some require intense light and deep root systems, while others are remarkably forgiving. For your first indoor smart garden, stick to these three resilient, high-yield culinary herbs:
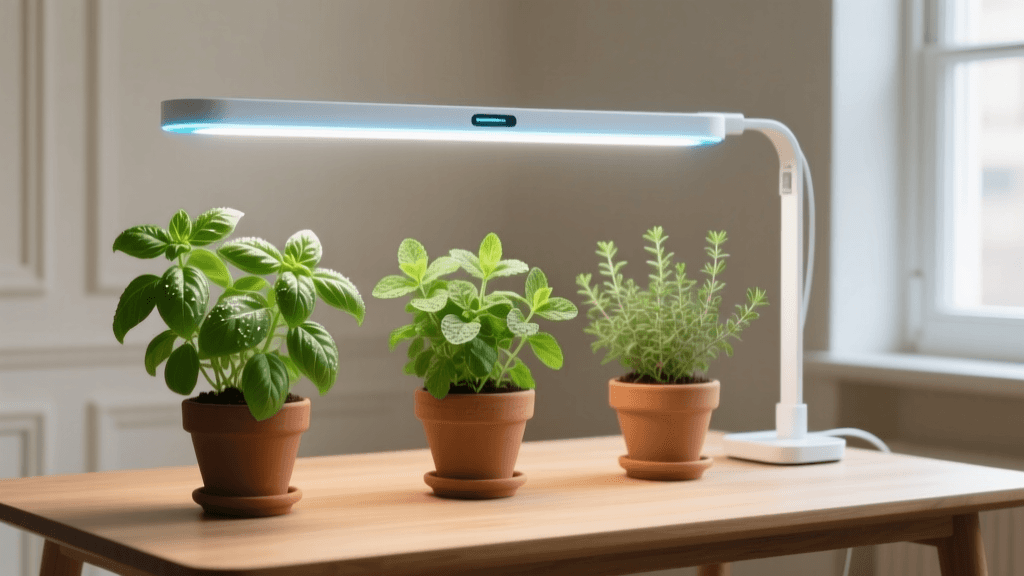
- Genovese Basil: The undisputed king of the kitchen garden. Basil loves warmth and consistent moisture. Under a smart LED setup, it grows rapidly, allowing you to harvest leaves for pesto and caprese salads within just four weeks of germination.
- Spearmint and Peppermint: Mint is notoriously invasive in outdoor garden beds, making it the perfect candidate for indoor container growing. It thrives in slightly cooler temperatures and lower light conditions compared to basil, making it an incredibly forgiving choice for beginners.
- English Thyme: This woody perennial herb is drought-tolerant and compact. It requires less frequent watering than basil or mint, making it an excellent companion plant in a multi-pot indoor setup. Its earthy flavor is essential for roasting meats and root vegetables.
Step-by-Step Setup: Building Your Smart Herb Station
You do not need to spend hundreds of dollars on proprietary, all-in-one smart garden kits to achieve professional results. By combining affordable, high-output LED grow lights with smart home plugs, you can build a customized, automated growing station for under $100.
1. Choosing the Right LED Grow Light
Herbs require a full light spectrum to develop robust flavors and sturdy stems. We recommend the Mars Hydro TS 600 (approx. $60) or the Roleadro 75W Full Spectrum LED (approx. $30). These fixtures provide an excellent Photosynthetic Photon Flux Density (PPFD) for leafy greens. Mount the light on a simple wire shelving unit or suspend it from an overhead hook using adjustable rope ratchets ($10 for a pair). Keep the light exactly 12 to 18 inches above the plant canopy to prevent light burn while ensuring sufficient energy penetration.
2. Integrating Smart Home Automation
Consistency is the secret to indoor growing. Instead of manually flipping a switch every morning, plug your LED grow light into a Kasa Smart Plug or Wyze Plug (approx. $15). Using the companion app on your smartphone, set an automated schedule to turn the lights on at 7:00 AM and off at 11:00 PM. This provides a 16-hour photoperiod, which mimics peak summer sunlight and triggers vigorous vegetative growth in herbs.
3. Selecting Containers and Growing Medium
Proper drainage is critical to prevent root rot. Use 1-gallon fabric smart pots ($15 for a 5-pack). Fabric pots air-prune the roots, preventing them from becoming root-bound and promoting a dense, healthy root ball. For the growing medium, avoid heavy outdoor garden soil. Instead, use a premium, well-draining potting mix like FoxFarm Happy Frog Potting Soil ($15 per bag). Fill the pots to within an inch of the rim, leaving space for watering.
4. Sowing Seeds and Setting the Climate
Sow your seeds about 1/4 inch deep in the pre-moistened soil. Cover the pots with a clear plastic humidity dome to trap moisture and create a greenhouse effect. Once the seedlings emerge (usually within 5 to 10 days), remove the dome immediately to prevent fungal diseases like damping-off. Turn on your smart plug schedule and let the automated lighting take over.
System Comparison: All-in-One vs. DIY Smart Setup
When deciding how to approach your indoor garden, it helps to weigh the pros and cons of commercial smart gardens versus a DIY smart home integration. Below is a comparison chart to help you decide which route fits your budget and technical comfort level.
| Feature | All-in-One Smart Garden (e.g., AeroGarden) | DIY Smart LED & Smart Plug Setup |
|---|---|---|
| Initial Cost | $100 - $250+ | $65 - $90 |
| Automation Level | Built-in timers, water level alerts | App-based scheduling via smart plugs |
| Scalability | Limited to pod count (3 to 9 plants) | Highly scalable; add more lights/plugs |
| Growing Medium | Proprietary sponges or hydroponics | Standard organic potting soil |
| Maintenance | Low, but requires brand-specific refills | Moderate; requires manual watering checks |
Nutrients, Watering, and Ongoing Maintenance
Because indoor potting mixes are typically depleted of nutrients after the first three weeks, you will need to supplement your herbs. For leafy greens, a nitrogen-heavy liquid fertilizer is ideal. Use FoxFarm Grow Big (NPK ratio of 6-4-4) at a reduced strength of 1/2 teaspoon per gallon of water. Apply this nutrient solution every second watering.
Watering is where most beginners fail. The 'lift test' is highly effective: simply lift the fabric pot. If it feels light, it is time to water. If it feels heavy, wait another day. To further integrate smart home tech, consider placing a wireless Bluetooth soil moisture sensor, like the Xiaomi Mi Flora ($25), in your basil pot. This device sends an alert to your phone when the soil moisture drops below 20%, completely removing the guesswork from your watering schedule.
Expert Insights on Indoor Lighting Requirements
Understanding the science of light is crucial for transitioning from a novice to a confident indoor gardener. It is not just about the hours the light is on, but the total amount of light energy the plant receives over a 24-hour period, known as the Daily Light Integral (DLI).
According to the University of Florida IFAS Extension, 'herbs and leafy greens generally require a Daily Light Integral (DLI) of 12 to 15 mol/m²/d for optimal growth and morphogenesis. Providing insufficient DLI results in elongated, weak stems and reduced essential oil production, which directly impacts the culinary flavor of the herbs.'
By utilizing a high-quality full-spectrum LED positioned 12 inches from the canopy and running it for 16 hours via your smart plug, you will easily hit this 12-15 DLI target, ensuring your basil and thyme produce the robust, aromatic oils necessary for top-tier garden-to-table cooking.
Troubleshooting Common Beginner Issues
Even with automated lighting and smart sensors, indoor gardens require occasional observation. Here is how to quickly diagnose and fix the three most common issues beginners face:
- Leggy Seedlings: If your herb stems are unusually tall, thin, and pale, they are stretching toward the light. Solution: Lower your LED fixture to 10 inches above the canopy and ensure your smart plug timer is providing a full 16 hours of light.
- Yellowing Lower Leaves: This is typically a sign of nitrogen deficiency or overwatering. Solution: Check the soil moisture. If it is dry, apply your liquid fertilizer mixture. If it is wet, hold off on watering and ensure your fabric pots have adequate air circulation.
- Crispy Leaf Edges: Often mistaken for underwatering, crispy edges usually indicate 'nutrient burn' from over-fertilizing. Solution: Flush the soil with plain, pH-balanced water and reduce your fertilizer dosage by half for the next feeding.
Harvesting for Garden-to-Table Cooking
Harvesting is not just about gathering ingredients; it is a vital maintenance task that encourages bushier growth. Never simply pluck individual leaves from the stem. Instead, use sterilized pruning shears to snip the stem just above a 'node' (the point where new leaves are branching out). This technique, known as pinching, forces the plant to split into two new stems, effectively doubling your future yield.
For basil, regular harvesting prevents the plant from 'bolting' (producing flowers), which turns the leaves bitter. For thyme, harvest in the morning just after your smart lights turn on, as this is when the plant's essential oils are most concentrated. With your smart LED setup and automated scheduling, your indoor herb garden will provide a continuous, year-round supply of fresh flavors, seamlessly bridging the gap between your home's interior design and your culinary ambitions.

