Landscaping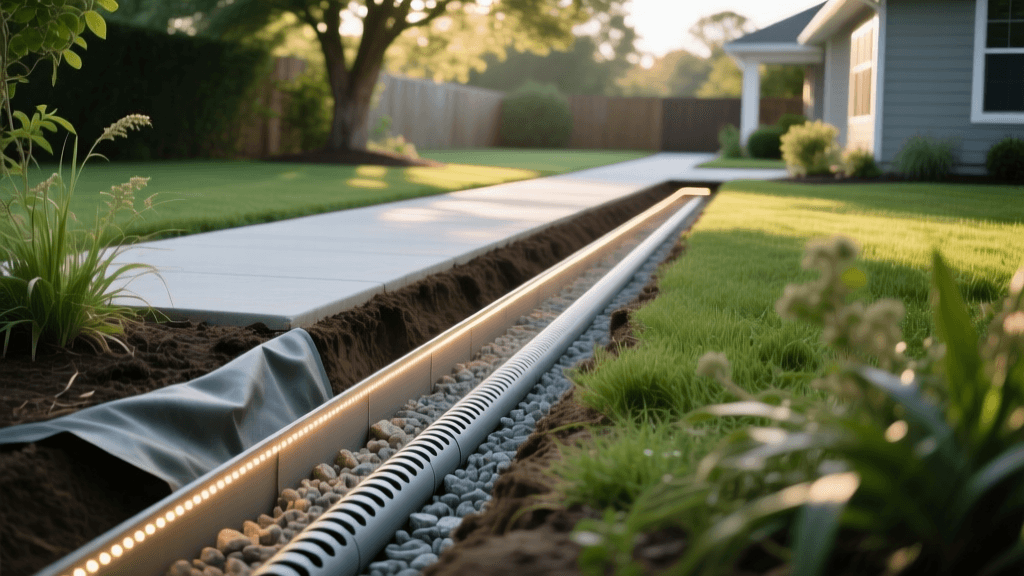
2026 Guide: Hampton Bay LED Lights & Drainage Pipe Trenching
Introduction: The Smart Landscaping Approach for 2026
As homeowners plan their outdoor upgrades for the 2026 landscaping season, efficiency and sustainability are at the forefront of modern yard design. One of the most labor-intensive tasks in landscape architecture is trenching. Whether you are burying corrugated landscape drainage pipe to mitigate soggy soil or routing low-voltage wiring for illumination, digging trenches consumes massive amounts of time and physical energy. However, by adopting a dual-purpose trenching strategy, you can seamlessly combine landscape drainage pipe installation with pathway lighting using Hampton Bay low-voltage LED fixtures. This comprehensive guide explores how to execute this dual-installation method, ensuring your yard remains beautifully lit and perfectly drained throughout 2026 and beyond.
Why Combine Drainage Pipe and Pathway Lighting?
The primary advantage of merging these two projects is the sheer reduction in manual labor. Digging a single, multi-tiered trench along your garden pathways allows you to address subsurface water management while simultaneously powering your outdoor lighting. According to landscaping experts, running low-voltage wiring alongside a French drain or solid drainage pipe ensures that your electrical components are routed along a logical, unobtrusive path. Furthermore, pathway lighting fixtures are highly susceptible to water damage if installed in areas prone to pooling. By installing a landscape drainage pipe directly beneath or adjacent to your Hampton Bay LED pathway lights, you actively protect your investment from soil erosion, mud splatter, and premature electrical failure. Managing water effectively extends the lifespan of your low-voltage system and keeps your walkways safe and mud-free.
Selecting Your 2026 Materials
Hampton Bay Low-Voltage LED Pathway Fixtures
For the 2026 season, Hampton Bay continues to dominate the affordable luxury market with their low-voltage LED pathway lighting kits. When selecting fixtures for a dual-trench project, opt for their cast aluminum or stainless steel LED models rather than plastic alternatives. The integrated LED diodes in the 2026 Hampton Bay lineup consume up to 80% less energy than traditional halogen bulbs, a fact supported by the U.S. Department of Energy. Look for fixtures rated for wet locations with IP65 or higher water resistance ratings, as they will be situated near the very drainage zones designed to move heavy water. The bronze and matte black finishes currently trending in 2026 also help mask any accidental soil splatter that might occur during heavy rain events.
Landscape Drainage Pipe Options
When managing water runoff near walkways, you generally have two choices: slotted corrugated pipe (for French drains) or solid PVC pipe (for downspout diversion). For pathway edges, a 4-inch slotted corrugated landscape drainage pipe wrapped in landscape fabric is ideal. It captures surface water and shallow subsurface moisture, pulling it away from the light stakes. As noted by Penn State Extension, proper subsurface drainage is critical for preventing soil saturation that can heave pathways and destabilize lighting stakes during freeze-thaw cycles. Corrugated pipe is flexible, making it easy to route around the curves of your garden beds and pathway borders.
Transformer Placement and Voltage Drop
Before you dig, you must calculate the voltage drop for your Hampton Bay LED system. While LEDs are highly efficient, running a 12-gauge or 10-gauge low-voltage wire over long distances can result in dim fixtures at the end of the run. Place your 12V transformer near a GFCI-protected outdoor outlet, ideally at the highest point of your drainage run. This allows the drainage pipe to flow away from the transformer, keeping your electrical connections completely dry. In 2026, many Hampton Bay transformers feature built-in photocells and smart-home Wi-Fi integration, meaning they should be mounted in a location that receives clear sky exposure for the photocell but remains shielded from the splash zones of your drainage pipe outlets.
Step-by-Step Dual Trenching Guide
Step 1: Planning and Safety
Always call 811 before digging to have local utility lines marked. The Call 811 national portal reminds homeowners that striking a buried gas or fiber-optic line can be catastrophic and is entirely preventable. Map out your pathway, marking the location of each Hampton Bay light fixture and the trajectory of your drainage pipe using landscaping spray paint.
Step 2: Digging the Multi-Tier Trench
Dig a trench that is approximately 12 inches wide and 18 inches deep along the pathway edge. The drainage pipe requires a consistent slope of 1/8 inch per foot to ensure proper gravity flow. The low-voltage wiring for your Hampton Bay fixtures only needs to be buried about 6 inches deep. By digging an 18-inch trench, you can lay the drainage pipe at the bottom and backfill partially before laying the electrical wire, creating a safe vertical separation between water and electricity.
Step 3: Laying the Drainage Pipe
Line the bottom of the trench with 2 inches of washed gravel. Place your 4-inch corrugated landscape drainage pipe on top of the gravel, ensuring the slots face downward (this prevents topsoil from washing directly into the slots). Cover the pipe with landscape fabric to prevent silt clogging, then add another 4 inches of gravel over the fabric. This creates a highly efficient water channel that protects the structural integrity of your pathway.
Step 4: Routing the Low-Voltage Wiring
Once the drainage pipe is covered and separated by a layer of compacted soil or sand, route your 12-gauge low-voltage landscape wire. Leaving the wire directly in the drainage gravel is not recommended, as shifting rocks can strip the wire casing over time. Instead, run the wire through a flexible PVC conduit sleeve or bury it in the compacted soil layer situated 6 inches below the surface, directly above the drainage bed.
Step 5: Mounting the Hampton Bay Fixtures
Assemble your Hampton Bay LED pathway lights and connect them to the main wire using waterproof silicone-filled wire nuts. Push the light stakes into the ground, ensuring the stake does not puncture the drainage pipe below. The topsoil and mulch layer will hide the wire and provide a finished look, while the drainage pipe below ensures the soil around the stake remains firm and well-drained.
Comparison Chart: Trenching Methods
| Installation Method | Labor Time | Wire Protection | Drainage Efficiency |
|---|---|---|---|
| Separate Trenches (Traditional) | High (Double Digging) | Excellent | High |
| Dual-Tier Trench (2026 Smart Method) | Moderate (Single Dig) | Very Good (with soil barrier) | High |
| Surface Wire & Surface Drain | Low | Poor (Trip Hazard) | Low (Prone to Clogs) |
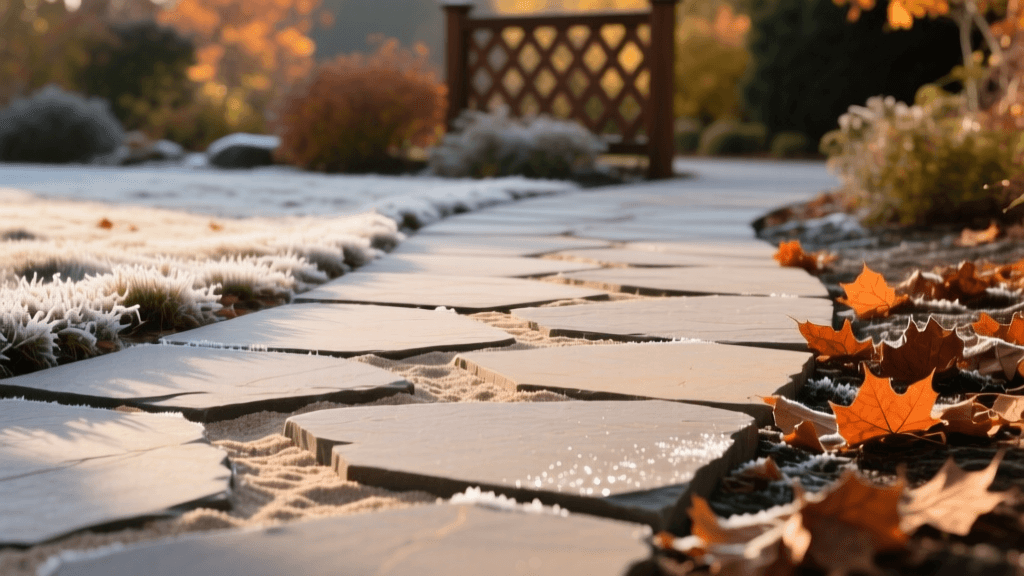
Maintenance and Winterization
Even with a perfectly installed drainage pipe and Hampton Bay LED system, annual maintenance is required to keep everything functioning optimally. In late autumn, clear the drainage pipe inlet grates of fallen leaves to prevent winter ice dams and blockages. Wipe down the Hampton Bay LED lenses with a soft microfiber cloth to remove hard water spots caused by splash-back from the pathway. If you live in a region with harsh winters, inspect the wire connections for any frost-heave exposure and adjust the soil grading as needed to maintain the crucial 1/8-inch slope of your drainage system. By combining these two essential landscaping tasks, you save time, reduce yard disruption, and create a safer, more beautiful outdoor environment for years to come.