Gardening
2026 Guide: 7-Day Hardening Off Schedule for Pollinator Seedlings
Why Pollinator Seedlings Require a Careful Transition in 2026
As we move deeper into the 2026 growing season, the push to support declining bee, butterfly, and moth populations has never been more critical. Home gardeners are increasingly turning to native plant gardening, starting seeds indoors for vital pollinator magnets like milkweed, echinacea, and bee balm. However, moving these tender seedlings directly from a climate-controlled indoor environment to the harsh realities of the outdoor garden is a recipe for disaster. According to the Xerces Society Pollinator Resource Center, establishing robust native perennials is the cornerstone of sustainable pollinator habitats, but those perennials must survive their initial transplant shock to ever produce nectar and pollen.
Seedlings grown indoors under LED grow lights lack the thick, waxy cuticle on their leaves that protects against UV radiation and wind desiccation. Their stems are also unaccustomed to the mechanical stress of outdoor breezes. Hardening off is the essential physiological process of gradually acclimating your seedlings to outdoor conditions. For pollinator-friendly plants, which often rely on deep taproots or specific foliage structures to deter herbivores while attracting caterpillars, this 7-day transition schedule is vital to ensure they survive, thrive, and bloom on time for migrating monarchs and emerging native bees.
The Ultimate 7-Day Hardening Off Schedule for Native Pollinator Plants
This schedule assumes your seedlings have been grown in a standard indoor seed-starting mix and are approximately 4 to 6 weeks old. The goal is to incrementally increase light, wind, and temperature exposure while slightly reducing water to encourage root hardening.
| Day | Duration Outdoors | Light Exposure | Wind & Temp Strategy | Watering Protocol |
|---|---|---|---|---|
| Day 1 | 2 Hours | 100% Dappled Shade | Shielded from all wind; temps above 60°F | Water lightly in the morning |
| Day 2 | 3 Hours | 100% Dappled Shade | Allow very gentle breeze; avoid drafts | Water only if soil surface is dry |
| Day 3 | 4 Hours | 25% Morning Sun, 75% Shade | Light breeze acceptable; monitor for wilting | Reduce water volume by 20% |
| Day 4 | 5 Hours | 50% Morning Sun, 50% Shade | Normal outdoor airflow; bring in if windy | Water deeply, then allow to dry slightly |
| Day 5 | 6 Hours | 75% Sun, Afternoon Shade | Full ambient garden microclimate exposure | Standard outdoor watering schedule |
| Day 6 | 8 Hours | Full Morning & Midday Sun | Leave out overnight in a protected cold frame | Water as needed based on soil moisture |
| Day 7 | Full Day & Night | Full Sun (Species Dependent) | Fully exposed; prep for Day 8 transplant | Water well the night before transplanting |
Essential 2026 Gear for Seedling Transitioning
To execute this schedule flawlessly, modern gardeners are leveraging updated tools designed to take the guesswork out of hardening off. In 2026, solar-powered auto-vent cold frames have become an industry standard. These units use wax-filled hydraulic cylinders that expand in the heat, automatically opening the lid to prevent your pollinator seedlings from cooking on a warm spring afternoon, and closing at dusk to retain heat.
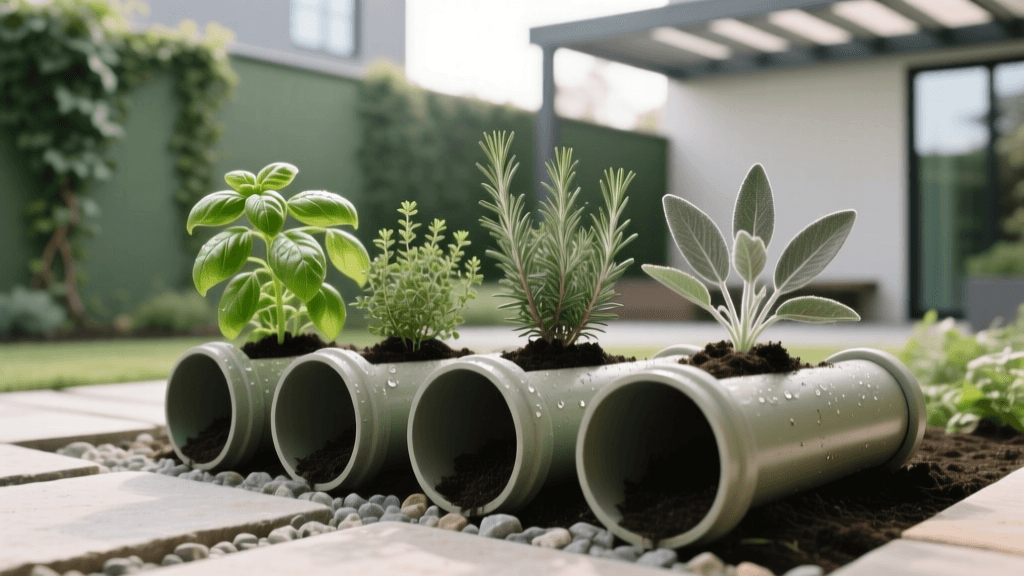
Additionally, using a 40% to 50% UV-blocking shade cloth is non-negotiable for the first three days of the schedule. Stretch this over a simple PVC hoop frame to create a portable shade tent. Finally, Bluetooth-enabled soil moisture sensors are highly recommended. Because seedling trays dry out much faster outdoors in the wind than they do indoors, these sensors send an alert to your smartphone when the soil moisture drops below 30%, preventing the catastrophic wilting that can permanently stunt a coneflower's taproot development.
Species-Specific Hardening Tips for Top Pollinator Magnets
Not all pollinator plants react to the hardening off process in the same way. Here is how to handle three of the most popular native perennials started from seed.
Milkweed (Asclepias spp.)
Milkweed is the obligate host plant for the monarch butterfly. Whether you are growing Common Milkweed, Swamp Milkweed, or Butterfly Weed, these plants develop a sensitive, deep taproot very early on. During the 7-day transition, avoid letting the soil dry out completely, as drought stress during hardening can cause the taproot to stunt or spiral. When moving the trays, handle them gently to avoid jarring the root ball. The National Wildlife Federation's Garden for Wildlife program emphasizes that undisturbed milkweed roots are far more likely to survive their first winter and return to support the next generation of monarch caterpillars.
Purple Coneflower (Echinacea purpurea)
Echinacea is remarkably drought-tolerant once established, but as a seedling, it requires careful moisture management during the hardening off phase. The primary goal for coneflowers during Days 4 through 7 is to encourage the roots to seek out moisture by allowing the top half-inch of the seed-starting mix to dry out between waterings. This slight deficit watering signals the plant to push its roots deeper into the cell, creating a robust root ball that will easily anchor into your garden bed and withstand summer heatwaves.
Bee Balm (Monarda didyma)
Bee balm is a hummingbird and bumblebee favorite, but it is highly susceptible to powdery mildew if subjected to high humidity and poor airflow. When hardening off bee balm seedlings, prioritize wind exposure over intense sun exposure during the first few days. Ensure the seedlings are spaced adequately in their trays so that ambient breezes can pass through the foliage, drying the leaves and conditioning the stems. Never water bee balm seedlings from overhead during the hardening process; always use bottom-watering trays or a targeted watering wand.
Common Hardening Off Mistakes That Harm Pollinator Habitats
Even experienced gardeners can make errors during the transition phase. Avoid these common pitfalls to ensure your pollinator garden reaches its full ecological potential:
- Skipping the Shade Phase: Placing indoor seedlings directly into full midday sun will cause sunscald. The leaves will turn white, become papery, and die. The plant will then waste precious energy regrowing foliage instead of developing the deep roots needed to support heavy blooms.
- Ignoring Windburn: Wind desiccates leaves faster than the roots can replace the lost moisture. If the forecast calls for gusts over 15 mph, keep your seedlings in a sheltered area or inside the cold frame, even if it is a sunny day.
- Over-Fertilizing Before Transplant: Do not fertilize your seedlings during the 7-day hardening off schedule. High nitrogen levels promote soft, sappy growth that is highly attractive to aphids and completely incapable of withstanding outdoor stress. Wait until two weeks after transplanting into the garden bed to apply a gentle, organic liquid kelp fertilizer.
- Leaving Them on Concrete: Placing seedling trays on a concrete patio or driveway can cause the root zones to overheat rapidly. Always place trays on a wooden bench, a grassy area, or a raised table to ensure proper drainage and temperature regulation.
Microclimate Selection for Pollinator Beds
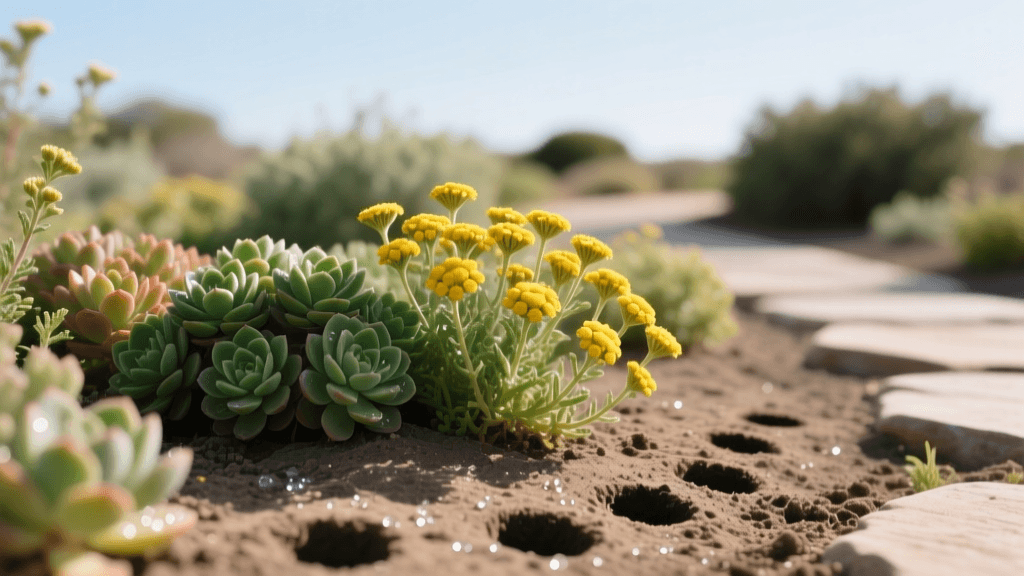
As you reach Day 5 and Day 6 of the schedule, begin placing your seedlings in the exact microclimate where they will eventually be planted. This allows the plants to adjust to the specific light angles, soil temperature, and ambient humidity of their permanent home. For example, if your swamp milkweed is destined for a low-lying, boggy rain garden, move the trays to that specific low spot so they can acclimate to the higher humidity and denser air. If your salvia is going into a hot, dry xeriscape border against a south-facing brick wall, let them experience the radiant heat of that wall during the afternoon hours.
Post-Transplant Care for Maximum Nectar Production
Once your 7-day schedule is complete, it is time to transplant. As noted by horticultural experts at The Old Farmer's Almanac, transplanting on a cloudy, overcast day or in the early evening significantly reduces transplant shock. Dig holes slightly wider than the root ball, but no deeper, ensuring the crown of the plant sits exactly at the soil line.
After planting, water deeply with a solution containing mycorrhizal fungi. These beneficial fungi form a symbiotic relationship with the roots of native pollinator plants, vastly expanding their ability to absorb water and phosphorus. Finally, apply a 2-inch layer of untreated arborist wood chips around the base of the plants, keeping the mulch a few inches away from the stems to prevent rot. This mulch will retain soil moisture, suppress weeds, and eventually break down to feed the soil web. By following this meticulous 7-day hardening off schedule, your 2026 pollinator garden will establish quickly, bloom profusely, and provide a vital, thriving sanctuary for the bees, butterflies, and hummingbirds that depend on it.