Gardening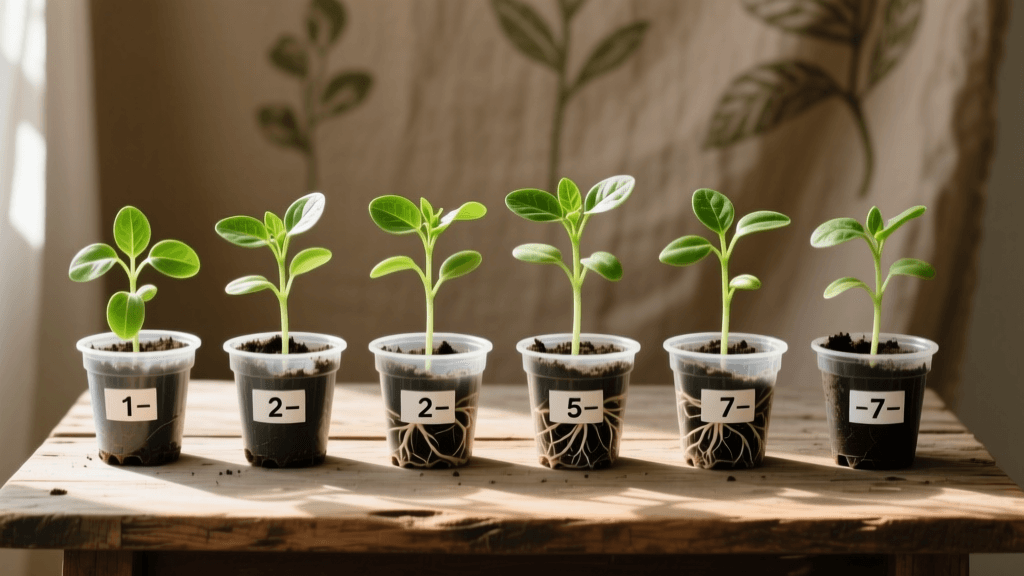
2026 Hardening Off Seedlings: 7-Day Schedule & Fertilizer Tips
The Critical Intersection of Hardening Off and Fertilizer Schedules
As we navigate the shifting climate patterns and erratic spring temperatures of 2026, successfully transitioning indoor seedlings to the outdoor garden requires more than just moving trays to the patio. Hardening off is the essential 7-day process of acclimating tender, indoor-grown plants to harsh outdoor elements like direct UV radiation, wind, and fluctuating temperatures. However, one of the most overlooked aspects of this transition is your fertilizer schedule. Many home gardeners make the critical mistake of heavily fertilizing seedlings right before transplanting, believing it will give them a 'boost.' In reality, this promotes soft, rapid, and highly susceptible top growth that is easily destroyed by windburn and sunscald.
From a nutritional standpoint, the hardening off phase demands a strategic shift in your fertilizer types and schedules. To build robust cell walls and encourage the root density necessary to survive transplant shock, you must taper nitrogen and increase stress-mitigating compounds like potassium, phosphorus, and marine-based biostimulants. According to the University of Minnesota Extension, properly hardened seedlings develop a thicker cuticle layer on their leaves, which reduces water loss and protects against environmental stress. Aligning your fertilizer regimen with this physiological change is the secret to a thriving 2026 garden.
The Science of Fertilizer Tapering During Transition
When seedlings are grown indoors under artificial lights, they are typically fed a balanced or slightly nitrogen-heavy liquid fertilizer (such as a 5-1-1 fish emulsion) to encourage rapid vegetative growth. If you continue this high-nitrogen diet during the 7-day hardening off schedule, the plant will continue to push out tender, elongated stems. When these stems are exposed to outdoor wind and direct sunlight, they will quickly snap or scorch.
By strategically altering your fertilizer schedule one week before the transition begins, you signal the plant to slow its vertical growth and focus on structural integrity. Switching to a low-nitrogen, high-potassium fertilizer or a pure liquid kelp extract triggers the production of abscisic acid (ABA), a plant hormone that helps regulate stomatal closure and improves drought and wind tolerance. This nutritional pivot ensures that the energy stored in the seedling is directed toward root expansion and cellular thickening rather than fragile leaf production.
The Ultimate 7-Day Hardening Off & Fertilizer Schedule
Below is the definitive 2026 schedule for transitioning your seedlings while simultaneously managing their nutritional intake. This table outlines the daily outdoor exposure, environmental conditions, and the precise fertilizer actions required to ensure maximum transplant success.
| Day | Outdoor Time | Sun / Wind Exposure | Fertilizer & Nutrient Action | Watering Strategy |
|---|---|---|---|---|
| Day 1 | 1-2 Hours | Full shade, protected from wind | Stop all Nitrogen. Apply diluted liquid kelp (50% strength). | Water lightly in the morning. |
| Day 2 | 2-3 Hours | Dappled shade, gentle breeze | No fertilizer. Allow plant to process kelp biostimulants. | Check soil moisture; water if top inch is dry. |
| Day 3 | 3-4 Hours | Morning sun only (before 11 AM) | Apply low-NPK root stimulator (e.g., 2-4-2 with mycorrhizae). | Water thoroughly, ensure good drainage. |
| Day 4 | 4-5 Hours | Morning sun, mild wind exposure | No fertilizer. Monitor for heat stress or wilting. | Mist leaves if wind is exceptionally dry. |
| Day 5 | 6-8 Hours | Full morning & early afternoon sun | Apply foliar spray of silica or potassium-rich compost tea. | Water at the base to avoid fungal issues. |
| Day 6 | All Day | Full sun (if crop requires), overnight outdoors | No fertilizer. Focus on environmental acclimation. | Water in AM and late PM if hot. |
| Day 7 | All Day & Night | Full outdoor conditions | Prepare transplant hole with granular bone meal / mycorrhizae. | Water deeply 2 hours before transplanting. |
Day-by-Day Transition and Feeding Guide
Days 1-2: The Initial Shock and Kelp Application
On the first day of your hardening off schedule, move your seedlings to a completely shaded, wind-protected area like a covered porch or under a shade cloth. At this stage, you must cease all high-nitrogen liquid feeds. Instead, water the seedlings with a half-strength solution of liquid kelp or seaweed extract. Products like Neptune's Harvest Liquid Seaweed are excellent choices for 2026, providing essential trace minerals, cytokinins, and auxins that help the plant manage the initial shock of UV exposure and temperature drops. The kelp acts as an adaptogen, fortifying the plant's natural stress response without forcing new, vulnerable growth.
Days 3-4: Increasing Light and Root Focus
As you increase sun exposure to the morning hours and introduce gentle wind, the plant will begin to thicken its stems in response to the mechanical stress (a process known as thigmomorphogenesis). To support this structural fortification, introduce a low-nitrogen, phosphorus-heavy root stimulator. A liquid formula with an NPK ratio around 2-4-2, ideally fortified with humic acids, will encourage the seedling to branch out its root system. A denser root ball is your best defense against the transplant shock that inevitably occurs when moving from a controlled container to the open garden soil.
Days 5-6: Full Acclimation and Cellular Strengthening
By day five, your warm-season crops (like tomatoes, peppers, and eggplants) should be handling several hours of direct sunlight. To further toughen the plant's cellular structure, some advanced gardeners utilize a liquid silica supplement or a weak compost tea foliar spray. Silica is deposited in the cell walls, making them rigid and highly resistant to piercing insects and harsh winds. According to The Old Farmer's Almanac, ensuring seedlings are fully acclimated to outdoor temperature swings, including leaving them out overnight if temperatures remain above 50°F (10°C), is vital before the final transplant. Do not apply any fertilizers during these final acclimation days; the plant needs to focus entirely on environmental adaptation.
Day 7: Transplant Day Nutrition
On the final day, your seedlings are fully hardened and ready for the garden. Do not use liquid fertilizers on transplant day, as this can burn sensitive roots that are already stressed from being removed from their nursery pots. Instead, focus on the soil environment. Dust the root ball with a mycorrhizal fungi inoculant and place a tablespoon of organic bone meal (high in phosphorus and calcium) at the bottom of the transplant hole. This provides a slow-release, localized nutrient source that will be available exactly when the roots begin to expand into the native soil a week later.
Best Fertilizer Types for the Transition Phase in 2026
Choosing the right products for your hardening off fertilizer schedule is crucial. Here are the top categories and specific recommendations for the 2026 season:
- Liquid Kelp / Seaweed Extracts: The undisputed champion of the hardening off phase. Kelp provides over 60 trace elements and natural growth hormones that reduce transplant shock. Look for cold-processed kelp to ensure the bioactive compounds remain intact.
- Mycorrhizal Inoculants: While not a traditional NPK fertilizer, these beneficial fungi form a symbiotic relationship with plant roots, effectively increasing the root surface area by up to 100 times. Applying this at the end of the 7-day schedule ensures immediate water and nutrient uptake in the new garden bed.
- Compost Tea (Aerated): A mild, biologically active foliar spray that introduces beneficial microbes to the leaf surface, outcompeting potential airborne pathogens while providing a very gentle, non-burning dose of potassium.
- Avoid Synthetic High-Nitrogen Boosters: Products like Miracle-Gro All Purpose (24-8-16) should be strictly avoided during the 7-day transition. The rapid influx of synthetic salts will force the plant to retain excess water in its tissues, making it highly susceptible to frost damage and wind tearing.
Common 2026 Fertilizer Mistakes to Avoid
Even experienced gardeners can stumble when combining hardening off schedules with nutrient management. The most frequent error is 'panic feeding.' If a seedling looks slightly pale or purple during days 3 or 4 of the hardening off process, it is often a natural stress response to UV light and cooler temperatures, not a nitrogen deficiency. Applying a heavy dose of fish emulsion at this stage will undo days of structural hardening, resulting in a soft plant that will wilt the moment it hits the garden soil.
Another mistake is failing to flush the soil if you have been heavily feeding your seedlings indoors. If your potting mix is loaded with unused synthetic fertilizer salts, water the trays thoroughly from the bottom up on Day 1 of the hardening schedule to leach out excess salts. This prevents root burn when the plant's water uptake fluctuates due to outdoor wind and sun exposure.
Conclusion
Mastering the 7-day hardening off schedule is about more than just managing sunlight and shade; it is a holistic physiological transition that must be supported by a deliberate fertilizer schedule. By tapering nitrogen, leveraging the stress-mitigating properties of liquid kelp, and focusing on root-zone biology with mycorrhizae, you set your 2026 garden up for explosive, resilient growth. Follow this timeline strictly, and your seedlings will not just survive the transition from indoors to outdoors—they will thrive.