Gardening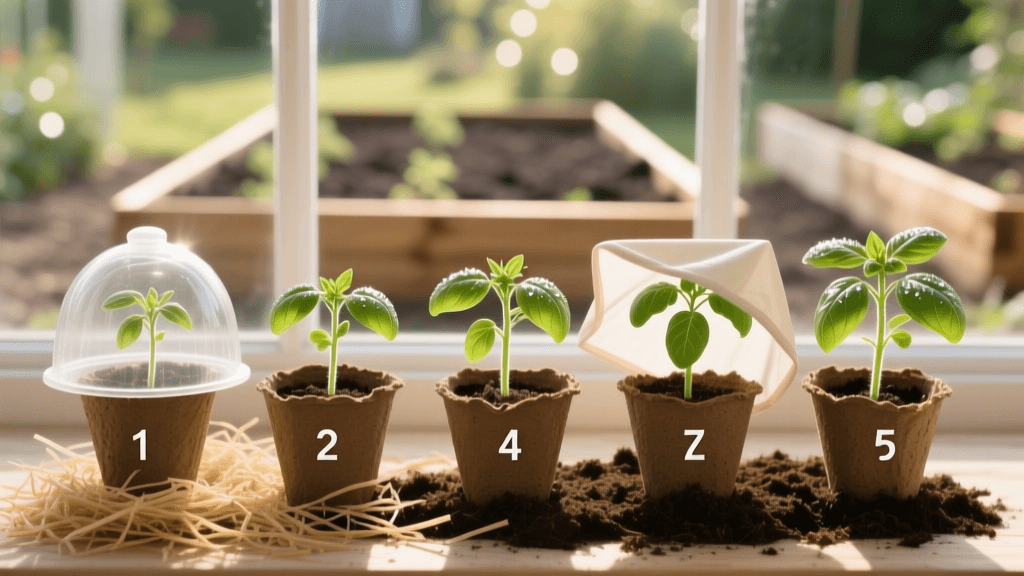
7-Day Seedling Hardening Off Mulch Schedule for 2026
The Overlooked Role of Mulch in Seedling Transition
When gardeners think of hardening off seedlings, they usually focus on light exposure and wind acclimation. However, as we navigate the unpredictable spring temperature swings of 2026, root zone shock is the silent killer of young transplants. Seedlings raised indoors are accustomed to a consistent 70°F soil temperature. When you move those fragile cell trays outdoors onto cold concrete, bare soil, or wire benches, the root zone temperature can plummet, stunting growth or causing fatal transplant shock.
This is where strategic mulching methods become your most valuable tool. By utilizing specific organic materials to create 'plunge beds' and insulating barriers, you can buffer the microclimate around your seedlings. According to The Old Farmer's Almanac, gradual acclimation is vital, but combining that schedule with thermal mulch buffering dramatically increases survival rates for tender crops like tomatoes, peppers, and eggplants.
The Science of Mulch Plunge Beds and Root Buffering
A plunge bed is a traditional horticultural technique where nursery pots or seedling trays are physically sunk into a bed of insulating material. For the 7-day hardening off schedule, we use a base of straw or shredded leaf mold. This mulch layer acts as a thermal mass, absorbing ambient heat during the day and releasing it slowly at night, keeping the root zone stable. Furthermore, mulching around the perimeter of your seedling trays creates a localized windbreak, reducing the transpiration rate of tender leaves that have not yet developed their waxy outdoor cuticles.
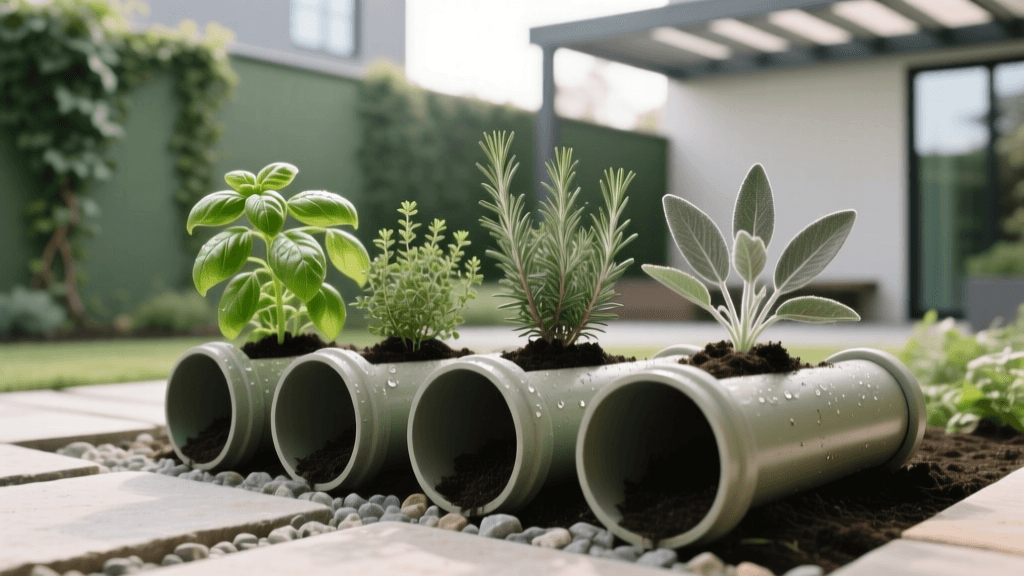
Best Mulching Materials for Seedling Transition
Not all mulches are created equal when dealing with tender seedlings. Heavy wood chips can harbor fungal pathogens and rob the surrounding air of nitrogen as they decompose, while fine materials can compact and suffocate roots if used improperly. Below is a comparison of the best mulching materials for the 2026 hardening off season.
| Mulch Material | Insulation Level | Moisture Retention | Best Hardening Off Application |
|---|---|---|---|
| Clean Wheat Straw | High | Moderate | Plunge beds, tray perimeters, and windbreaks |
| Shredded Leaf Mold | Medium-High | High | Base layer for plunge beds, soil temperature buffering |
| Pine Needles | Medium | Low-Moderate | Acid-loving plant seedlings, airflow maintenance |
| Fine Compost | Low | High | Top-dressing cell trays to prevent surface drying |
As noted by the University of Minnesota Extension, organic mulches are essential for moderating soil temperatures and conserving moisture, but they must be applied correctly to avoid stem rot. When using straw for plunge beds, ensure it is seed-free to prevent weeds from competing with your vulnerable seedlings.
The 7-Day Seedling Hardening & Mulch Schedule
Follow this precise 7-day schedule to transition your indoor seedlings to the outdoors, integrating mulch applications to protect against thermal and wind shock.
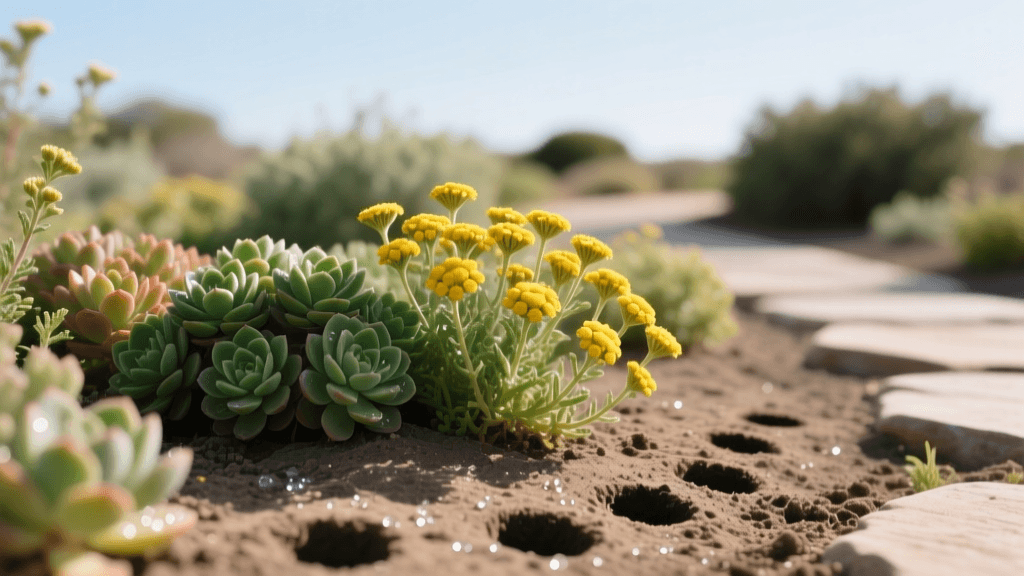
Day 1: Setup the Plunge Bed & First Shade Hour
Begin by constructing your mulch plunge bed in a fully shaded, sheltered area outdoors. Lay down a 4-inch layer of shredded leaf mold or straw. Place your seedling trays into the mulch so the soil level in the cells is flush with the top of the mulch. Leave the seedlings outside for just 1 to 2 hours. The mulch will prevent the cold ground from shocking the roots while the plants experience outdoor humidity for the first time.
Day 2: Dappled Light & Tray Top-Dressing
Move the mulch-embedded trays to an area with dappled sunlight for 2 to 3 hours. Today, apply a light top-dressing of fine compost or vermiculite over the exposed soil in your seedling cells. This micro-mulch layer prevents the rapid surface evaporation caused by outdoor breezes, ensuring the delicate surface roots do not dry out and die.
Day 3: Morning Sun & Windbreak Mulching
Expose the seedlings to 3 to 4 hours of gentle morning sun. Avoid harsh afternoon rays. If the 2026 spring forecast predicts breezy conditions, build a small berm of straw bales or pile loose straw around the windward side of your plunge bed. This mulch windbreak reduces leaf tearing and moisture loss while the plants build cellular strength.
Day 4: Extended Exposure & Moisture Monitoring
Leave the seedlings out for 5 to 6 hours, including some early afternoon sun. Check the moisture levels in both the seedling cells and the surrounding plunge bed mulch. The straw or leaf mold should feel slightly damp, like a wrung-out sponge. If the mulch is dry, water it lightly. A moist mulch bed has a higher thermal mass, providing better temperature regulation than dry mulch.
Day 5: Full Morning Sun & Mulch Fluffing
Give the seedlings a full morning of sun (6+ hours). Fluff the straw or leaf mold around the trays to ensure it hasn't compacted. Good air circulation through the mulch prevents fungal issues like damping-off, which can strike when outdoor humidity rises. The roots are now buffered and adapting to the diurnal temperature shifts.
Day 6: All-Day Acclimation & Nighttime Buffering
Leave the seedlings outdoors for the entire day, provided temperatures remain above 50°F. As evening approaches, the thermal mass of your moist mulch plunge bed will begin to radiate the heat it absorbed during the day. This creates a protective microclimate that shields the roots from sudden nighttime temperature drops, a common issue in early spring.
Day 7: The Overnight Test & Final Bed Prep
Leave the seedlings outside overnight in their mulch plunge bed. If they look vigorous and upright in the morning, they are fully hardened off. At this stage, you can begin preparing your final garden beds. Apply a 2-inch layer of compost and straw mulch to the garden soil where they will be planted, ensuring the destination soil is just as thermally buffered as the plunge bed they are leaving.
Adapting to 2026 Climate Variability
Spring weather patterns in 2026 have shown increased volatility, with late-season cold snaps becoming more frequent in many hardiness zones. If a surprise frost is forecast during your 7-day schedule, do not bring the seedlings back indoors, as reversing the acclimation process can cause stress. Instead, use your mulch to your advantage. Pull loose straw up and over the tops of the seedling trays, creating a thick, breathable insulating blanket. Alternatively, place a layer of pine needles over the trays. The air pockets trapped within the mulch materials will provide up to 4 degrees of frost protection, saving your tender crops without disrupting their hardening off progress.
Conclusion
Hardening off is not just about light; it is about managing the entire microclimate surrounding your young plants. By integrating a 7-day schedule with strategic mulching methods like plunge beds, perimeter windbreaks, and cell top-dressing, you eliminate the most dangerous variables of outdoor transition. Your seedlings will develop stronger stems, deeper roots, and the resilience needed to thrive in the 2026 garden season.