
Gardening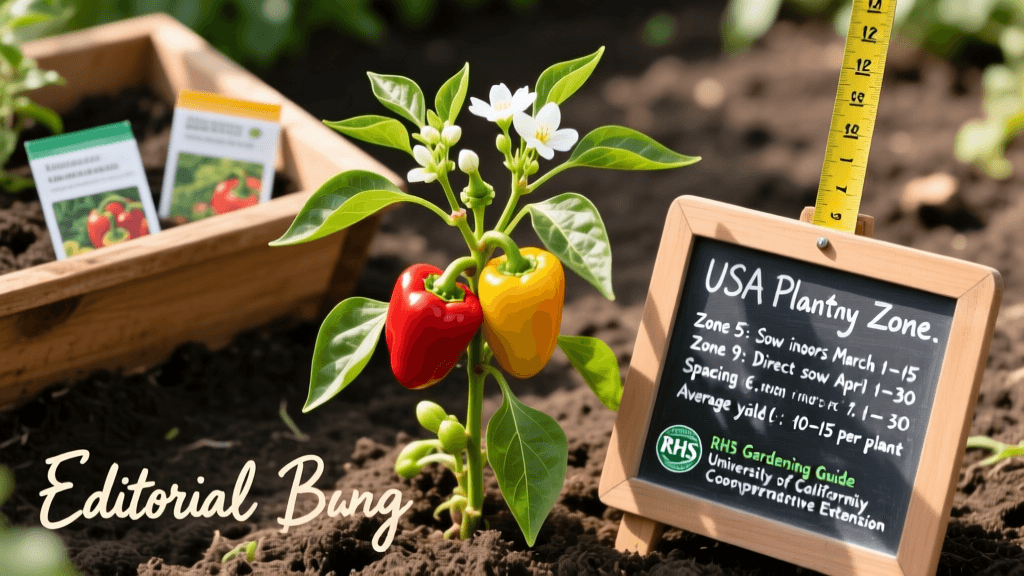
How To Grow Peppers From Seed To Harvest
Getting Started with Pepper Seeds
Peppers are among the most rewarding vegetables a home gardener can grow, but they take patience from the very beginning. Unlike tomatoes or squash, peppers have a long growing season — often 70 to 120 days from transplant to first harvest — so starting seeds indoors well before your last frost date is the only reliable way to get a good crop. Get the timing and conditions right early, and the rest of the season usually goes more smoothly.
The University of California Cooperative Extension recommends starting pepper seeds indoors 8 to 10 weeks before the anticipated last frost date in your region. For most gardeners in the continental United States, that means late January through early April, depending on your USDA hardiness zone. Seeds germinate best at soil temperatures between 80°F and 90°F (27°C–32°C); cooler soil slows germination or stops it altogether. A seedling heat mat under your trays makes a real difference.
Sow seeds about ¼ inch (6 mm) deep in a sterile seed-starting mix. Don’t use garden soil — it compacts in small cells and may carry diseases. Keep the mix moist, but not soggy. With steady warmth, most sweet and hot pepper varieties sprout in 7 to 14 days. Some thick-walled types like habaneros and ghost peppers can take up to 21 days.
Planting Dates by USDA Hardiness Zone
Matching your seed-starting and transplant schedule to your USDA zone is the biggest calendar decision you’ll make. Peppers can’t handle frost, and they struggle when nighttime temperatures stay below 55°F (13°C) for more than a day or two — even without freezing. The table below gives general indoor seed-starting and outdoor transplant dates for major growing zones.
| USDA Zone | Start Seeds Indoors | Transplant Outdoors | Example Locations |
|---|---|---|---|
| Zone 5 | Late February – Early March | Late May – Early June | Chicago, IL; Columbus, OH |
| Zone 6 | Mid-February – Early March | Mid-May | St. Louis, MO; Richmond, VA |
| Zone 7 | Early February | Late April – Early May | Nashville, TN; Oklahoma City, OK |
| Zone 8 | Late January | Mid-April | Dallas, TX; Portland, OR |
| Zone 9–10 | January or direct sow | March – April | Los Angeles, CA; Phoenix, AZ |
Gardeners in Zone 5 and colder should wait carefully before transplanting. A late cold snap after planting can set plants back two to three weeks — wiping out the head start you got from starting indoors. Use a soil thermometer to check that ground temperature at 2 inches deep has reached at least 60°F (16°C) before moving them outside.
Soil Preparation and Fertility
Peppers do best in well-drained, loamy soil with a pH between 6.0 and 6.8. Outside that range, nutrients don’t move into the plant as easily — even if fertilizer is present. Before planting, test your soil. Most state land-grant university extension services offer affordable testing kits or mail-in analysis. The North Carolina State University Extension, for example, provides soil testing through the NC Department of Agriculture and Consumer Services at a low cost, with results that include specific amendment suggestions.
Work 2 to 3 inches of finished compost into the top 8 to 10 inches of soil before transplanting. This helps heavy clay drain better and helps sandy soil hold moisture longer. Peppers aren’t heavy feeders, but they respond well to a balanced starter fertilizer (like 10-10-10) mixed in at planting time. Once flowers appear, a side-dressing of nitrogen-rich fertilizer helps support fruit development. After flowering starts, go easy on nitrogen — too much encourages leaves instead of peppers.
Raised Beds and Container Growing
Raised beds give good drainage and let you control the soil mix, which suits peppers well. Fill them with topsoil, compost, and coarse perlite in roughly equal parts by volume. Containers work too: use pots no smaller than 5 gallons (19 liters) for standard bell peppers, and at least 3 gallons for compact hot pepper types. Container-grown peppers dry out faster and need more frequent watering and feeding than those in the ground.
Transplanting and Spacing
Harden off seedlings for 7 to 10 days before transplanting by slowly introducing them to outdoor conditions. Start with 1 to 2 hours of filtered shade per day and build up to full sun. Skipping this step often leads to sunscald or shock, which can delay fruiting by several weeks.
Spacing depends on the variety. The Royal Horticultural Society (RHS) recommends spacing sweet pepper plants 45 cm (about 18 inches) apart in rows 60 cm (24 inches) apart. Hot pepper varieties, which tend to be smaller, can go 30 to 38 cm (12 to 15 inches) apart. Good spacing keeps air moving around the plants, which helps prevent fungal diseases like Phytophthora blight and Botrytis.
Plant transplants at the same depth they were growing in their pots — peppers don’t benefit from deep planting like tomatoes do. Water them in right away with a dilute starter fertilizer solution to ease root disturbance.
Staking and Support
Many pepper varieties — especially large-fruited bells and thick-walled pimentos — stand up better with staking once they reach 12 to 18 inches tall. A single bamboo stake tied loosely with garden twine usually does the job. In windy spots or for very productive plants loaded with heavy fruit, a small wire cage (like those used for tomatoes) gives stronger support and helps keep stems from breaking.
Watering, Mulching, and Pest Management
Consistent moisture matters most during fruit set and growth. Irregular watering — dry spells followed by heavy watering — is the main cause of blossom end rot in peppers, a condition linked to calcium uptake problems when water supply wobbles. Aim for 1 to 1.5 inches (25 to 38 mm) of water per week from rain or irrigation, measured at soil level.
Drip irrigation or soaker hoses work better than overhead watering, which wets the leaves and raises the risk of fungal disease. Lay down 2 to 3 inches of organic mulch — straw, shredded leaves, or wood chips — after the soil has warmed. Mulch helps hold moisture, keeps soil temperatures steadier, and cuts down on weeds competing for nutrients.
Common Pests and Organic Controls
Aphids, pepper weevils, and spider mites are the most common insect pests on peppers in home gardens. Aphids gather on new growth and the undersides of leaves; a strong spray of water knocks most of them off. If they stick around, insecticidal soap applied in the early morning works well and breaks down quickly.
- Aphids: Knock off with water spray; use insecticidal soap for heavier infestations. Ladybugs and lacewings help keep them in check.
- Pepper weevils: Most common in the southeastern United States. Pick off and destroy any infested fruit right away. Rotating crops helps cut down on overwintering bugs.
- Spider mites: Like hot, dry weather. Raising humidity around the plants helps. Neem oil or a miticide works if numbers get high.
- Cutworms: Wrap cardboard or plastic collars around transplant stems at soil level to protect young seedlings.
- Bacterial leaf spot: A bacterial disease that thrives in warm, wet weather. Use certified disease-free seed and avoid overhead watering. Copper-based sprays can help limit spread.
Pollination and Fruit Set
Peppers pollinate themselves — each flower has both male and female parts. But fruit set improves when something shakes the plant: wind, bees, or even a gentle tap. In still greenhouses or indoors, tapping flowering stems daily helps release pollen and boosts fruiting.
Daytime temperatures above 90°F (32°C) or nighttime temps above 75°F (24°C) make pollen less effective, causing flowers to drop. This is frustrating for gardeners in hot climates during midsummer. Plants usually start setting fruit again once temperatures cool in late summer or early fall. A 30 to 40 percent shade cloth in the afternoon can help keep fruiting going during heat waves.
According to research published by the University of Florida IFAS Extension, commercial sweet bell pepper yields in Florida average 15,000 to 25,000 pounds per acre. For home gardeners, a healthy plant in a good season might give you 6 to 10 large bell peppers or 20 to 50 small hot peppers over the season.
Harvesting at the Right Stage
You can pick most peppers at any stage, but flavor, heat, and nutrition change as they ripen. Green bell peppers are just unripe fruit — left on the plant, they’ll turn red, yellow, or orange, and their sugar content rises. Fully ripe red bell peppers contain nearly three times the vitamin C of green ones, according to data from the USDA Agricultural Research Service (2022).
For hot peppers, capsaicin — the compound that makes them hot — generally increases as the fruit matures and changes color. A green jalapeño is milder than one that’s turned red. Use clean, sharp scissors or pruning shears to harvest, rather than pulling — yanking can break branches.
- Check plants every 2 to 3 days once fruit reaches full size to catch peppers at peak quality.
- Harvest in the morning when temperatures are cool and fruit is firm and turgid.
- Leave a short stem (about ½ inch) attached to the fruit to help it last longer.
- Store harvested peppers unwashed in the refrigerator crisper drawer for up to 2 weeks for sweet types, or at room temperature for 1 week for hot varieties.
- For long-term storage, roast and freeze sweet peppers, or dry hot peppers in a food dehydrator at 125°F (52°C) for 8 to 12 hours.
Picking regularly encourages more fruit. Leaving overripe or rotting peppers on the plant tells it the job is done, so it slows down new flower production. Staying on top of harvest — even if you’re swimming in peppers — is one of the simplest ways to keep plants producing well into fall.
"Peppers respond more to consistent management than to any single input. Growers who monitor soil moisture, harvest regularly, and protect plants from temperature extremes consistently outperform those who rely on heavy fertilization alone." — University of California Cooperative Extension, Vegetable Research and Information Center, 2021
In regions with mild autumns — especially Zone 8 and warmer — pepper plants can sometimes survive winter indoors. Before the first frost, cut them back by about one-third, dig them carefully, and pot them up. Keep them in a bright, cool spot indoors (55°F to 65°F) through winter, watering just enough to keep roots alive. Many gardeners find second-year pepper plants — sometimes called “perennial peppers” or “pepper trees” — start earlier and produce more than first-year plants, thanks to their established root systems.
Whether you’re growing sweet bells for summer salads, cayennes for hot sauce, or ornamental varieties for containers, the basics stay the same: start early, manage heat and moisture carefully, and pick regularly. Peppers reward attention with months of fruit — and that long wait from seed to first harvest usually pays off.

