Pest Control
A Practical Guide to Identifying and Killing Lawn Grubs
Understanding the Enemy: The White Grub Life Cycle
White grubs are the destructive, C-shaped larvae of various scarab beetles, including Japanese beetles, June bugs, and European chafers. These pests live just beneath the soil surface and feed aggressively on the root systems of turfgrass. When the roots are severed, the grass loses its ability to take up water and nutrients, leading to widespread lawn decline.
To effectively manage grubs, you must understand their life cycle. Adult beetles typically lay their eggs in the soil during mid-to-late summer. These eggs hatch into small grubs in late July and August. The grubs feed voraciously on grassroots throughout the early fall before burrowing deep into the soil to overwinter. In the spring, they return to the surface to feed briefly before pupating into adult beetles, starting the cycle anew. Because the most severe root damage occurs in late summer and early fall, timing your treatment correctly is critical for success.
Step 1: Spotting the Early Warning Signs
Before you reach for chemical treatments, you need to confirm that grubs are actually the culprit. Grub damage is often mistaken for drought stress, fungal diseases, or dog urine spots. Look for the following primary indicators:
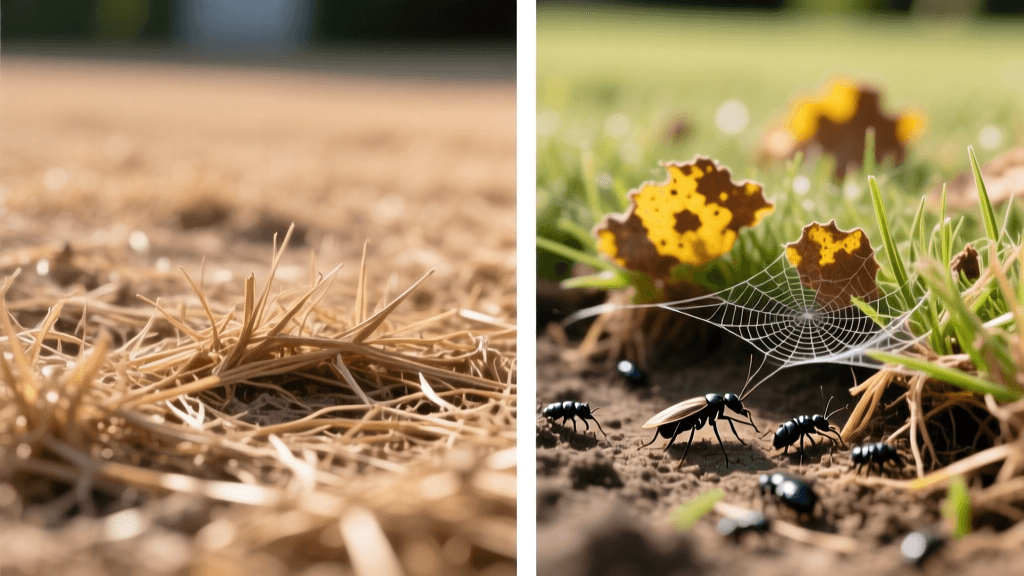
- Spongy Turf: Walk across your lawn. If the ground feels unusually soft, spongy, or loose underfoot, the root system may have been compromised.
- Brown Patches: Irregular patches of dying or dead grass that do not green up after a deep watering are a classic sign of root loss.
- Peeling Sod: In severe infestations, the grass has no roots to anchor it. You can often grab a handful of dead turf and roll it back like a loose carpet.
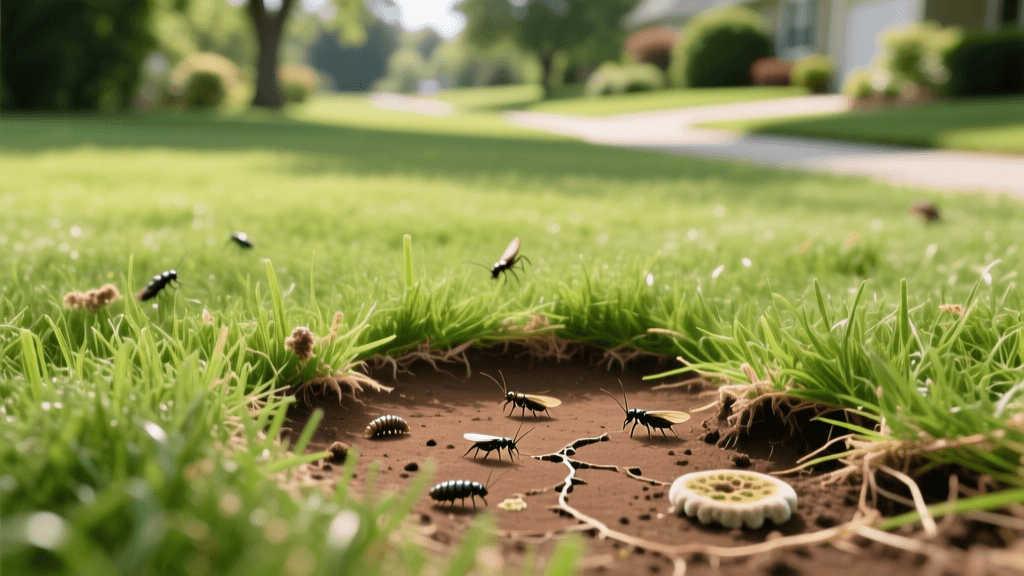
Secondary Signs: Animal Damage
Often, the first sign of a grub problem isn't the dead grass itself, but the damage caused by animals hunting for a meal. Raccoons, skunks, armadillos, and flocks of crows or starlings will actively tear up your lawn to feast on the protein-rich grubs. If you notice deep digging, flipped sod, or small conical holes in your yard, you likely have a grub infestation drawing wildlife to your property.
Step 2: The "Tug Test" and Soil Sampling
Visual signs are helpful, but a physical soil sample is the only way to confirm a grub infestation and determine its severity. Perform the "Tug Test" to get an accurate count.
- Use a flat-edged shovel or a sod cutter to cut three sides of a 1-foot by 1-foot square in your lawn, about 2 to 3 inches deep.
- Peel back the sod flap to expose the soil and root zone.
- Manually sift through the top 2 inches of soil and count the number of C-shaped, white grubs you find.
- Replace the sod flap and step on it firmly to re-establish soil contact.
- Repeat this process in 3 to 5 different areas of your lawn, especially near the edges of brown patches.
According to Penn State Extension, a healthy, well-maintained lawn can typically tolerate a low population of grubs without showing visible damage. The general economic threshold for treatment is finding more than 5 to 10 grubs per square foot. If your count is below 5, treatment is usually unnecessary. If it exceeds 10, immediate action is required to save your turf.
Step 3: Choosing the Right Grub Treatment
Once you have confirmed an infestation, you must choose between preventative and curative treatments, as well as organic and chemical options. The table below outlines the most effective products and their ideal application windows.
| Treatment Type | Active Ingredient / Organism | Best Time to Apply | Target Grub Stage | Estimated Cost per 1,000 sq ft |
|---|---|---|---|---|
| Preventative (Chemical) | Imidacloprid, Clothianidin | June to Early July | Newly hatched eggs / 1st instar | $15 - $25 |
| Curative (Chemical) | Trichlorfon, Carbaryl | Late August to September | Active feeding grubs (2nd/3rd instar) | $20 - $30 |
| Organic (Biological) | Beneficial Nematodes (Hb species) | Late Summer / Early Fall | Active feeding grubs | $35 - $60 |
| Organic (Bacterial) | Milky Spore Disease | Spring or Fall | Japanese beetle grubs only | $25 - $45 |
Step 4: Application Guide for Chemical Controls
If you opt for chemical control, timing is everything. Research from University of Kentucky Entomology indicates that preventative chemicals like Imidacloprid must be applied before the eggs hatch, allowing the active ingredient to be absorbed by the grass roots. Curative chemicals like Trichlorfon are fast-acting contact killers used when grubs are already large and actively feeding in the fall.
How to Apply Granular Chemical Treatments:
- Mow First: Mow your lawn to its standard height and remove any heavy thatch buildup, which can block the product from reaching the soil.
- Calibrate Your Spreader: Check the product label for the exact spreader setting. Apply the granules evenly using a rotary or drop spreader, overlapping your wheel tracks slightly to avoid missed strips.
- Water Immediately: Chemical grub controls must be watered into the soil to activate. Apply 1/4 to 1/2 inch of water immediately after application. Use an empty tuna can placed on the lawn to measure when you have reached the 1/2 inch mark.
- Safety Precautions: Keep children and pets off the treated lawn until the grass is completely dry and the granules have dissolved into the soil.
Step 5: Application Guide for Organic Controls
For homeowners seeking an eco-friendly approach, biological controls are highly effective when applied correctly. The University of California Integrated Pest Management (UC IPM) program heavily endorses the use of beneficial nematodes for grub suppression.
Using Beneficial Nematodes:
Beneficial nematodes (specifically the Heterorhabditis bacteriophora species) are microscopic worms that hunt down grubs in the soil, enter their bodies, and release bacteria that kill the pest within 48 hours.
- Purchase Fresh: Nematodes are living organisms. Buy them from a reputable supplier and store them in the refrigerator immediately upon arrival. Do not let them freeze or overheat.
- Apply at Dusk: UV light from the sun will kill nematodes on contact. Mix them with water according to package directions and apply using a hose-end sprayer in the late evening.
- Maintain Moisture: Nematodes require a moist environment to swim through the soil pores and locate their prey. Water the lawn lightly before application, and keep the top inch of soil consistently moist for 7 to 10 days post-application.
Step 6: Lawn Recovery and Post-Treatment Care
Killing the grubs is only half the battle; you must also repair the damaged turf. Once the treatment has taken effect and the wildlife digging has ceased, focus on lawn recovery.
- Rake and Clean: Vigorously rake out all dead grass, loose debris, and flipped sod to expose the bare soil.
- Aerate: If the soil is compacted from animal traffic or heavy foot traffic, use a core aerator to pull plugs of soil, improving oxygen and water flow to the root zone.
- Overseed: Spread a high-quality grass seed blend that matches your existing lawn. For cool-season lawns, early fall is the ideal time to overseed. For warm-season lawns, late spring is best.
- Fertilize: Apply a starter fertilizer high in phosphorus to encourage rapid root development in the new seedlings.
- Water Consistently: Keep the top inch of soil damp with light, daily waterings until the new grass seedlings reach a height of 2 inches.
Long-Term Prevention Strategies
A thick, vigorous lawn is your best natural defense against future grub infestations. Beetles prefer to lay their eggs in thin, stressed turf with easy access to the soil surface. By maintaining a mowing height of 3 to 4 inches, you shade the soil and make it less hospitable for egg-laying adults. Additionally, deep and infrequent watering (providing 1 to 1.5 inches of water per week) encourages deep, resilient root systems that can tolerate minor grub feeding without showing visible surface damage. Monitor your lawn annually in August, perform the Tug Test, and intervene early to keep your turf pristine year after year.