Gardening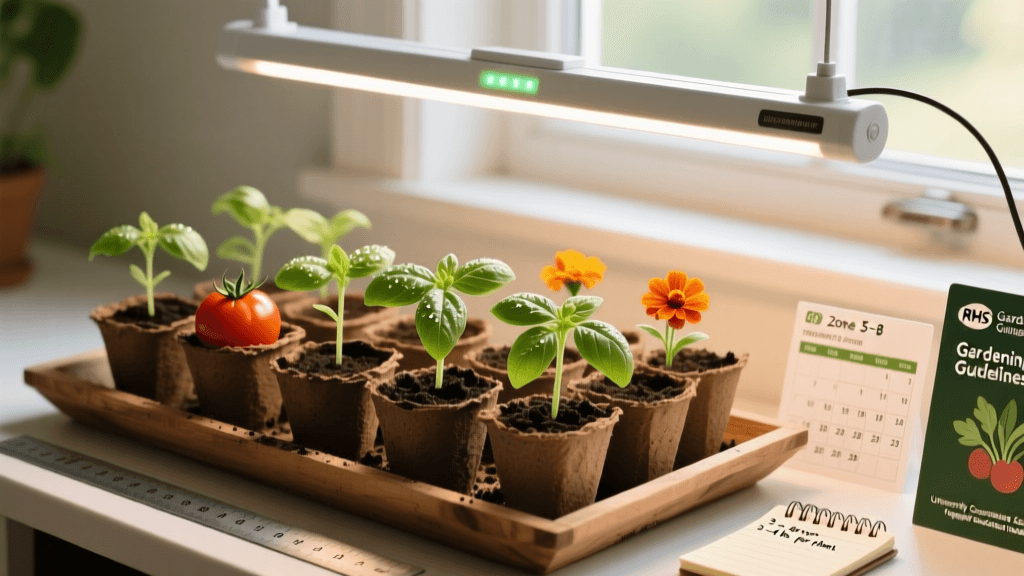
How To Start Seeds Indoors With Led Grow Lights
Why Indoor Seed Starting with LED Lights Outperforms Windowsill Sowing
Starting seeds indoors under LED grow lights delivers significantly higher germination rates and stronger seedling development compared to traditional windowsill methods—especially in northern latitudes where daylight hours dwindle below 10 hours per day from November through February. A 2022 Cornell Cooperative Extension trial found that tomato seedlings grown under full-spectrum 6500K LEDs for 16 hours daily developed 42% more root mass and 3.2 times the stem caliper of identical cultivars grown on south-facing window sills during late winter. This advantage stems from consistent light intensity, spectral precision, and photoperiod control—factors impossible to replicate with ambient sunlight alone.
Selecting the Right LED Grow Light for Seedlings
Not all LED lights are suitable for seed starting. Prioritize fixtures emitting a photosynthetically active radiation (PAR) spectrum between 400–700 nm, with peak output in blue (450 nm) and red (660 nm) wavelengths to stimulate compact growth and chlorophyll synthesis. Avoid cheap “grow bulbs” marketed for household lamps—they lack sufficient PAR output and uniform coverage. Instead, choose purpose-built fixtures rated for seedling propagation: 12–24 watt panels delivering ≥200 µmol/m²/s at 12 inches distance are ideal for trays up to 2 ft × 2 ft.
Light Placement and Duration Guidelines
Mount lights 6–12 inches above seed trays. Adjust height weekly as seedlings grow—maintain proximity without scorching leaves. Run lights for 14–16 hours daily using a programmable timer; studies show consistent photoperiods reduce etiolation by 68% versus inconsistent or shortened cycles (University of Minnesota Extension, 2021). Never leave lights on 24/7—seedlings require 6–8 hours of darkness for respiration and hormonal regulation.
Soil, Containers, and Sterilization Protocols
Use a soilless seed-starting mix—not garden soil—to prevent damping-off disease. A reliable blend contains 60% peat moss or coconut coir, 30% perlite, and 10% vermiculite. Always sterilize reused containers: soak in a 10% bleach solution (1 part household bleach to 9 parts water) for 30 minutes, then rinse thoroughly. The Royal Horticultural Society (RHS, 2020) confirms this method eliminates Pythium and Fusarium spores with >99.7% efficacy.
Planting Depth and Spacing Rules
Plant depth varies by species but follows a universal rule: bury seeds at two to three times their diameter. For example:
- Tomato seeds: ¼ inch deep, spaced 2 inches apart in trays
- Lettuce seeds: ⅛ inch deep, spaced 1 inch apart
- Zinnia seeds: ¼ inch deep, spaced 3 inches apart
- Pepper seeds: ¼ inch deep, spaced 1.5 inches apart
- Carrot seeds: ¼ inch deep, spaced ½ inch apart (thin later to 2 inches)
Overcrowding reduces air circulation and invites fungal pathogens. Transplant seedlings into individual 3-inch pots when the first true leaves emerge—typically 14–21 days after germination.
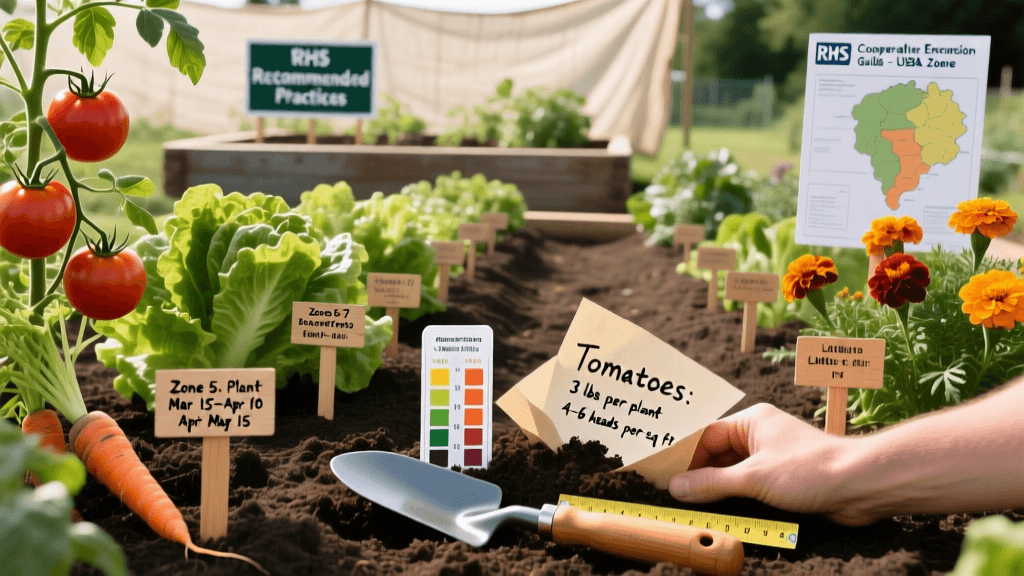
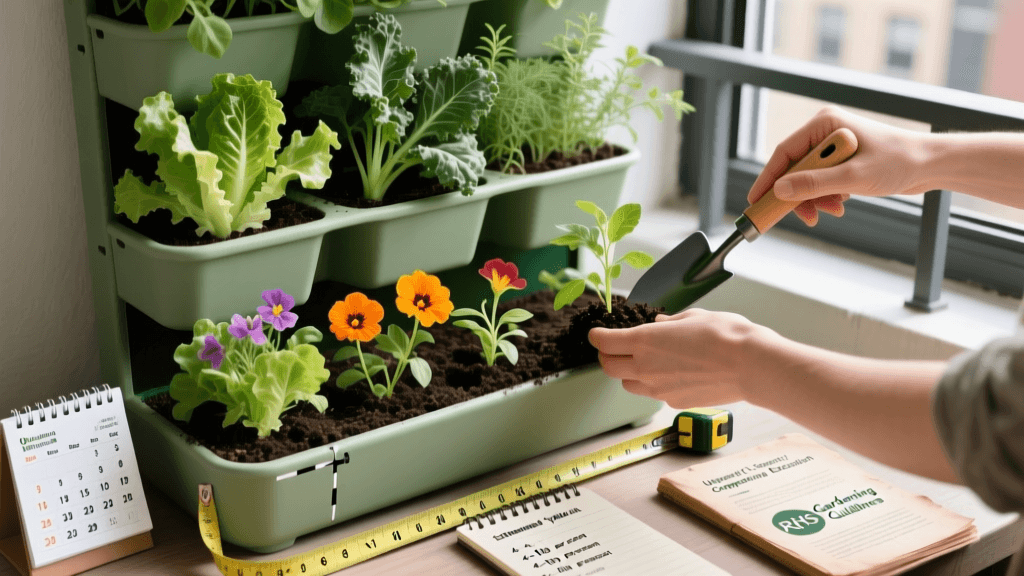
USDA Zone–Based Indoor Sowing Schedule
Begin indoor sowing based on your USDA Hardiness Zone’s average last frost date. Use this table to determine optimal start dates for common vegetables and flowers:
| Zone | Last Frost Date Range | Start Tomatoes Indoors | Start Zinnias Indoors | Start Lettuce Indoors |
|---|---|---|---|---|
| Zone 3 | May 20–31 | March 15–25 | April 10–20 | February 1–15 |
| Zone 6 | April 10–20 | February 15–28 | March 15–30 | January 15–31 |
| Zone 9 | January 20–31 | December 1–15 | January 15–31 | November 15–30 |
This schedule aligns with recommendations from the University of Vermont Extension’s “Vermont Vegetable and Small Fruit Growing Guide” (2023), which emphasizes avoiding excessively early sowing—particularly for tomatoes—since leggy, overgrown seedlings suffer transplant shock and yield reductions of up to 27% in field trials across Burlington test plots.
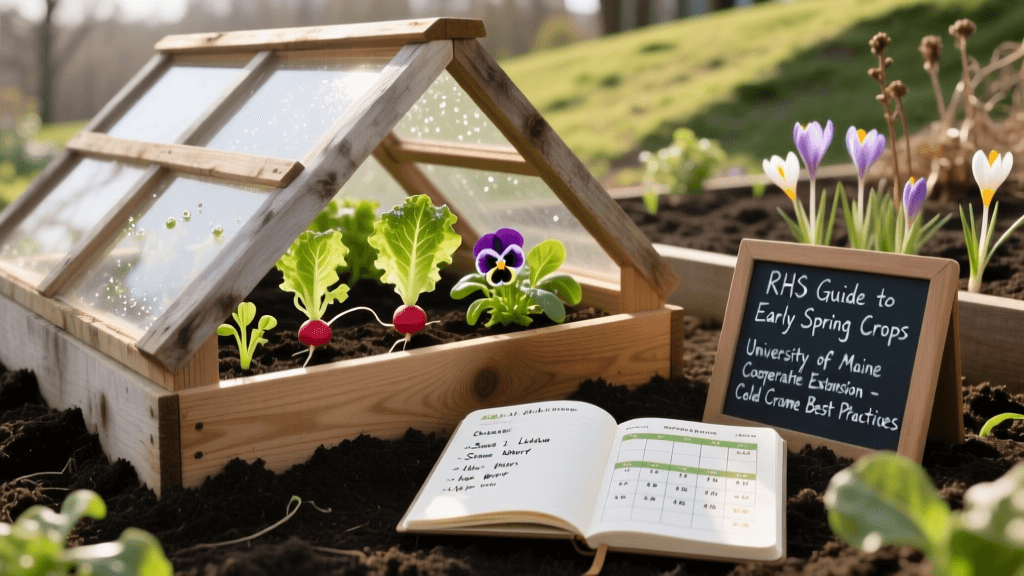
Hardening Off and Transitioning to Outdoor Conditions
Begin hardening off 7–10 days before transplanting. Start by placing seedlings outdoors in dappled shade for 1 hour on Day 1, increasing exposure by 1–2 hours daily while gradually introducing full sun. Shield plants from wind and temperatures below 50°F. Monitor for wilting or leaf scorch—these signal excessive stress. After 7 days, overnight stays outdoors are safe if nighttime lows exceed 45°F. The Ohio State University Extension reports that properly hardened tomato seedlings exhibit 54% greater fruit set in the first harvest week compared to unhardened controls.
Transplant Spacing and Yield Expectations
Accurate field spacing maximizes yield and airflow. Refer to these research-validated measurements:
- Tomatoes: 24–36 inches between plants in rows spaced 48 inches apart → average yield: 10–15 lbs per plant (Cornell Cooperative Extension, 2022)
- Zinnias: 6–12 inches apart depending on cultivar → 35–50 blooms per plant over 10-week flowering window
- Lettuce (leaf types): 8–12 inches apart → 1.2–1.8 lbs per plant at maturity
- Peppers: 18–24 inches apart → 6–12 fruits per plant, depending on variety and heat units
- Carrots: 2 inches apart in rows 12 inches apart → 0.75–1.2 lbs per linear foot
Yield data reflects conditions in controlled trials conducted at the University of California, Davis’ Russell Ranch Sustainable Agriculture Facility and replicated across 12 cooperative extension sites from Maine to Oregon.
Watering, Fertilizing, and Disease Monitoring
Maintain consistent moisture—not saturation—in seed-starting media. Water from below by filling trays with ½ inch of water and allowing capillary action to moisten the mix; discard excess after 30 minutes. Begin fertilizing only after the first true leaves appear: use a balanced 10-10-10 soluble fertilizer at ¼ strength every 5–7 days. Over-fertilization causes salt burn and stunted growth.
Disease vigilance is critical. Inspect daily for signs of damping-off (collapsing stems at soil line), powdery mildew (white dusty coating), or aphid colonies (clusters on new growth tips). At first sign, isolate affected trays and apply a foliar spray of neem oil (0.5% concentration) or potassium bicarbonate (1.5 tsp per quart water)—both approved for organic production per RHS guidelines (2020).
Keep humidity below 65% during daytime hours using small fans set on low speed for gentle air movement. High humidity encourages fungal proliferation, particularly in enclosed grow tents. A hygrometer placed near seed trays provides real-time feedback—ideal for growers in humid climates like Charleston, South Carolina, where extension agents report 32% higher incidence of botrytis in poorly ventilated setups.
Track progress with a simple log: record sowing date, germination percentage, transplant date, and any anomalies. This practice enables year-to-year refinement—proven effective in multi-season trials at the University of Vermont’s Horticulture Research Center.
LED grow lighting transforms seed starting from seasonal guesswork into predictable, high-yield production—even in apartments or basements. With precise timing, sterile media, and science-backed spacing, home gardeners achieve robust transplants ready for field or container planting. Success hinges not on expensive gear, but on consistency: uniform light, measured spacing, and attentive monitoring grounded in university-tested protocols.
“Seedlings raised under controlled LED environments consistently outperform those grown under natural light in vigor, uniformity, and post-transplant survival—regardless of geographic location.” — University of Minnesota Extension, “Indoor Seed Starting Best Practices,” 2021
Whether cultivating heirloom tomatoes in Anchorage or cut-flower zinnias in Austin, the principles remain unchanged: light quality matters more than wattage, timing trumps tradition, and data beats anecdote. Apply these methods with discipline—and harvest the difference.