Gardening
How to Identify and Eradicate Nutsedge in Raised Garden Beds
The "Weed from Hell": Understanding Nutsedge in Raised Beds
If you maintain raised garden beds, you likely know the frustration of pulling a weed only to watch three more sprout in its place a week later. Chances are, you are not dealing with a standard broadleaf weed or a simple grass. You are likely battling nutsedge (Cyperus species), a perennial sedge that is notoriously difficult to eradicate. Often referred to by frustrated gardeners as the "weed from hell," nutsedge thrives in the exact same conditions as your prized vegetables: loose, well-draining, nutrient-rich, and frequently irrigated soil.
Unlike grasses, sedges have solid, triangular stems (remember the rhyme: "sedges have edges"). They reproduce primarily through an extensive underground network of rhizomes and tubers, commonly called "nutlets." According to the University of Minnesota Extension, a single yellow nutsedge plant can produce hundreds of tubers in a single growing season, and these tubers can remain dormant in your raised bed soil for up to three years.
"Nutsedge is particularly problematic in raised beds because the loose, amended soil allows tubers to establish deep, expansive networks that are nearly impossible to sift out by hand."
Identifying Nutsedge: Yellow vs. Purple
Before you can effectively eradicate nutsedge, you must correctly identify which species is invading your garden. The two most common varieties in North America are Yellow Nutsedge (Cyperus esculentus) and Purple Nutsedge (Cyperus rotundus). While they look similar at a glance, their growth habits and vulnerabilities differ. The USDA PLANTS Database provides extensive botanical profiles on these species, noting that yellow nutsedge is far more cold-hardy and widespread in northern climates, while purple nutsedge dominates the deep South.
Key Visual Differences
| Feature | Yellow Nutsedge | Purple Nutsedge |
|---|---|---|
| Leaf Tip | Tapered to a sharp point | Blunt or rounded |
| Seedhead Color | Yellowish-golden or straw-colored | Purple, reddish-brown, or dark maroon |
| Tuber Shape | Round, smooth, produced singly at rhizome tips | Almond-shaped, hairy, produced in chains |
| Tuber Taste/Smell | Sweet, almond-like (edible, known as chufa) | Bitter, pungent |
| Stem | Triangular, solid, up to 3 feet tall | Triangular, solid, usually under 2 feet tall |
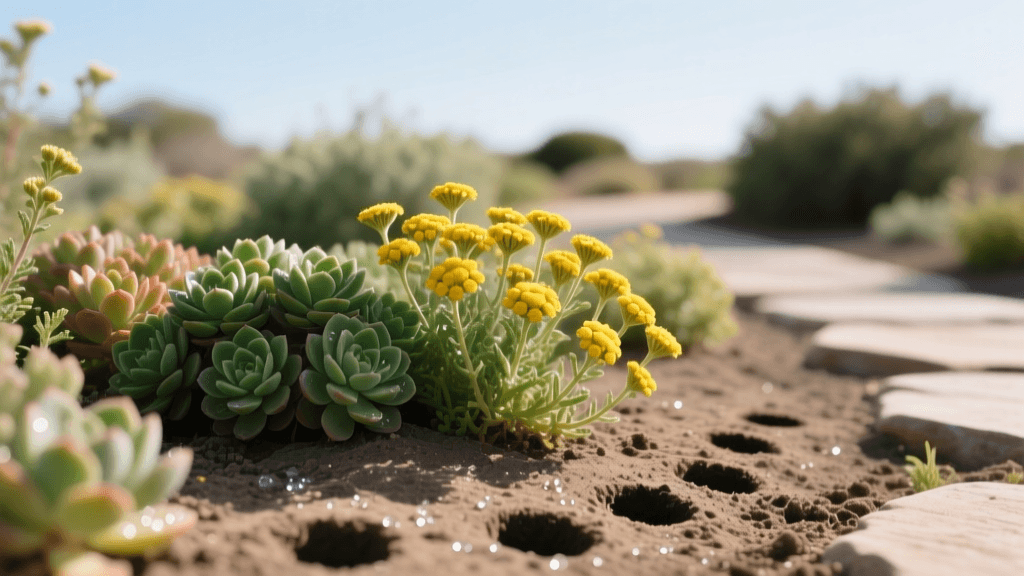
Why Nutsedge Thrives in Raised Garden Beds
Raised beds are designed to provide optimal drainage and aeration, which is perfect for tomatoes, peppers, and root vegetables. Unfortunately, it is also the perfect environment for nutsedge tubers. Furthermore, raised beds are highly susceptible to nutsedge introduction through contaminated inputs. When you purchase bulk topsoil, compost, or manure, tubers can easily hitch a ride into your garden. Once introduced, the frequent watering schedules of raised beds trigger rapid tuber germination.
Step-by-Step Nutsedge Removal Strategies
Eradicating nutsedge requires a multi-pronged approach. Relying on a single method will almost always result in the weed returning. Below are the most effective strategies, ranging from manual extraction to targeted chemical controls.
1. Manual Extraction: The 5-Leaf Rule
Pulling nutsedge by hand is only effective if done at the exact right time. Research highlighted by NC State Extension shows that nutsedge plants begin forming new tubers once they reach the 5- to 6-leaf stage (usually about 3 to 4 weeks after emergence). If you pull the plant after this stage, you are likely leaving newly formed tubers behind in the soil.
- Timing: Scout your raised beds weekly in late spring and early summer. Pull weeds when they have 3 to 4 leaves.
- Technique: Do not just yank the top. Use a narrow trowel or a weeding knife (like a Hori Hori) to dig down at least 8 to 14 inches to extract the entire rhizome and attached nutlets.
- Cost: Free, but highly labor-intensive.
2. Cultural Controls and Heavy Mulching
Standard organic mulches like straw, shredded bark, or pine needles will not stop nutsedge. The sharp, pointed tips of nutsedge shoots can easily pierce through 3 inches of organic mulch. To smother nutsedge in a raised bed, you must use physical barriers.
- Woven Landscape Fabric: Line the bottom of your raised beds with heavy-duty, woven polypropylene landscape fabric (not the thin, black plastic weed barrier from big-box stores, which nutsedge will pierce).
- Arborist Chips: If the bed is already established, lay down a layer of wet cardboard, followed by at least 4 to 6 inches of coarse arborist wood chips. The thickness and density of the chips can exhaust the tuber's energy reserves before it reaches sunlight.
- Cost: Woven fabric costs roughly $35-$50 per 300ft roll; arborist chips are often free from local tree services.
3. Targeted Herbicide Applications (Safe for Edibles)
When manual and cultural controls fail, chemical intervention may be necessary. However, because raised beds contain edible crops, you must be extremely selective with herbicides. Standard broadleaf weed killers (like 2,4-D) or non-selective herbicides (like glyphosate) are not suitable for use around food crops.
The active ingredient Halosulfuron-methyl (commonly sold under the brand name SedgeHammer or Manage) is a post-emergent herbicide specifically formulated for sedges. While it is widely used in commercial agriculture for crops like tomatoes, peppers, and cucurbits, home gardeners must carefully read the label to ensure it is approved for their specific edible plants.
- Application Timing: Apply when nutsedge is actively growing and has reached the 3- to 5-leaf stage. Do not apply during extreme heat (above 85°F) to prevent crop stress.
- Method: Mix the water-soluble packets according to label directions (usually 1 packet per 1 gallon of water). Use a shielded spray nozzle or a paintbrush to apply the solution directly to the nutsedge leaves, avoiding drift onto your vegetables.
- Cost: Approximately $25 to $30 for a box of SedgeHammer, which treats a large area and is highly cost-effective for targeted spot treatments.
Preventing Nutsedge from Returning
The best way to handle nutsedge is to prevent it from establishing in the first place. If you are building a new raised bed or refreshing the soil in an old one, consider soil solarization before planting.
Soil solarization uses the sun's heat to sterilize the top layers of soil, killing tubers, weed seeds, and soil-borne pathogens. To solarize a raised bed:
- Clear the bed of all plant debris and level the soil.
- Water the soil deeply (moisture conducts heat better than dry soil).
- Cover the bed tightly with clear, 6-mil thick polyethylene plastic, sealing the edges with soil or heavy stones.
- Leave the plastic in place for 4 to 6 weeks during the hottest part of the summer (July and August). Soil temperatures under the plastic can reach 140°F, which is lethal to nutsedge tubers.
Inspecting Soil Deliveries
Whenever you order bulk compost or topsoil, inspect the delivery. Look for the telltale triangular stems and pale green, grass-like shoots. If you spot nutsedge in a bulk delivery, reject the load. Introducing a single handful of contaminated soil can deposit dozens of tubers into your pristine raised bed, setting you back months in your weed control efforts.
Conclusion
Nutsedge is a formidable opponent in the garden, but it is not invincible. By understanding the biological differences between yellow and purple nutsedge, adhering to the 5-leaf manual removal rule, utilizing heavy-duty physical barriers, and responsibly applying targeted herbicides like Halosulfuron-methyl, you can reclaim your raised garden beds. Consistency is your greatest weapon; vigilance throughout the early summer months will prevent the underground tuber network from establishing, ensuring your vegetables get the water, nutrients, and sunlight they need to thrive.