Pest Control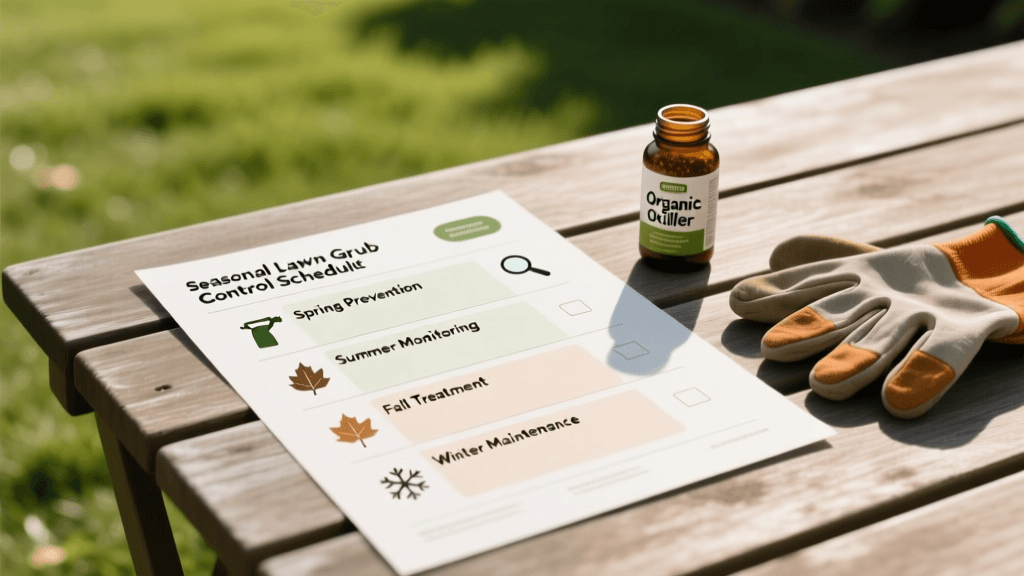
The Ultimate Lawn Grub Control Schedule and Checklist
Why Timing is Everything in Grub Control
White grubs are the larval stage of various scarab beetles, including Japanese beetles, June bugs, and European chafers. These C-shaped, cream-colored pests feed aggressively on turfgrass roots, causing brown, dead patches that roll back like loose carpet. However, the biggest mistake homeowners make is treating their lawns at the wrong time. Applying a preventative pesticide in the fall or a curative treatment in the spring is largely a waste of money and chemicals. To effectively manage these pests, you must align your lawn care schedule with the biological life cycle of the grub. This comprehensive seasonal checklist and schedule will ensure you apply the right treatment at the exact right moment, saving your turf and your budget.
Understanding the White Grub Life Cycle
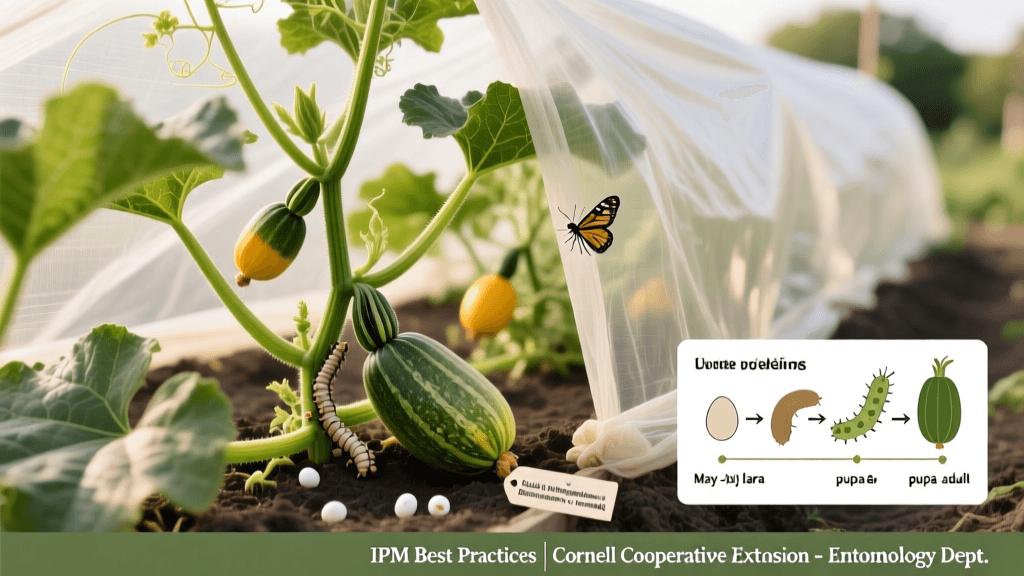
Before diving into the schedule, it is crucial to understand what is happening beneath your soil. According to the Penn State Extension, most common turfgrass grubs follow a one-year life cycle. Adult beetles emerge in early summer, mate, and lay eggs in the soil. These eggs hatch in mid-to-late summer, releasing tiny first-instar grubs that feed voraciously on grassroots. As temperatures drop in late fall, the grubs burrow deep below the frost line to overwinter. They return to the surface in spring to feed briefly before pupating into adults, restarting the cycle.
The Annual Grub Control Schedule and Checklist
Use this table as your quick-reference guide for the year. Keep in mind that exact timing may shift slightly depending on your specific USDA Hardiness Zone and local weather patterns.
| Season | Grub Life Stage | Primary Action | Product Type |
|---|---|---|---|
| Spring | Mature Larvae / Pupae | Lawn assessment; repair damage | Curative (only if threshold met) |
| Early Summer | Eggs / Hatching | Apply preventative controls | Long-residual Preventative |
| Late Summer | Young Larvae (1st/2nd Instar) | Monitor and treat active infestations | Curative / Fast-acting |
| Fall | Mature Larvae | Emergency treatment; winter prep | Curative (Dylox/Trichlorfon) |
| Winter | Overwintering (Deep Soil) | Planning; soil health improvement | N/A (Dormant) |
Spring Checklist (March - May)
Spring is generally the wrong time for preventative grub control. The grubs currently in your soil are mature, nearing the end of their life cycle, and preparing to pupate. They are highly resistant to pesticides at this stage.
- Inspect for Damage: Look for irregular brown patches or areas where the turf feels spongy underfoot. Check for secondary damage from skunks, raccoons, and crows tearing up the lawn to eat the grubs.
- Perform a Threshold Test: Cut a 1-foot by 1-foot square of sod, 2 inches deep, and peel it back. Count the grubs. The University of California Statewide IPM Program notes that treatment is usually only justified if you find more than 5 to 10 grubs per square foot.
- Apply Curatives if Necessary: If you exceed the threshold, apply a fast-acting curative like Trichlorfon (Dylox). Water it in immediately with at least 1/2 inch of water.
- Repair Turf: Overseed damaged areas and apply a spring starter fertilizer to encourage deep root growth.
Summer Checklist (June - August)
This is the most critical window for grub control. Your goal is to have a preventative product in the soil before or just as the eggs hatch. Young, first-instar grubs are highly susceptible to insecticides.
- Timing the Preventative: Apply preventative treatments between mid-June and early August, depending on your region. If you apply too early (April/May), the chemical may degrade before the grubs hatch. If you apply too late (September), the grubs will be too large for the product to kill.
- Choose the Right Chemical: Look for products containing Imidacloprid, Clothianidin, Thiamethoxam, or Chlorantraniliprole (Acelepryn). Chlorantraniliprole is highly regarded for its low toxicity to pollinators and long residual activity.
- Watering is Mandatory: Preventative products must be watered into the root zone where the grubs feed. Apply 1/4 to 1/2 inch of irrigation immediately after spreading the granules. If rain is not in the forecast, you must irrigate manually.
- Biological Controls: If you prefer an organic route, apply beneficial nematodes (Heterorhabditis bacteriophora) in late summer when young grubs are active. Nematodes require moist soil and must be applied in the early morning or late evening to avoid UV degradation.
Fall Checklist (September - November)
By fall, grubs have grown significantly and are much harder to kill. Preventative products applied now will not work. Furthermore, as temperatures drop, grubs stop feeding and burrow deep into the soil to overwinter.
- Emergency Curative Treatment: If you missed the summer window and notice severe animal damage or dead patches in September, apply a curative insecticide like Trichlorfon. Do not apply after early October, as the grubs will stop feeding and move below the treatment zone.
- Clean Up Debris: Rake fallen leaves to prevent smothering the grass and creating a damp environment that encourages turf diseases, which compound the stress of grub damage.
- Final Mowing: Gradually lower your mower blade for the final two cuts of the season to prevent snow mold, but avoid scalping the lawn.
Winter Checklist (December - February)
Grubs are safely dormant deep underground. Your focus should shift to lawn planning and soil health.
- Review the Past Year: Note which areas of your lawn suffered the most damage. Grubs prefer full sun and heavily irrigated areas.
- Order Supplies Early: Purchase your preventative grub control products in late winter or early spring before hardware stores sell out of the most effective formulations.
- Soil Testing: Conduct a soil test. Healthy, deeply rooted turfgrass can tolerate higher grub populations than weak, shallow-rooted grass. Adjust your pH and nutrient plan based on the results.
Choosing the Right Products: Preventatives vs. Curatives
Understanding the active ingredients on the back of the bag is essential for an effective pest control schedule. Research from the University of Minnesota Extension highlights the importance of matching the chemical to the grub's life stage.
Chemical Preventatives
These products have long residual activity (up to 4 months) but take time to work. They are designed to kill grubs as they hatch or shortly after. They are highly effective against 1st and 2nd instar grubs but virtually useless against large, mature grubs in the fall.
- Imidacloprid (Merit): The traditional standard. Must be applied before eggs hatch and watered in thoroughly.
- Chlorantraniliprole (Acelepryn): Can be applied earlier in the spring (April/May) due to its exceptionally long residual. Highly effective and safer for non-target organisms.
Chemical Curatives
These products act quickly (within 24 to 72 hours) but have short residual activity (a few weeks). They are used when active damage is already occurring.
- Trichlorfon (Dylox): The go-to curative for late summer and early fall. It breaks down rapidly in high-pH soils, so it must be watered in immediately.
- Carbaryl (Sevin): An older curative option, though it is generally considered less effective than Trichlorfon and carries higher risks for non-target insects.
Organic and Biological Controls
For those practicing strict Integrated Pest Management (IPM), biological controls offer a sustainable alternative.
- Milky Spore (Paenibacillus popilliae): A bacterium that specifically targets Japanese beetle grubs. It takes 2 to 3 years to establish in the soil but can provide control for up to 15 years once established. It is ineffective against other grub species like European chafers.
- Beneficial Nematodes: Microscopic worms that hunt and kill grubs. They must be applied when grubs are young and soil temperatures are above 60°F. They require consistent soil moisture to survive.
"Integrated Pest Management dictates that treatment should only occur when pest populations reach an economic or aesthetic threshold. A few grubs in the soil are normal and even beneficial for soil aeration; treat only when the population threatens the structural integrity of the turf."
Repairing Grub and Animal Damage
If your lawn has been damaged by grubs or the wildlife that feeds on them, your schedule must include a recovery phase. Once the pest problem is resolved with a curative treatment, roll the peeled-back sod down and press it firmly into the soil to encourage re-rooting. For areas where the turf is completely dead, remove the debris, loosen the topsoil, and overseed with a grass blend appropriate for your region. Apply a starter fertilizer and keep the seed consistently moist until germination occurs.
Conclusion
Effective grub control is not about spraying chemicals blindly; it is about strategic timing and careful observation. By following this seasonal checklist, monitoring your turf's health, and utilizing the correct preventatives during the early summer window, you can protect your lawn from devastating root damage. Remember to always read and follow the manufacturer's label instructions, as the label is the law. A well-timed, proactive schedule is the cornerstone of a thick, resilient, and pest-free lawn.