Lawn Care
Lawn Roller Guide 2026: Sod, Molehills & Perfect Striping
The Foundation of Flawless Lawn Striping
When homeowners and turf professionals envision a perfectly striped lawn, they often obsess over the mower’s striping kit, the cutting deck, or the precise overlapping passes. However, the true secret to achieving those crisp, professional-grade aesthetic patterns in 2026 lies beneath the grass blades: the canvas itself. A flawless striping pattern requires an impeccably smooth, level surface. Any undulation, air pocket, or raised mound will catch the mower deck at an inconsistent height, scattering light reflection and ruining the visual contrast of your stripes. This is where the humble lawn roller becomes your most vital aesthetic tool. Specifically, mastering lawn roller use for sod establishment and molehill repair is the ultimate preparatory work for turf artists.
The Physics of the Striping Canvas
To understand why rolling is critical, we must briefly review the physics of lawn striping. Stripes are created by bending grass blades in opposite directions. Blades bent away from you reflect sunlight, appearing light green or white, while blades bent toward you absorb light, appearing dark green. If the soil beneath the turf is uneven—perhaps due to settling sod or subterranean pests pushing up earth—the mower deck will bounce. This bounce causes an inconsistent bend angle in the grass blades, resulting in wavy, broken, or blurred lines. By utilizing a lawn roller to establish new sod and repair molehills, you are actively engineering the flat plane required for optical perfection.
Lawn Roller Use for Sod Establishment
Installing new sod is one of the fastest ways to achieve an instant lawn, but it introduces a major variable to your striping canvas: the interface between the sod roots and the native soil. According to turfgrass experts at the University of Minnesota Extension, ensuring firm contact between the sod and the soil is paramount for root establishment and preventing uneven settling.
When sod is laid over tilled or graded soil, microscopic and macroscopic air pockets remain trapped beneath the root zone. If left unaddressed, these pockets will collapse irregularly over the first few weeks of irrigation, creating a bumpy surface that makes straight-line striping nearly impossible. Cool-season grasses like Kentucky Bluegrass, which are the premier choices for high-contrast striping, require a firm seedbed to tiller properly and lay flat under a striping kit.
The Rolling Protocol for New Sod
- Initial Hydration: Water the newly laid sod immediately. Rolling dry sod can damage the fragile crowns and tear the root mat. Wait until the sod is moist but not sopping wet.
- Weight Selection: For sod establishment, you do not want a heavily weighted steel roller. A polyethylene roller filled with water to about one-third or one-half capacity is ideal. This provides enough weight (typically 150 to 250 pounds) to press the roots into the soil without causing severe subsoil compaction.
- The Pattern: Roll in a grid pattern. Make one pass horizontally across the lawn, and a second pass vertically. This cross-hatching ensures that no low spots are missed and guarantees a uniformly flat surface.
- Post-Roll Irrigation: Water deeply immediately after rolling to help the soil particles settle around the sod roots.
By executing this protocol, you guarantee that as the sod knits into the native soil throughout the 2026 growing season, it settles as a single, glass-smooth plane, ready for your mower's striping kit.
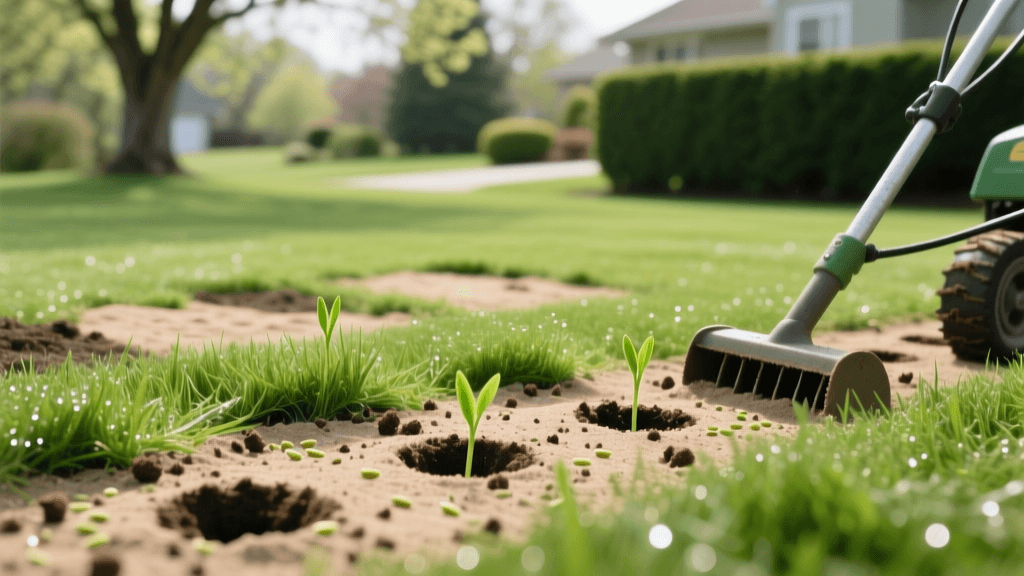
Erasing Molehills to Restore Your Striping Canvas
Even if your sod was established perfectly, subterranean pests can quickly destroy your aesthetic patterns. Moles tunnel just beneath the surface, pushing up ridges and distinct mounds of soil known as molehills. When a mower wheel drops into a mole tunnel or climbs a molehill, the cutting deck tilts, instantly scalping the high spots and leaving the low spots uncut. This destroys the uniform blade length required for high-contrast striping.
According to wildlife management resources from Penn State Extension, moles primarily feed on earthworms and grubs, and their tunneling can cause significant physical disruption to turf surfaces. While trapping or repellents are necessary to stop the source of the problem, the physical repair of the canvas requires a lawn roller and a bit of topdressing.
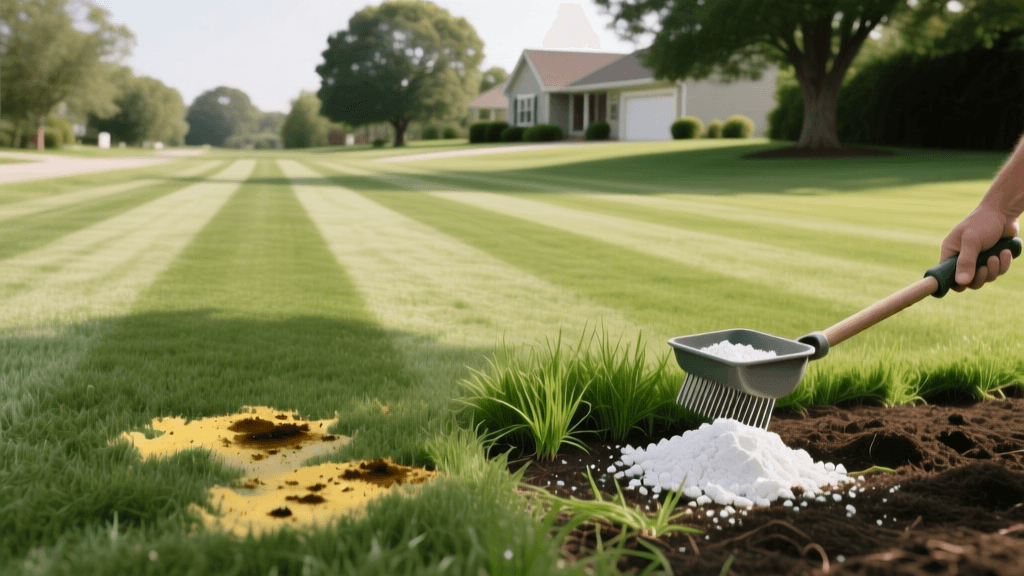
Molehill Repair Strategy for Turf Aesthetics
- Step 1: Flatten the Mound. Use a flat shovel or a turf tamper to knock down the peak of the molehill, distributing the loose soil into the surrounding depressions.
- Step 2: Address the Tunnel. If the tunnel has collapsed, creating a trench, fill the void with a 50/50 mix of topsoil and fine sand. This prevents the roller from sinking into a soft trench later.
- Step 3: The Roller Pass. Once the soil is redistributed, use a medium-weight lawn roller to press the displaced soil firmly back into the turf profile. The roller will push the grass blades back into contact with the soil and compress the loose dirt so it matches the surrounding grade.
- Step 4: Overseed and Topdress. If the molehill smothered the existing grass, apply a thin layer of compost and overseed. Roll lightly one more time to ensure seed-to-soil contact.
Once the repaired area settles, the surface will be level again, allowing your striping kit to glide smoothly and bend the grass uniformly.
Choosing the Right Equipment in 2026
The market for turf maintenance equipment has evolved, and selecting the right roller is crucial for maintaining a striping-ready lawn without damaging soil structure. Using the wrong tool can lead to severe compaction, which stifles root growth and results in thin, pale grass that refuses to hold a dark stripe.
| Roller Type | Material | Best Fill | Ideal Use Case | Striping Impact |
|---|---|---|---|---|
| Push Roller | Polyethylene | Water/Sand | Sod knitting, light molehill repair | Excellent for small, precise aesthetic zones |
| Tow-Behind | Steel | Water | Large-scale grading, heavy mole tunnels | High risk of compaction; use only on sandy soils |
| Tow-Behind | Polyethylene | Water | General canvas leveling, seed contact | The gold standard for maintaining a smooth striping canvas |
| Drag Mat | Steel Mesh | N/A | Breaking up cores, spreading topdressing | Essential pre-rolling step for molehill topdressing |
The Compaction Caveat: Protecting Turf Health
While a smooth surface is mandatory for beautiful lawn stripes, soil compaction is the enemy of turf health. Healthy, vigorous grass is required for deep, dark green stripes. If the grass is thin, yellow, or stressed, no amount of rolling will create a good visual contrast. The chlorophyll density in the leaf blade is what absorbs the light to create the "dark" stripe; weak grass simply cannot produce this effect.
Using a heavy steel roller on wet, clay-heavy soils will crush soil pores, restricting oxygen and water flow to the roots. To maintain your aesthetic canvas without sacrificing turf vitality in 2026, pair your rolling schedule with core aeration. Aerate the lawn in the early fall or spring to relieve any compaction caused by the roller, molehills, or foot traffic. Following aeration, a light pass with a poly roller filled with water will smooth out the aerated plugs and level the surface, resetting your canvas for the next striping session.
Conclusion
Achieving the coveted, stadium-quality lawn stripes is an exercise in surface management. By prioritizing lawn roller use for sod establishment and molehill repair, you eliminate the hidden variables that distort light reflection and break your aesthetic lines. Treat your soil profile with the same precision you treat your mowing patterns, and your lawn will serve as a flawless, rolling canvas all season long.