Lawn Care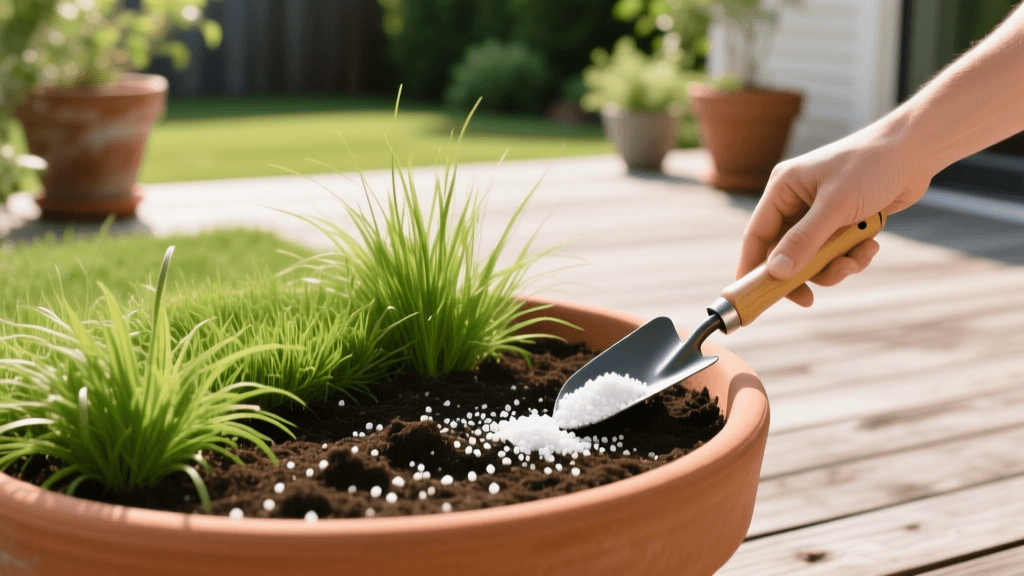
Container Lawn Care: Lime Application To Raise Soil pH In 2026
The Rise of Container Lawns in 2026
Container gardening has evolved far beyond simple potted flowers and patio tomatoes. In 2026, the trend of cultivating "container lawns"—using large patio planters, half-barrels, and shallow raised beds to grow turfgrass, ornamental grasses, and lawn-like groundcovers—has taken the landscaping world by storm. Whether you are growing a dwarf fescue blend in a rooftop planter, maintaining a creeping bentgrass putting green in a shallow patio tray, or nurturing ornamental Carex in large ceramic pots, managing soil chemistry is critical. One of the most common challenges container gardeners face is acidic soil. Applying lime to raise soil pH in these confined environments requires a vastly different approach than treating a traditional, sprawling yard.
Why Potting Mixes and Container Soils Turn Acidic
Unlike a traditional lawn rooted deeply in the earth, container soils are highly susceptible to rapid pH drift. According to the University of Minnesota Extension, container soils experience accelerated acidification due to frequent irrigation, limited soil volume, and heavy fertilization. Every time you water a container lawn, the drainage holes leach essential basic cations like calcium and magnesium out of the soil profile. This process, known as the leaching fraction, leaves behind hydrogen and aluminum ions, which directly lower the soil pH.
Furthermore, many popular synthetic lawn fertilizers used in 2026 contain ammonium sulfate or urea. As these nitrogen sources break down via microbial activity, they release hydrogen ions into the soil. In a traditional lawn, the earth's deep mineral reserves and natural clay buffers mitigate these changes. In a 20-gallon patio planter, the soil is entirely isolated. Without natural buffering, the pH of a container lawn can drop below 5.5 in a single growing season, leading to severe turf decline.
The Nutrient Lockout Effect in Planters
When the soil pH in your container lawn drops too low, it triggers a phenomenon known as nutrient lockout. The Clemson University Cooperative Extension notes that at a pH below 5.5, essential macronutrients like phosphorus, potassium, and molybdenum become chemically bound and unavailable to grass roots. Simultaneously, micronutrients like iron, manganese, and aluminum become highly soluble, often reaching toxic levels. If your container-grown dwarf fescue or creeping thyme is turning yellow, thinning out, or developing necrotic leaf tips despite regular fertilization, acidic soil is the most likely culprit. Applying agricultural lime is the only effective way to neutralize these excess hydrogen ions and restore chemical balance to your planter boxes.
Testing Soil pH in Containers and Raised Beds
Before applying any lime, you must accurately test the soil pH. Because container soils can vary wildly from one pot to the next—even if they were filled with the same bagged potting mix—you must test each individual planter. In 2026, digital soil pH probes with Bluetooth connectivity have become the standard for serious container gardeners, allowing you to monitor pH levels directly from your smartphone. Alternatively, a traditional slurry test using distilled water and a colorimetric test kit works perfectly. Your target pH for most container-grown turfgrasses and ornamental grasses is between 6.0 and 6.8. If your test reveals a pH below 6.0, it is time to apply lime.
Choosing the Best Lime for Container Grasses
Selecting the right lime product is crucial for the unique environment of a container garden. The two primary types of agricultural lime are calcitic lime (calcium carbonate) and dolomitic lime (calcium-magnesium carbonate).
Calcitic vs. Dolomitic Lime
Because container soils lose magnesium rapidly through drainage holes, dolomitic lime is generally the superior choice for container lawns. It raises the pH while simultaneously replenishing the magnesium reserves that are vital for chlorophyll production in grasses. Calcitic lime should only be used if your soil test indicates adequate magnesium levels but a need for additional calcium.
Pelletized vs. Powdered vs. Liquid Lime
For traditional lawns, powdered lime is common, but it is messy and difficult to apply evenly in small patio planters. Pelletized dolomitic lime is much easier to handle and top-dress onto existing container lawns without coating the grass blades in white dust. However, pelletized lime takes several months to break down and alter the pH. For rapid correction in 2026, liquid micronized lime suspensions have become the gold standard for container gardeners. These bio-enhanced liquid formulations can be applied via a watering can and will raise the soil pH within days, making them ideal for rescuing an acidic container lawn mid-season.
Container Lime Application Rates (2026 Guide)
Applying lime to a container requires precise measurements. Over-liming a small planter can cause an alkaline spike that is just as damaging as high acidity. The table below outlines the recommended application rates based on the volume of potting soil in your container.
| Lime Type | Best Use Case | Application Rate (per 5 gallons of soil) | Time to React | Estimated 2026 Cost |
|---|---|---|---|---|
| Dolomitic (Powdered) | Pre-planting soil mixing | 1/4 cup | 2 - 3 months | $12 per 40lb bag |
| Pelletized Calcitic | Top-dressing large planters | 1/2 cup | 3 - 4 months | $15 per 40lb bag |
| Liquid Micronized | Quick pH correction / Rescue | 2 oz per gallon of water | 3 - 7 days | $18 per 32oz bottle |
Step-by-Step Application for Existing Container Lawns
If your container lawn is already established, you cannot easily mix the lime into the root zone. Instead, you must use a top-dressing technique combined with deep watering.
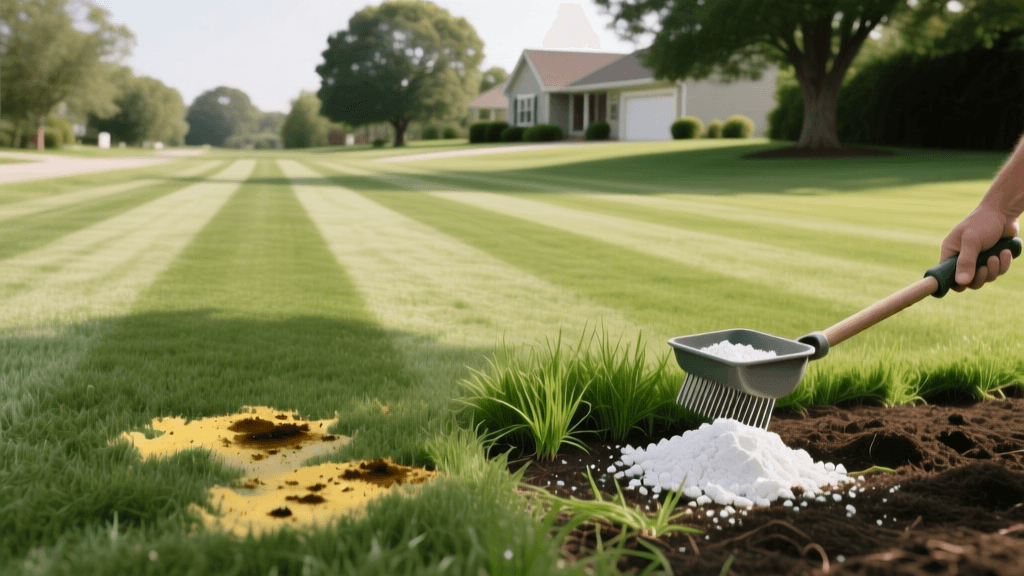
- Step 1: Mow and Rake. Mow your container grass to its lowest recommended height. Use a small hand rake to gently dethatch the surface, removing dead organic matter that could block the lime from reaching the soil.
- Step 2: Apply the Lime. Measure the appropriate amount of pelletized or powdered lime based on the soil volume of your planter. Broadcast it evenly across the surface of the container lawn using a small hand spreader or a measuring cup.
- Step 3: Water Deeply. Immediately water the container thoroughly until you see water exiting the drainage holes. This washes the lime off the grass blades and carries it down into the root zone where it can begin neutralizing the acidic soil.
- Step 4: Monitor Moisture. Lime requires moisture to react with the soil. Ensure your container lawn remains consistently moist (but not waterlogged) for the two weeks following application to facilitate the chemical reaction.
The Role of Water Quality and Organic Buffers
In 2026, advanced container gardeners are also paying close attention to their irrigation water. If you are watering your container lawns with harvested rainwater, be aware that rainwater is naturally slightly acidic and lacks the buffering carbonates found in municipal tap water. Planters watered exclusively with rainwater will require lime applications twice as often. To help stabilize the pH between lime applications, incorporate a thin layer of high-quality, neutral-pH compost as a top dressing once a year. The organic matter acts as a biological buffer, resisting sudden pH swings and providing a steady release of micronutrients to your container-grown turf.
Post-Application Care and Maintenance
Raising the soil pH in a container is not a permanent fix. Because the leaching process continues every time you water, you must retest your container lawn's soil pH every six months. In most climates, a light maintenance application of liquid or pelletized dolomitic lime in the early spring and late fall will keep your patio turf thriving. By understanding the unique chemical environment of container soils and utilizing modern 2026 lime formulations, you can maintain lush, vibrant, and healthy miniature lawns in any planter, pot, or raised bed on your property.