Pest Control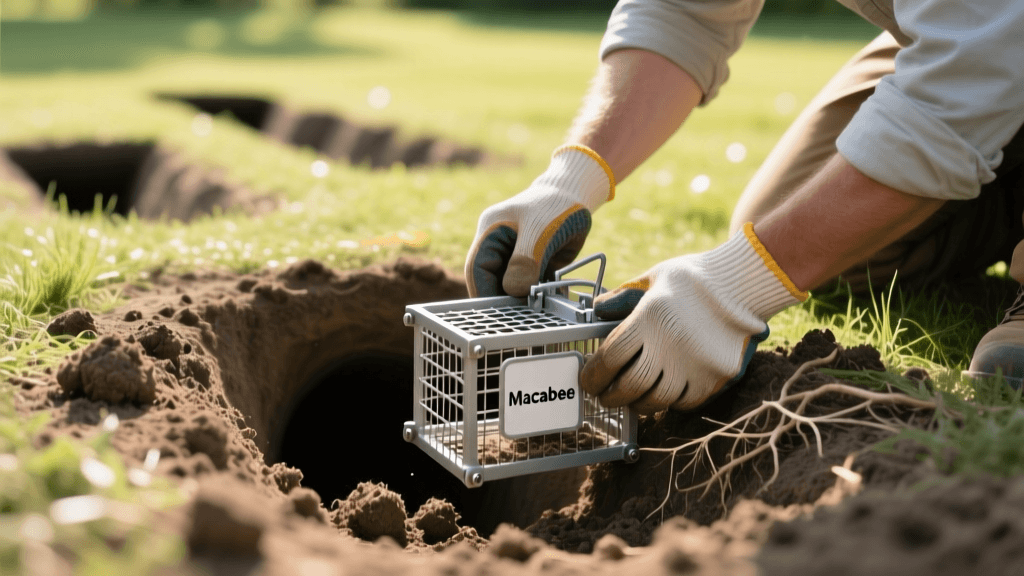
Macabee Gopher Trap Placement: A 2026 Photo Documentation Guide
Introduction to Visual Pest Management in 2026
In the modern era of integrated pest management (IPM), trapping is only half the battle; documentation is the other. As we navigate the 2026 growing season, smart gardeners and landscape professionals are increasingly turning to visual logging to track pest populations, refine their techniques, and maintain detailed records for HOA compliance or agricultural extension reporting. When it comes to pocket gophers, the Macabee wire trap remains the undisputed gold standard for mechanical control. However, placing the trap blindly often leads to missed catches and wasted time.
By combining traditional trapping methods with modern garden photography and digital documentation, you can transform your pest control routine into a precise, data-driven science. This guide will walk you through the exact process of identifying active gopher tunnels, setting the Macabee trap, and documenting every step using your smartphone or DSLR camera. Whether you are building a visual journal for your own reference or sharing your IPM data with local experts via the University of California Integrated Pest Management (UC IPM) network, visual documentation is the key to long-term landscape health.
Photographing the Evidence: Identifying Active Gopher Mounds
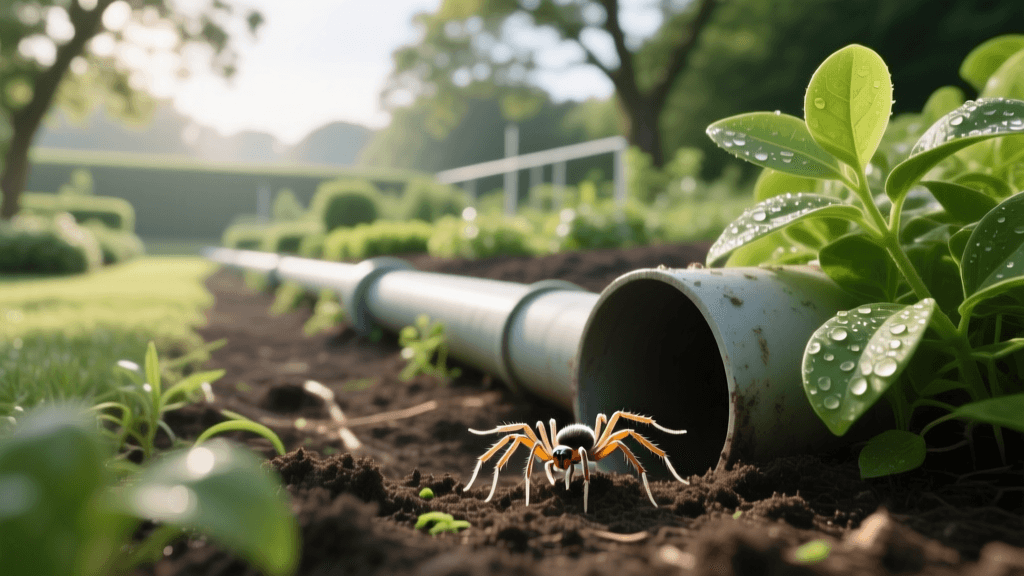
Before you even touch your gopher probe or Macabee trap, you must identify an active tunnel. Pocket gophers create distinct, fan-shaped mounds with a characteristic soil plug. However, not all mounds are active. Photography plays a crucial role in determining soil freshness without disturbing the site prematurely.
Macro Soil Photography for Moisture Analysis
Most 2026 flagship smartphones feature advanced 5x to 10x macro lenses capable of capturing incredible detail. Use your macro mode to photograph the soil plug and the edges of the mound. Freshly excavated gopher soil will exhibit distinct moisture gradients, darker coloration, and a lack of surface crusting compared to older, weathered mounds. By documenting these visual cues, you train your eye to recognize the subtle differences between an abandoned tunnel and a primary highway.
- Lighting: Shoot during the golden hour (early morning or late afternoon) to create long shadows that highlight the texture and depth of the soil fan.
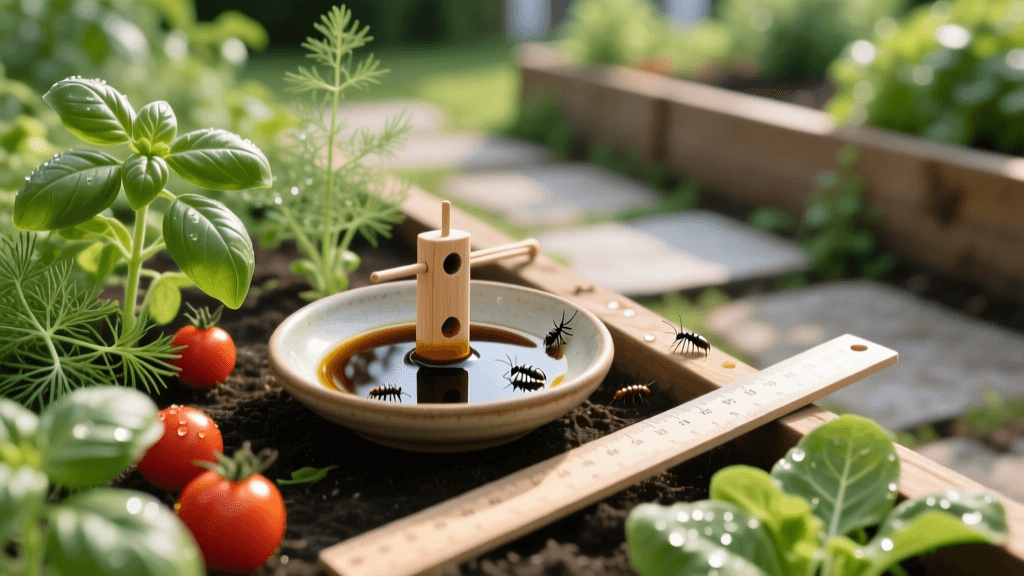
- Scale: Place a standard reference object, like a coin or a lens cap, next to the mound before taking the photo. This provides scale for your digital records.
- GPS Tagging: Ensure your camera app has location services enabled. Geotagging your mound photos allows you to generate a heat map of gopher activity across your property over the 2026 season.
The Probing Process: Visualizing the Main Tunnel
Once an active mound is identified and photographed, the next step is locating the main tunnel using a gopher probe. The main tunnel typically runs 12 to 18 inches below the surface, parallel to the ground. When you push the probe into the soil, you will feel a sudden 'drop' or release of pressure when you pierce the tunnel cavity.
Documenting the Probe Angle
When you hit the tunnel, stop and document the probe's position. Take a photograph from a low angle, capturing the exact trajectory of the probe entering the ground. This visual record is invaluable because it shows you the direction the tunnel is running. Gophers push soil out of lateral tunnels to form the mound, meaning the main tunnel is usually located 8 to 12 inches away from the plug, on the side where the soil fan is flattest. Your photo log will help you replicate successful probing angles in different soil types across your garden.
Setting the Macabee Trap: A Step-by-Step Photo Log
The Macabee trap is a narrow, two-spring wire trap that has been a staple in pest control for decades. In 2026, a standard pair of Macabee traps costs between $18 and $24, making it a highly cost-effective solution compared to chemical baits or professional extermination services, which are heavily regulated and often restricted by local environmental guidelines outlined by the USDA APHIS Wildlife Damage Management program.
Setting the trap requires precision, and documenting your set ensures you haven't made any critical errors before lowering it into the dark tunnel.
Table: Macabee Trap Setting Checklist & Photo Ops
| Step | Action Required | Photography / Documentation Goal |
|---|---|---|
| 1. Preparation | Attach a brightly colored safety cord to the trap's anchor ring. | Take a close-up of the knot to ensure it is secure and won't slip under tension. |
| 2. Compression | Pinch both springs together until they touch. | Document the compressed springs from a side profile to verify even tension. |
| 3. Trigger Set | Insert the trigger wire through the catch loop and rest it on the trigger pan. | Use macro mode to photograph the trigger wire resting lightly on the pan. It must be sensitive enough to fire when the gopher nudges it. |
| 4. Tunnel Clearing | Use a trowel to clear loose dirt from the tunnel floor where the trap will sit. | Shoot down into the cleared tunnel using a small LED ring light to ensure the floor is level and free of debris. |
| 5. Placement | Insert the Macabee trap into the main tunnel, facing the trigger toward the expected direction of travel. | Take a final wide shot showing the trap in the tunnel, the safety cord extending to the surface, and the mound in the background. |
Remote Monitoring: Trail Cams and Time-Lapses
One of the most common mistakes in gopher trapping is checking the trap too frequently. Approaching the trap site can transmit human scent, vibrate the soil, and cause the gopher to plug the tunnel with dirt before triggering the Macabee trap. In 2026, garden photography extends beyond the smartphone into the realm of remote visual monitoring.
Consider setting up a solar-powered trail camera or a dedicated outdoor security camera pointed at your trap's safety flag. Configure the camera to capture a time-lapse or motion-triggered photos. This allows you to monitor the trap's status from your phone without ever stepping foot near the sensitive tunnel. If the gopher plugs the tunnel without triggering the trap, your time-lapse footage will reveal exactly when and how it happened, providing critical data to adjust your soil-clearing technique for the next set.
Post-Catch Documentation and Data Logging
When your Macabee trap is successfully sprung, the documentation process enters its final phase. Ethical and effective pest management requires accurate record-keeping. Photograph the retrieved trap and the catch. While this may seem unappealing to some, visual confirmation is necessary for maintaining an accurate IPM log.
Upload your photos to a dedicated cloud folder or a garden journaling app. Note the date, time, weather conditions, and soil moisture levels. Over time, this visual database will reveal patterns. You may discover that gophers in your specific microclimate are most active during the first week of heavy spring rains, or that they consistently avoid tunnels near certain deep-rooted perennial borders.
Expert Tip: Share your documented findings with your local county extension office. Visual records of trap success rates and soil conditions are incredibly valuable to researchers studying regional pest migrations and the efficacy of mechanical controls in changing climate conditions. Resources provided by the Oregon State University Extension Service and similar institutions frequently rely on citizen-science data to update their regional pest management guidelines.
Conclusion
Gopher control doesn't have to be a game of blind guesswork. By treating your garden as a living laboratory and utilizing the Macabee wire trap alongside modern photography and documentation techniques, you elevate your pest management strategy from reactive to proactive. The visual records you create in 2026 will not only help you eradicate current infestations but will serve as an invaluable reference for protecting your landscape for years to come. Grab your camera, prep your traps, and start building your visual pest control legacy today.