Lawn Care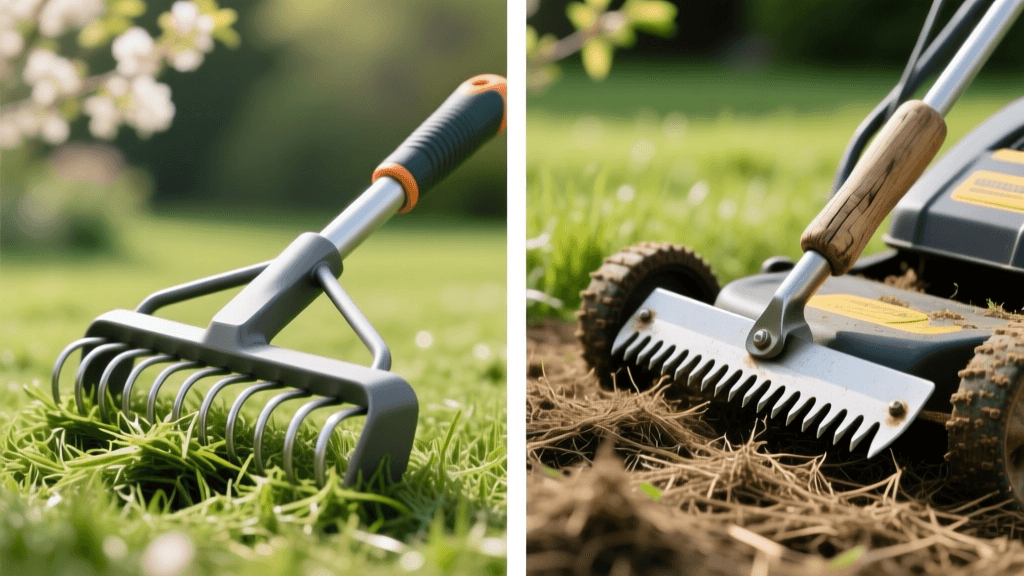
Power Rake vs Dethatcher Blade: 2026 Fertilizer Guide
The Hidden Link Between Thatch Removal and Fertilizer Schedules
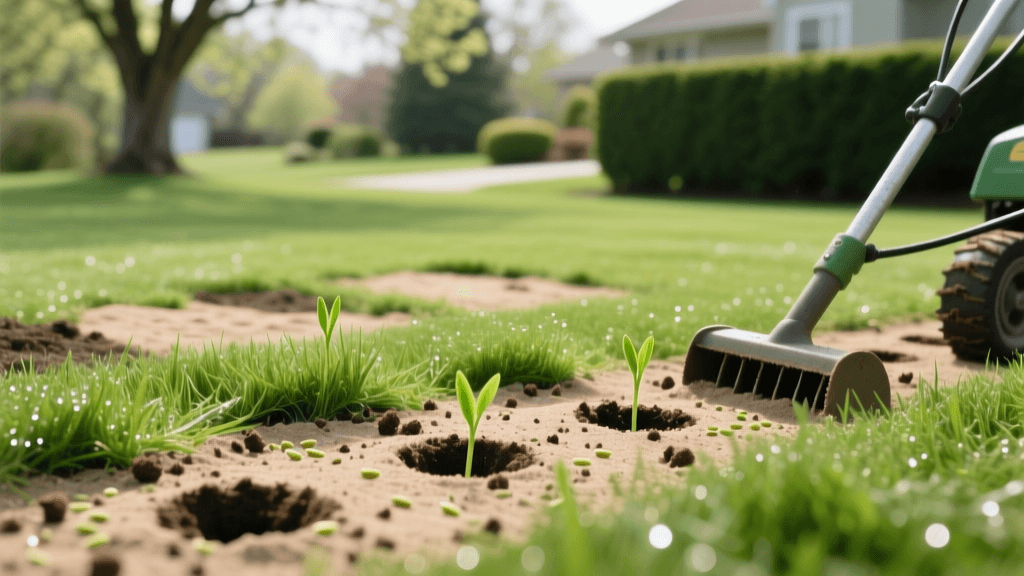
As we navigate the 2026 lawn care season, turfgrass science continues to emphasize the critical relationship between soil health, thatch management, and nutrient uptake. Thatch—a dense layer of dead and living grass shoots, stems, and roots that accumulates between the soil surface and the green vegetation—can act as a physical barrier. When thatch exceeds half an inch, it blocks water, air, and crucially, fertilizer from reaching the soil profile. However, the method you choose to remove this thatch fundamentally dictates your subsequent fertilizer types and application schedules. In this comprehensive guide, we compare the aggressive power rake against the routine dethatcher blade, specifically analyzing how each tool impacts your 2026 lawn fertilization strategy.
Power Rakes vs. Dethatcher Blades: A Quick Overview
Before adjusting your nutrient regimen, it is essential to understand the mechanical differences between these two thatch removal tools. According to the University of Minnesota Extension, proper thatch management requires matching the tool to the thickness of the thatch layer to avoid unnecessary turf stress.
Power Rakes: The Heavy-Duty Option
A power rake (or vertical mower) utilizes rigid, spinning flail blades that aggressively dig into the thatch layer and slightly into the soil. This tool is designed for severe thatch buildup (over 0.75 inches). While highly effective at physically tearing out dead organic matter, a power rake also rips up healthy turf, exposes bare soil, and causes significant root disturbance. Because of this trauma, the lawn enters a state of shock and requires an immediate, specialized fertilizer recovery schedule.
Dethatcher Blades: The Routine Maintenance Option
A dethatcher blade (often a spring-tine or flail attachment that replaces your standard mower blade) operates with much less aggression. The flexible spring tines sweep through the upper canopy, lifting and slicing light thatch (under 0.5 inches) without deeply penetrating the soil or tearing out healthy root systems. Because the turf canopy remains largely intact, your lawn can seamlessly transition into a standard, seasonal fertilizer maintenance schedule without the need for emergency recovery nutrients.
How Your Tool Choice Dictates Your Fertilizer Schedule
The core difference in your fertilizer schedule stems from the level of turf stress and soil exposure. When you power rake, you are essentially performing a mild form of tilling. The exposed soil and damaged roots require high-phosphorus starter fertilizers to rebuild the root system, followed by slow-release nitrogen to sustain the long recovery period. Conversely, when you use a dethatcher blade, the roots remain anchored and undisturbed. You can immediately apply standard high-nitrogen granular fertilizers to push top growth and green-up, aligning perfectly with traditional spring and fall feeding windows.
2026 Tool Comparison & Fertilizer Impact Chart
| Feature | Power Rake (Vertical Mower) | Dethatcher Blade (Spring Tine) |
|---|---|---|
| Ideal Thatch Depth | Greater than 0.75 inches | 0.25 to 0.5 inches |
| Turf Stress Level | High (severe canopy and root disruption) | Low (superficial canopy lifting) |
| Soil Exposure | Significant bare soil exposed | Minimal to no soil exposed |
| Primary Fertilizer Need | Starter fertilizer (High Phosphorus) + Slow-Release N | Standard Maintenance (High Nitrogen) |
| Recovery Time | 3 to 5 weeks | 1 to 2 weeks |
| Best Application Method | Granular + Liquid Bio-stimulants | Granular Broadcast or Liquid Spray |
Scenario A: The Post-Power Rake Recovery Fertilizer Schedule
If your 2026 soil assessment reveals thick thatch requiring a power rake, you must treat your lawn as if it has just been partially renovated. The Penn State Extension recommends treating heavily dethatched lawns with the same care as newly seeded or sodded turf to ensure survival and rapid recovery.
Step 1: Immediate Starter Application (Day 1)
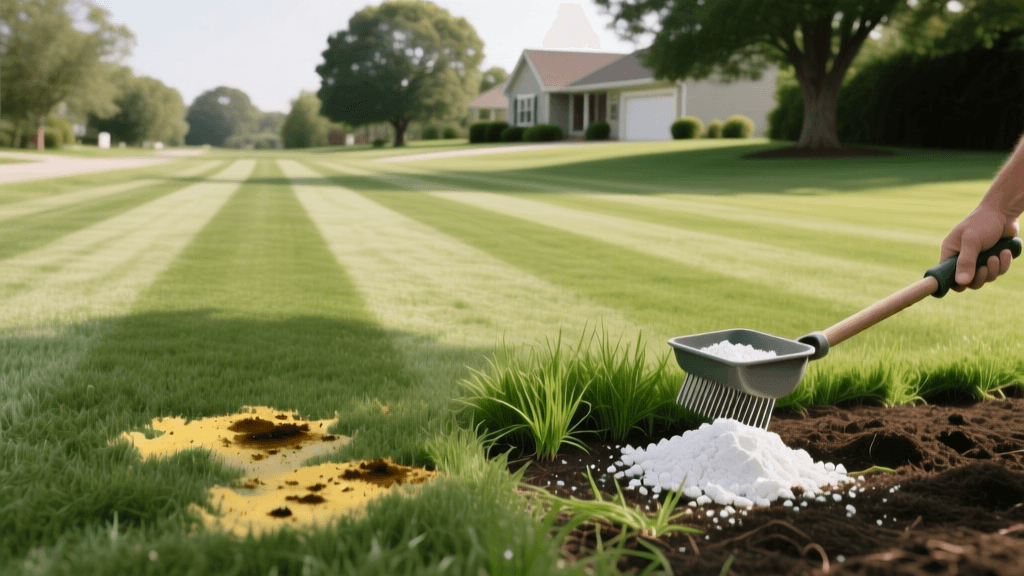
Immediately after power raking and removing the debris, apply a high-phosphorus starter fertilizer. Look for an N-P-K ratio similar to 10-18-10 or 12-24-12. Phosphorus is critical here because the aggressive flail blades have severed microscopic feeder roots. The phosphorus will stimulate rapid root regeneration, anchoring the remaining turf back into the soil.
Step 2: Slow-Release Nitrogen Boost (Week 3)
Three weeks post-power-raking, the lawn will be actively pushing new shoots. Apply a premium Polymer-Coated Urea (PCU) slow-release nitrogen fertilizer. In 2026, advanced PCU technologies provide a steady, temperature-dependent release of nitrogen over 90 days. This prevents the rapid, weak flush of growth that can occur with quick-release urea, which is highly detrimental to a lawn recovering from mechanical trauma.
Step 3: Liquid Bio-Stimulants (Weeks 1 through 4)
Supplement your granular applications with weekly liquid sprays of humic acid and kelp extract. These bio-stimulants reduce plant stress hormones and improve the soil's cation exchange capacity (CEC), ensuring that the granular fertilizers you applied are efficiently absorbed by the recovering roots.
Scenario B: The Dethatcher Blade Maintenance Fertilizer Schedule
If you are using a dethatcher blade for annual spring or fall maintenance on a lawn with minimal thatch, your fertilizer schedule remains largely uninterrupted. The goal here is to feed the existing, healthy root system and promote dense canopy growth to naturally crowd out future thatch-producing weeds.
Step 1: Standard Spring Feeding (Post-Dethatching)
Once you have swept up the light thatch debris, apply a standard spring lawn fertilizer with an N-P-K ratio around 24-0-10 or 28-0-3. Because the roots were not severed, the turf does not need extra phosphorus (which also protects local waterways from nutrient runoff). The high nitrogen content will fuel vigorous blade growth, while the potassium strengthens the grass against upcoming summer heat stress.
Step 2: Early Fall Winterizer
Follow up in early fall with a potassium-rich winterizer fertilizer (e.g., 10-0-14). The light scratching of the dethatcher blade will have created micro-channels in the upper soil, allowing the fall fertilizer to penetrate deeply and store carbohydrates in the roots for the following spring.
Top Fertilizer Types for Post-Thatch Removal in 2026
The fertilizer industry has evolved significantly, and selecting the right product type in 2026 is just as important as the application schedule.
Polymer-Coated Urea (PCU)
PCU represents the gold standard for post-power-rake recovery. The polymer coating prevents the nitrogen from leaching through the exposed soil profile, releasing nutrients only when soil moisture and temperatures are optimal for turf uptake. This is highly recommended for lawns that have suffered the soil exposure typical of aggressive power raking.
Organic Milorganite and Feather Meal Blends
For homeowners preferring organic lawn care, blends utilizing Milorganite (biosolids) and hydrolyzed feather meal provide an excellent slow-release nitrogen source. These organic options also introduce beneficial microbes to the soil. These microbes are essential after dethatching, as they help break down any remaining micro-thatch that the mechanical tools missed, turning it into natural humus.
Liquid Humic Acids and Fulvic Acids
While not traditional N-P-K fertilizers, liquid carbon sources are vital in 2026 turf management. When thatch is removed, the soil microbiome is often disrupted. Applying liquid humic and fulvic acids acts as a chelating agent, binding to soil minerals and making them bioavailable to the grass roots. This is particularly effective when applied immediately after using a dethatcher blade, as the tines create perfect pathways for the liquid to reach the soil surface.
Expert Tips for Maximizing Nutrient Uptake
Regardless of whether you choose a power rake or a dethatcher blade, the success of your fertilizer schedule hinges on proper execution. First, always conduct a comprehensive soil test before selecting your fertilizer. The University of Minnesota Extension Fertilizing Guide emphasizes that blind applications of phosphorus or potassium without soil test data can lead to nutrient lockout and environmental harm.
Second, timing your irrigation is critical. After applying granular fertilizer post-dethatching, water the lawn with exactly 0.25 inches of water. This is enough to wash the fertilizer prills off the grass blades (preventing chemical burn) and into the soil profile, but not so much that it causes runoff or leaching. Finally, never dethatch or power rake during the peak heat of summer. The combination of mechanical stress and high-nitrogen fertilizer during July or August will invite severe fungal diseases like brown patch and pythium blight. Stick to early spring or early fall when soil temperatures are between 55°F and 65°F, ensuring your fertilizer schedule works in harmony with the natural growth cycles of your turfgrass.