Landscaping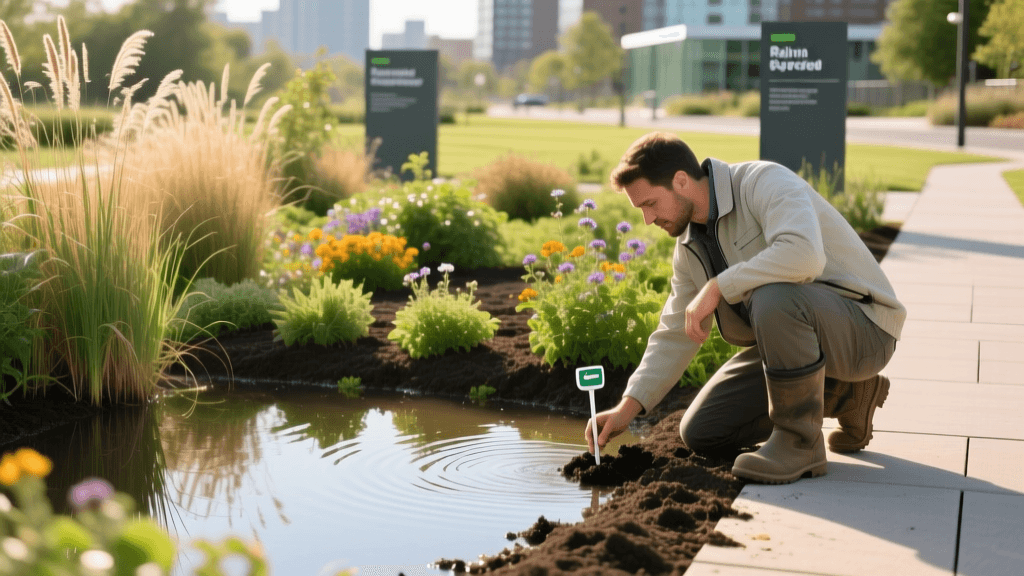
Rain Garden Installation & Photo Documentation Guide 2026
The Intersection of Stormwater Management and Visual Documentation
In 2026, sustainable landscaping has evolved from a niche hobby to a critical component of residential property management. With municipal water authorities offering unprecedented green infrastructure rebates this year, homeowners are increasingly turning to rain gardens to manage stormwater runoff. A properly installed rain garden can reduce localized flooding, filter pollutants, and recharge groundwater aquifers. However, securing these 2026 municipal rebates and HOA approvals requires more than just digging a hole and planting native species; it demands rigorous visual documentation.
Combining the art of garden photography with the science of stormwater engineering allows you to create a compelling portfolio of your landscape's transformation. Whether you are submitting proof of installation to the Environmental Protection Agency (EPA) backed local water authority or building a professional landscaping portfolio, capturing the step-by-step installation process is essential. This guide covers the technical specifications of rain garden installation alongside the photographic techniques required to document every layer, from the initial percolation test to the first major storm event.
Phase 1: Site Assessment and Baseline Photography
Before breaking ground, you must identify the ideal location for your rain garden. The basin should be situated at least 10 feet away from your home's foundation, avoiding utility lines and septic systems. The ideal size for a residential rain garden is between 100 and 300 square feet, designed to capture runoff from a specific impervious surface, such as a driveway or roof downspout.
Documenting the Problem Area
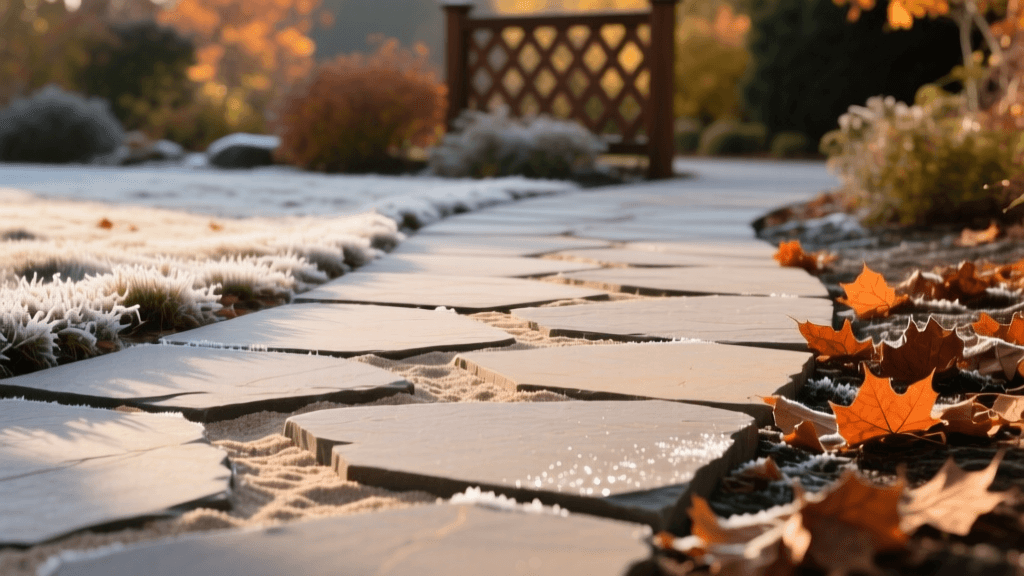
Start your visual journal by capturing the existing drainage issues. Use a wide-angle lens (such as a 16-35mm f/2.8) to show the relationship between the downspout, the sloping lawn, and the area where water pools. Photograph the site during or immediately after a rainstorm to capture the standing water. Include a recognizable landmark or a measuring stick in the frame to provide scale. For 2026 rebate applications, geotagged baseline photos are often mandatory to prove that a drainage problem existed prior to your intervention.
The Percolation Test
Dig a test hole 12 inches deep and fill it with water. If it drains within 24 hours, your soil is suitable for a rain garden. Document this test using a time-lapse setup. Mount your camera on a sturdy tripod and set the intervalometer to capture one frame every 60 seconds. This not only provides scientific proof of your soil's drainage rate but also creates engaging video content for social media or project presentations.
Phase 2: Excavation and Soil Engineering
The physical installation begins with excavation. A standard rain garden basin is dug to a depth of 6 to 8 inches, with gently sloping sides to prevent erosion. The excavated area should be perfectly level at the base to ensure water distributes evenly across the entire planting bed.
Drone Mapping the Excavation
To capture the sheer scale of the earthmoving process, utilize a drone like the DJI Air 3S. Flying directly overhead at an altitude of 50 to 100 feet, capture top-down orthomosaic images of the excavated basin. These aerial shots are invaluable for illustrating the garden's integration with the broader landscape architecture and are highly favored by municipal reviewers assessing stormwater capture volume.
Photographing the Soil Mix
According to guidelines from Penn State Extension, a rain garden requires a highly permeable soil mix to facilitate rapid infiltration while supporting plant life. The standard 2026 recommendation is a blend of 60% coarse sand, 20% compost, and 20% topsoil. Do not use heavy clay or standard garden soil, as it will compact and cause the basin to hold water for days, creating a mosquito breeding ground.
From a photographic perspective, the soil mixing phase is an opportunity for macro photography. Use a 90mm or 100mm macro lens to capture the texture of the coarse sand and the rich, dark organic matter of the compost. Focus stacking is highly recommended here: take multiple shots at different focal planes (from the foreground sand grains to the background compost chunks) and blend them in post-processing to achieve edge-to-edge sharpness. These macro shots beautifully illustrate the engineered porosity of your stormwater solution.
Phase 3: Plant Selection and Installation
Plant selection is the heart of any rain garden. You need native species that can tolerate both temporary inundation (the 'wet feet' of the basin's center) and periods of summer drought (the berms and edges). Excellent choices for the 2026 planting season include Asclepias incarnata (Swamp Milkweed), Ilex verticillata (Winterberry Holly), and Panicum virgatum (Switchgrass).
Documenting the Planting Process
When photographing the planting phase, lighting is everything. Schedule your planting sessions for the early morning or late afternoon to take advantage of the golden hour. The low-angle sunlight will highlight the textures of the root balls and the vibrant greens of the native foliage. Capture close-ups of the plant tags to document the exact cultivars used—this is crucial for HOA compliance and future maintenance records.
After placing the plants, the basin must be mulched. Use triple-shredded hardwood mulch or pine fines, avoiding cedar or cypress mulches which can initially repel water and float away during the first heavy rain. Photograph the contrast between the dark, freshly laid mulch and the bright green foliage of the newly installed natives. Use a polarizing filter on your lens to cut through the glare of the sun on wet leaves and mulch, saturating the colors and revealing the true vibrancy of the garden.
Phase 4: Storm Event Capture and Long-Term Monitoring
A rain garden's true purpose is only realized during a storm. Capturing the garden in action is the most thrilling and challenging aspect of garden photography. You need to document the water flowing into the basin, pooling temporarily, and slowly infiltrating the engineered soil.
Weather-Sealed Gear and Settings
Shooting in the rain requires weather-sealed equipment. Mirrorless cameras like the Nikon Z8 or the OM System OM-1 Mark III, paired with weather-resistant lenses, are ideal for 2026 storm chasing. To capture the motion of the water flowing from the downspout into the garden, use a Neutral Density (ND) filter. A 6-stop or 10-stop ND filter will allow you to drop your shutter speed to 1/2 a second or longer, even in daylight, turning the rushing stormwater into a smooth, silky ribbon that contrasts beautifully with the rigid stems of the dormant native grasses.
Set up a time-lapse camera in a weatherproof housing to record the entire storm event. Watching the basin fill up and then completely drain within 24 hours provides the ultimate visual proof of your stormwater management system's efficacy. This specific footage is the gold standard for 2026 green infrastructure grant applications.
Rain Garden Installation & Photography Checklist
To ensure you capture every critical milestone for your documentation portfolio, refer to the structured checklist below:
| Installation Phase | Landscaping Action | Photography Technique & Gear | Documentation Purpose |
|---|---|---|---|
| Pre-Install | Identify pooling water & slope | Wide-angle (16-35mm), include scale reference | Prove baseline drainage issue for rebates |
| Site Prep | Percolation test (12" hole) | Tripod time-lapse (1 frame/60s) | Verify soil infiltration rate |
| Excavation | Dig 6-8" basin, level base | Drone top-down mapping (DJI Air 3S) | Show footprint and volume calculations |
| Soil Mixing | Blend 60% sand, 20% compost, 20% loam | Macro lens (90mm), focus stacking | Prove engineered soil porosity |
| Planting | Install natives (Milkweed, Winterberry) | Golden hour lighting, polarizing filter | HOA compliance, plant tag records |
| Storm Event | Capture inflow and infiltration | ND filter for slow shutter, weather-sealed body | Final proof of stormwater management |
Submitting Your Documentation for 2026 Municipal Rebates
Once your rain garden is installed and you have captured the first major storm event, it is time to compile your visual dossier. Most 2026 municipal water authorities require a standardized PDF report. Include your geotagged baseline photos, the drone map of the excavated footprint, the macro shots of the soil mix, and the time-lapse video link showing the 24-hour drainage cycle.
Ensure that all digital photos retain their EXIF data, as reviewers use the GPS coordinates and timestamps to verify that the work was done on your specific property within the eligible 2026 timeframe. By merging rigorous landscaping science with high-quality garden photography, you not only secure your financial rebates but also create a lasting testament to your commitment to sustainable stormwater management. For further reading on native plant selections and watershed protection, consult resources like the University of Maryland Extension, which offers excellent regional planting guides to complement your visual documentation.