Lawn Care
Lawn Striping in 2026: Perfecting Turf With Luster Leaf Rapitest
The Secret to Crisp Lawn Stripes Isn't Just Your Mower
As we navigate the 2026 lawn care season, the pursuit of the perfect lawn stripe has evolved from a niche landscaping trick into a mainstream homeowner obsession. Social media feeds and neighborhood lawns alike are showcasing intricate checkerboards, diamonds, and waves. Consequently, there has been a massive surge in the purchase of commercial-grade striping kits, heavy lawn rollers, and high-lift mower blades. However, many turf enthusiasts are left frustrated when their expensive equipment yields patchy, inconsistent, or faded patterns. The missing link to achieving golf-course-level aesthetics isn't found on your mower deck; it is hidden beneath the surface in your soil chemistry. Specifically, soil pH is the foundational master switch that dictates turf density, blade rigidity, and color uniformity—all of which are absolute prerequisites for flawless lawn striping.
Why Soil pH Dictates Lawn Striping Quality
To understand why soil pH matters for aesthetic patterns, we must look at the physics of lawn striping. A stripe is an optical illusion created by light reflecting off the waxy cuticle of grass blades. When you bend grass away from you, the light hits the duller underside of the blade, creating a dark stripe. When bent toward you, the glossy top side reflects the sun, creating a light stripe. For this reflection to be crisp and uniform, every single grass blade must possess high cell turgor pressure and structural integrity.
When your soil pH is unbalanced, essential macronutrients like phosphorus, potassium, and calcium become chemically locked up and unavailable to the root system. Without adequate calcium, turfgrass cell walls become weak and brittle. Instead of folding smoothly under the weight of a striping roller, the grass blades snap, fracture, and shred. Furthermore, incorrect pH levels lead to localized thinning and chlorosis (yellowing). A patchy, yellowing lawn will never reflect light uniformly, completely destroying the visual contrast required for sharp aesthetic patterns. According to the University of Minnesota Extension, maintaining optimal soil pH is the most critical step in ensuring nutrient uptake and overall turf density, which directly translates to the visual quality of your lawn.
Introducing the Luster Leaf Rapitest Soil pH Kit
In 2026, the market is flooded with digital soil probes and smart-sensor stakes. While these tools have their place in automated irrigation scheduling, they often suffer from calibration drift, battery corrosion, and localized anomalies that can mislead a homeowner trying to map out a precise striping grid. For rapid, highly accurate, and cost-effective spot-testing across different aesthetic zones of your yard, the Luster Leaf Rapitest Soil Test Kit (specifically their colorimetric capsule systems) remains the gold standard for DIY turf managers.
The Rapitest kit utilizes a chemical dye reaction that provides a visual color match to a standardized chart. This analog approach is immune to the electronic interference and sensor degradation that plague cheap digital meters. Because lawn striping requires absolute uniformity, you need to test multiple micro-zones in your yard (e.g., the sunny front striping zone versus the shaded side yard). The Rapitest capsule system allows you to run multiple comparative tests in a single afternoon for a fraction of the cost of laboratory analysis, giving you the granular data needed to perfect your turf canvas.
Step-by-Step: Testing Your Soil pH for Striping Uniformity
Achieving a flawless stripe means treating your lawn like a grid. You cannot simply take one soil sample from the edge of the driveway and assume the entire property shares the same chemistry. Here is how to use the Luster Leaf Rapitest kit to map your lawn for aesthetic perfection.
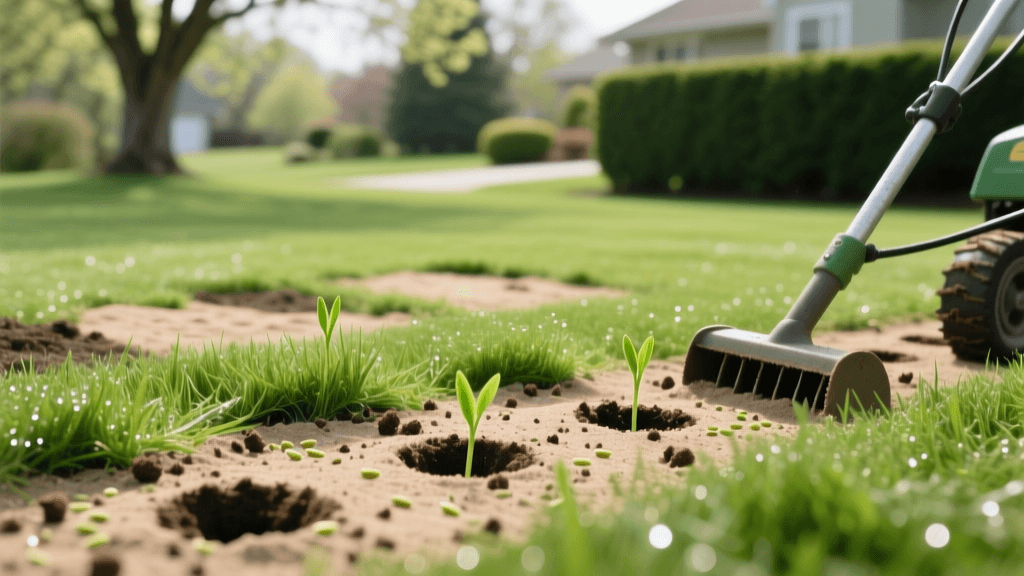
Gathering Your Samples
Divide your lawn into distinct "striping zones" based on sunlight exposure, slope, and existing turf thickness. Using a clean trowel or soil probe, extract core samples from the top 3 to 4 inches of soil in each zone. This is the active root zone where your turfgrass pulls the nutrients required for blade rigidity. Remove any thatch, grass clippings, or debris from the sample. Place the soil from each zone into separate, clean plastic cups. It is vital to use distilled water—not tap water—when conducting the Rapitest test, as the neutral pH of distilled water ensures the chemical capsule reacts only to your soil's inherent chemistry.
Running the Rapitest Capsule Test
The Rapitest comparator chamber is elegantly simple. Follow these steps for each zone:
- Step 1: Fill the test chamber with your soil sample up to the indicated "Soil" line.
- Step 2: Carefully twist open one of the Rapitest pH capsules and pour the powder directly onto the soil.
- Step 3: Add distilled water to the chamber up to the "Water" line.
- Step 4: Secure the cap tightly and shake the chamber vigorously for 60 seconds to ensure the dye fully dissolves and binds with the soil particles.
- Step 5: Allow the mixture to settle for 5 to 10 minutes. The soil will sink to the bottom, leaving a tinted liquid at the top.
- Step 6: Compare the color of the liquid to the Rapitest pH color chart provided in the kit.
Interpreting Rapitest Results for Aesthetic Turf
Once you have your color-matched results, you must interpret them through the lens of turf aesthetics and striping potential. Most cool-season grasses (like Kentucky Bluegrass and Tall Fescue) and warm-season grasses (like Bermuda and Zoysia) thrive in a slightly acidic to neutral range. Below is a guide to understanding how your Rapitest results will impact your 2026 striping goals.
| Rapitest pH Result | Turf Condition & Visual Symptoms | Striping Quality & Blade Reflection | Required Aesthetic Amendment |
|---|---|---|---|
| Below 5.5 (Highly Acidic) | Stunted growth, yellowing patches, moss invasion, weak root systems. | Poor: Blades lack turgor pressure and snap under the roller. High contrast is impossible. | Apply calcitic or dolomitic pelletized lime to raise pH. |
| 5.5 to 6.0 (Moderately Acidic) | Acceptable green color, but density is lacking in high-traffic areas. | Fair: Stripes will appear somewhat faded or inconsistent during midday sun. | Light lime application; incorporate organic compost to buffer soil. |
| 6.2 to 7.0 (Optimal Range) | Maximum nutrient uptake, deep emerald green, thick cellular walls. | Excellent: Blades fold perfectly, creating sharp, high-contrast optical illusions. | None required. Maintain with balanced fertilization. |
| Above 7.5 (Alkaline) | Iron chlorosis (pale/yellow blades with green veins), brittle turf. | Poor: Lack of deep green pigmentation ruins the light/dark stripe contrast. | Apply elemental sulfur or acidifying fertilizers to lower pH. |
Correcting pH to Achieve Golf-Course Level Stripes
If your Luster Leaf Rapitest kit reveals that your soil is outside the optimal 6.2 to 7.0 window, you must correct it before your peak striping season begins. The Clemson University Cooperative Extension emphasizes that pH correction is not an overnight process; it requires chemical reactions that take weeks or months to fully integrate into the soil profile.
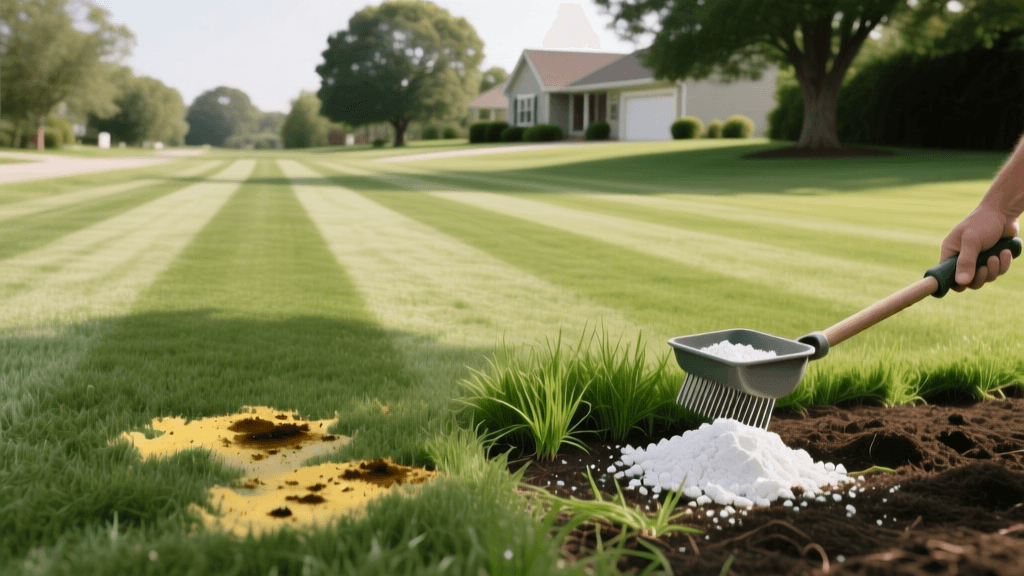
For Acidic Soils (Below 6.0): You will need to apply pelletized lime. For most lawns, applying 25 to 50 pounds of lime per 1,000 square feet will raise the pH by roughly half a point. For the best aesthetic results, apply lime in the late fall or early spring. Core aerating your lawn before liming is a pro-tip used by turf managers; the aeration holes allow the lime to reach the deeper root zone, promoting the deep, anchoring roots that give grass blades the leverage to bend smoothly under a striping kit.
For Alkaline Soils (Above 7.5): If your Rapitest liquid turns a dark blue or purple indicating high alkalinity, your grass is likely suffering from iron lockout, resulting in a pale green color that ruins stripe contrast. Apply elemental sulfur at a rate of 1 to 2 pounds per 1,000 square feet. Be cautious not to over-apply sulfur, as rapid acidification can burn the turf and create brown patches that will stand out glaringly in your geometric mowing patterns.
Integrating Soil Health with Mowing Techniques
Once your soil pH is dialed in using the Rapitest kit, your turf will respond with explosive, uniform growth. This is where proper mowing techniques amplify your aesthetic patterns. As outlined by UMN Turfgrass Science, maintaining the correct mowing height is crucial for turf density. Never remove more than one-third of the grass blade in a single mowing session. When the grass is grown in pH-balanced soil, the remaining blade has enough surface area to photosynthesize efficiently while retaining the structural rigidity needed to hold a stripe.
Invest in a high-quality striping kit or a weighted lawn roller for your mower. When you pass over turf that has been cultivated in optimal pH conditions, the roller gently folds the hydrated, turgid grass blades without crushing the cellular structure. The result is a pristine, stadium-quality pattern that will be the envy of the neighborhood.
Maintenance and Retesting Schedule for 2026
Soil pH is not a "set it and forget it" metric. Environmental factors, rainfall, and the continuous application of nitrogen-heavy synthetic fertilizers will naturally drive your soil pH down over time, making it more acidic. To ensure your lawn remains a perfect canvas for aesthetic mowing patterns throughout 2026 and beyond, establish a routine testing schedule.
Use your Luster Leaf Rapitest kit at least twice a year: once in early spring before your first major fertilizer application, and once in late autumn as the grass prepares for winter dormancy. By mapping your yard's pH zones and making targeted amendments, you guarantee that the foundation of your lawn is as meticulously managed as the geometric patterns you mow into it. True lawn artistry begins in the soil, and mastering the Rapitest pH test is your first step toward unmatched turf perfection.