Lawn Care
Photo Guide: Scotts GrubEx vs Bayer 24-Hour Grub Control 2026
The Intersection of Turf Management and Garden Photography
In 2026, the intersection of agronomy and visual documentation has become an essential practice for both turf professionals and dedicated home gardeners. Lawn care is no longer just about applying products and hoping for the best; it is about meticulous observation, tracking, and visual verification. When it comes to destructive turf pests like white grubs, photographic documentation serves multiple purposes: it provides proof for chemical warranty claims, creates a historical baseline for your property, and aids university extension offices in identifying regional pest outbreaks.
Two of the most prominent grub control solutions on the market this year are Scotts GrubEx (a preventative treatment) and Bayer Advanced 24-Hour Grub Killer (a curative rescue treatment). Because these products operate on entirely different timelines and utilize different active ingredients, the way you photograph and document your lawn's response to them must also differ. This guide will walk you through the best photography techniques for capturing grub damage and how to build a visual journal comparing these two industry-leading treatments.
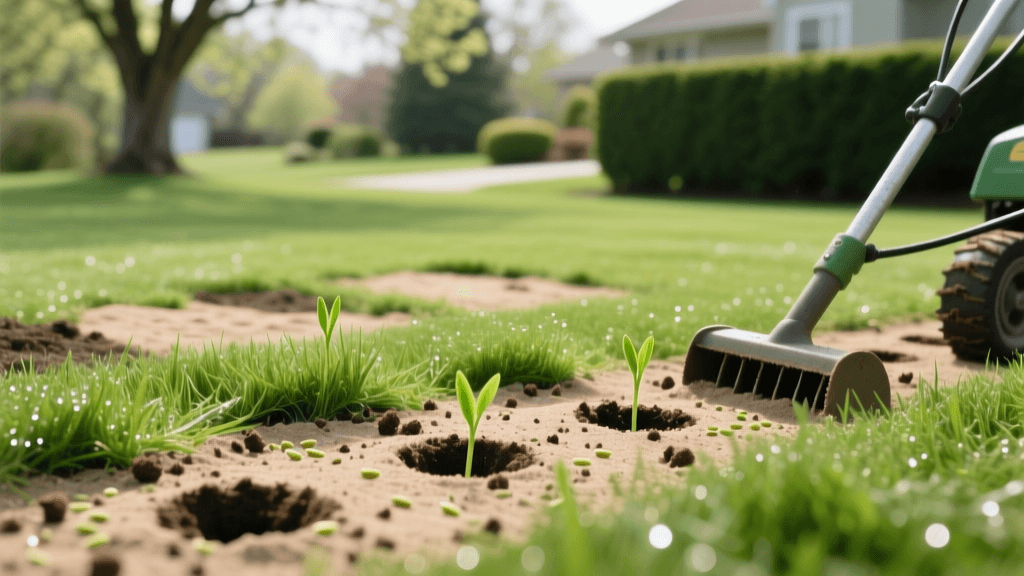
How to Photograph and Document Grub Damage
Before you can compare treatments, you must accurately document the problem. Grub damage typically manifests as irregular brown patches of turf that feel spongy underfoot and can be rolled back like a carpet due to severed root systems. To capture this effectively for your 2026 garden journal, you need a mix of wide-angle environmental shots and macro-level detail shots.
Essential Camera Gear for Turf Documentation
- Macro Lens (90mm to 105mm): Essential for capturing the C-shaped white grubs, their exact size, and the severed root structures. A true 1:1 macro lens allows you to document the specific species of grub (e.g., Japanese beetle vs. June bug larvae), which is critical for entomological identification.
- Circular Polarizing Filter (CPL): Grass blades are highly reflective, especially in the morning dew or after irrigation. A CPL cuts through the glare, allowing your camera sensor to capture the true, saturated colors of the healthy turf versus the desiccated, brown tones of the damaged areas.
- Color Calibration Card & Scale Ruler: Always place a standard 12-inch ruler and a color checker card in the frame when shooting macro shots of grubs. According to Penn State Extension, providing a scale reference is mandatory when submitting photos to diagnostic labs for pest identification.
Lighting and Angles
For wide shots of brown patches, shoot during the 'golden hour' (shortly after sunrise or before sunset). The low-angle, raking light emphasizes the texture of the damaged turf and the contrast between the dead grass and the surrounding healthy lawn. For macro shots of the grubs themselves, use a diffused off-camera flash to illuminate the soil cavity without blowing out the highlights on the grubs' moist, pale bodies.
Scotts GrubEx: Documenting the Preventative Strategy
Scotts GrubEx utilizes the active ingredient chlorantraniliprole, which is a preventative insecticide. In 2026, the recommended application window for GrubEx is late spring to early summer (typically May through June), well before grubs hatch and begin feeding near the soil surface. The chemical needs time to bind to the soil and be absorbed by the grass roots, creating a toxic barrier for newly hatched larvae.
The Photography Approach: Baseline and Monitoring
Because GrubEx is a preventative, your photographic documentation is focused on baseline establishment and long-term monitoring. You are photographing the absence of damage over time.
- Pre-Application Baseline: In early May, set up permanent photo stakes in four corners of your lawn. Take wide-angle photos from these exact stakes every two weeks. Use a drone or a high-vantage point to capture the overall canopy health.
- Application Day Documentation: Photograph the spreader settings, the product bag's lot number, and the uniform application pattern. This visual metadata is crucial if you need to file a warranty claim with Scotts later in the year.
- Soil Core Sampling: In late August, use a soil probe or a shovel to cut a 12x12 inch square of turf. Peel it back and photograph the soil interface. A successful GrubEx application will show a pristine root system and zero live grubs. Document this healthy root mass to compare against previous years.
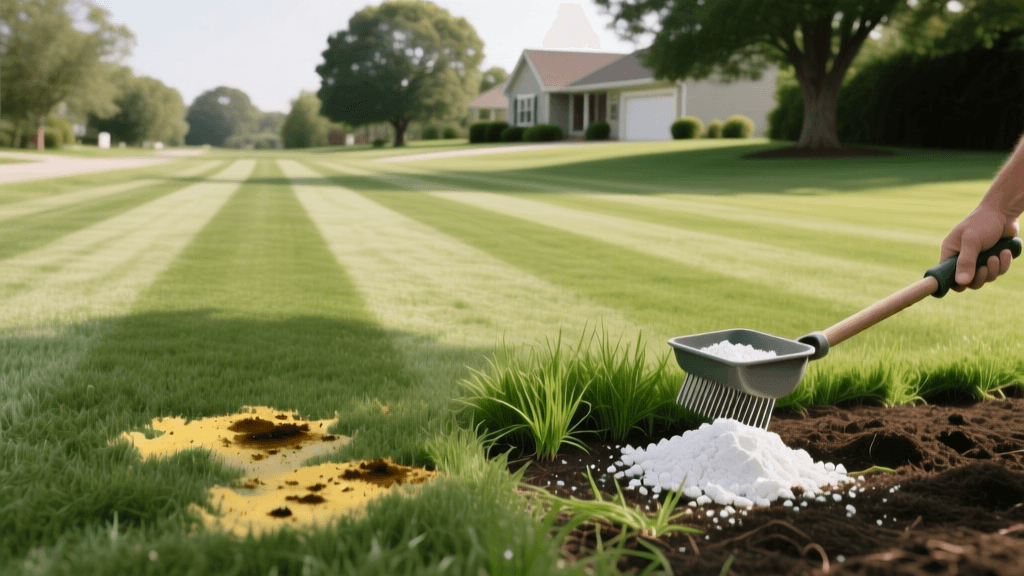
Bayer Advanced 24-Hour: Capturing the Curative Rescue
Bayer Advanced 24-Hour Grub Killer relies on trichlorfon (often known as Dylox), a fast-acting curative insecticide. This product is designed for late-summer or early-fall application when grubs are actively feeding near the surface and visible damage is already occurring. It works by disrupting the insects' nervous systems, typically achieving a lethal kill within 24 hours of contact and ingestion.
The Photography Approach: Crisis and Rapid Recovery
Documenting a curative treatment is highly dynamic. You are capturing a 'rescue' mission. Research from Michigan State University Extension highlights that curative treatments must be applied precisely when grubs are young and actively feeding near the surface for maximum efficacy.
- Damage Mapping: Before applying, use a GPS-enabled camera or smartphone to geotag the exact perimeter of every brown patch. Take overhead shots to map the spread of the infestation.
- The 24-Hour Time-Lapse: Set up a weather-sealed camera on a tripod overlooking the most severely damaged patch. Configure it to take a photo every 30 minutes. While the brown grass won't turn green overnight, you can document the cessation of secondary damage (such as crows, skunks, and raccoons tearing up the lawn to eat the dying grubs).
- Post-Application Root Checks: Three days after application, peel back the turf at the edge of the damaged zone. Photograph the dead, discolored grubs lying on the soil surface. This visual proof confirms that the trichlorfon successfully penetrated the thatch layer and reached the target pests.
2026 Comparison Chart: Visual Tracking & Product Specs
To maintain an organized garden journal, use the following comparison table to structure your documentation strategy based on the product you choose to deploy this season.
| Feature | Scotts GrubEx (Preventative) | Bayer Advanced 24-Hour (Curative) |
|---|---|---|
| Active Ingredient | Chlorantraniliprole | Trichlorfon |
| Application Window | Spring / Early Summer | Late Summer / Early Fall |
| Documentation Focus | Baseline health, root density, absence of pests | Damage mapping, pest mortality, secondary animal deterrence |
| Time to Visual Result | N/A (Prevents future damage) | 24 to 72 hours (Stops active feeding) |
| Best Lens for Tracking | Wide-angle (24mm-35mm) for canopy uniformity | Macro (100mm) for dead grub verification |
| Irrigation Requirement | Water in within 24 hours to activate | Heavy watering required to move chemical into soil |
Building Your 2026 Lawn Care Photo Journal
In 2026, digital organization is just as important as the photography itself. To build a robust lawn care journal, export your images with full EXIF and GPS metadata intact. Use software that allows you to tag images with specific keywords such as 'chlorantraniliprole', 'trichlorfon', 'Japanese Beetle Larvae', and 'Root Shearing'.
Creating a Visual Treatment Grid
One of the most effective documentation methods is the visual treatment grid. Divide a section of your lawn into three 10x10 foot squares:
- Square A: Treated with Scotts GrubEx in May.
- Square B: Treated with Bayer Advanced 24-Hour in August (only if damage appears).
- Square C: Untreated control zone.
By photographing these three squares from the exact same tripod height and focal length every 14 days, you create a side-by-side visual timeline. By late autumn, the contrast in root density, turf color, and wildlife damage between the three squares will provide undeniable, scientifically valid proof of which strategy best suits your specific microclimate.
'The difference between a hobbyist and a turf professional in 2026 is data. A photograph with a timestamp, a scale ruler, and GPS coordinates transforms a simple snapshot into a diagnostic tool that can save a lawn from total destruction.' — Modern Turf Management Journal
Conclusion
Whether you opt for the long-game preventative strategy of Scotts GrubEx or the rapid-response curative power of Bayer Advanced 24-Hour, your success hinges on observation. By integrating garden photography and meticulous documentation into your lawn care routine, you not only protect your investment but also contribute to a deeper understanding of your local ecosystem. Grab your camera, calibrate your lenses, and start tracking your turf's health today.