Landscaping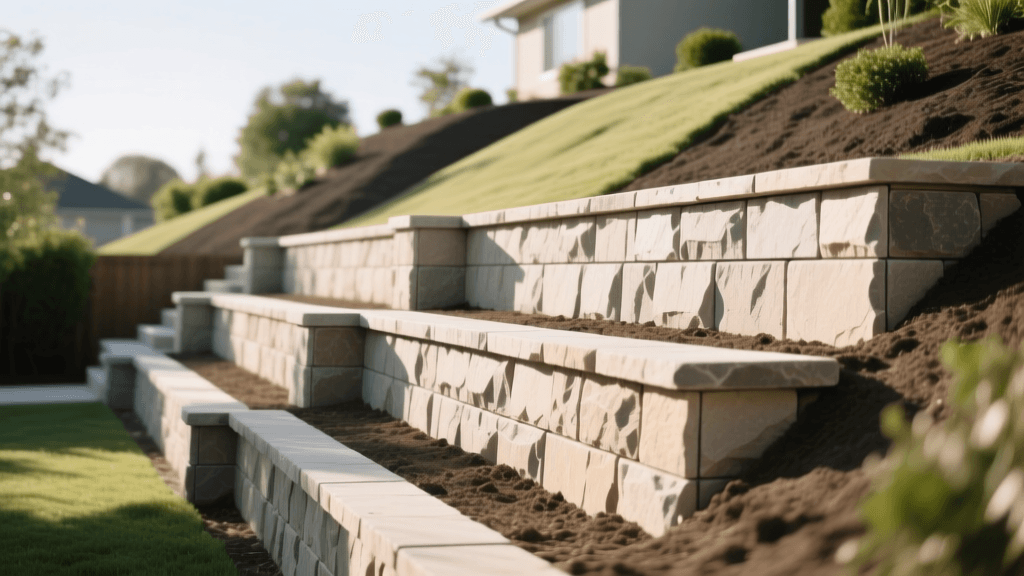
Documenting Sloped Backyard Terracing: 2026 Photo Guide
The Art of Hardscape Documentation in 2026
Transforming a steep, unusable slope into a series of flat, beautifully planted terraces is one of the most rewarding landscaping projects a homeowner or contractor can undertake. However, the intersection of heavy hardscaping and delicate garden design requires meticulous documentation. Whether you are a landscape architect building a portfolio, a homeowner tracking contractor progress, or a gardening enthusiast sharing your journey on social media, photographing a sloped backyard terracing project with a segmental retaining wall demands a strategic approach. In 2026, with advancements in smartphone LiDAR, drone photogrammetry, and high-resolution mirrorless sensors, capturing the engineering and aesthetic triumphs of your terraced garden has never been more accessible or vital.
Proper documentation serves multiple purposes: it provides structural proof of proper base preparation and geogrid installation, creates a stunning visual timeline of the landscape's evolution, and yields high-quality imagery for professional portfolios. This comprehensive guide will walk you through the photographic techniques, gear, and workflows necessary to document your segmental retaining wall project from the first shovel of dirt to the final planting of the terrace beds.
Phase 1: Pre-Construction and Slope Mapping
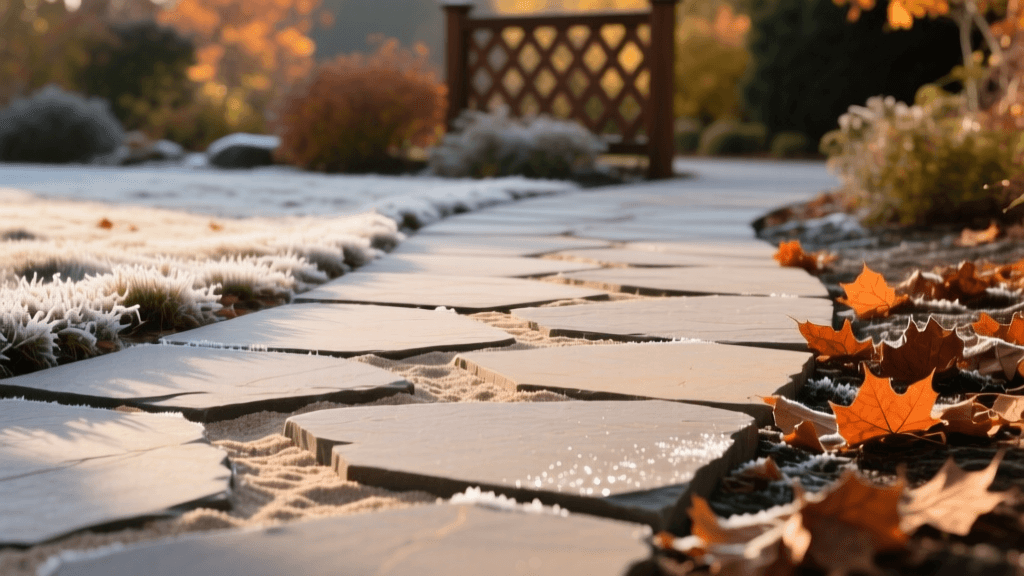
Before any excavation begins, you must capture the raw state of the sloped backyard. This "before" stage is crucial for establishing the scale of the transformation and documenting existing drainage patterns.
LiDAR and Topographical Documentation
In 2026, leveraging the LiDAR scanners built into flagship devices like the iPhone 17 Pro Max or iPad Pro is a game-changer for landscape documentation. By using 3D scanning apps, you can create a highly accurate digital twin of your slope. Take overlapping photographs of the raw hillside to feed into photogrammetry software. This not only creates a permanent record of the original grade but also helps in planning the exact height and batter (the backward lean) of your segmental retaining wall tiers.
Wide-Angle Context Shots
Use a wide-angle lens (equivalent to 14mm-24mm on a full-frame sensor) to capture the entirety of the slope from the bottom looking up, and from the top looking down. Position a recognizable object or a person in the frame to provide a sense of scale. Early morning or overcast lighting is ideal here, as it prevents harsh shadows from obscuring the details of the existing soil and vegetation.
Phase 2: Documenting the Structural Build
The construction of a segmental retaining wall (SRW) is an engineering feat hidden beneath the soil. According to Allan Block's residential engineering guidelines, the longevity of a terraced wall relies entirely on proper base preparation, drainage aggregate, and soil reinforcement. Photographing these hidden elements is critical for warranty claims and structural peace of mind.
Base Preparation and Drainage
Do not skip photographing the trench. Once the contractor has excavated the slope and laid the compacted aggregate base course, take clear, well-lit photos. Use a measuring tape in the frame to document the depth and width of the base. Capture the installation of the perforated drain pipe at the heel of the wall, ensuring the photo clearly shows the surrounding clean drainage gravel. These images are your proof that water will be properly channeled away from the wall, preventing hydrostatic pressure buildup.
Geogrid and Backfill Layers
For terraced walls exceeding certain heights, geogrid reinforcement is mandatory. Document every layer of geogrid as it is rolled out and pinned between the segmental blocks. Take close-up macro shots showing the tension and the overlap where the geogrid connects to the wall face. Photograph the compaction of the backfill soil in 8-inch lifts. This level of granular documentation is the hallmark of a professional landscape project archive.
Capturing Block Texture and Alignment
Segmental blocks, whether they mimic natural stone cleft or feature a smooth modern finish, have distinct textures. To highlight the interlocking pins and the face of the blocks, use side-lighting. If the sun is directly overhead, the wall face will look flat. Wait for the late afternoon "golden hour" when the low angle of the sun rakes across the wall, emphasizing the deep shadows and rugged textures of the concrete segments.
Phase 3: Post-Construction and Landscape Integration
Once the wall is capped and the terraces are filled with premium topsoil, the project transitions from hardscaping to gardening. As noted by the University of Minnesota Extension, integrating deep-rooted plants and cascading groundcovers into retaining wall terraces stabilizes the soil and softens the hardscape edges.
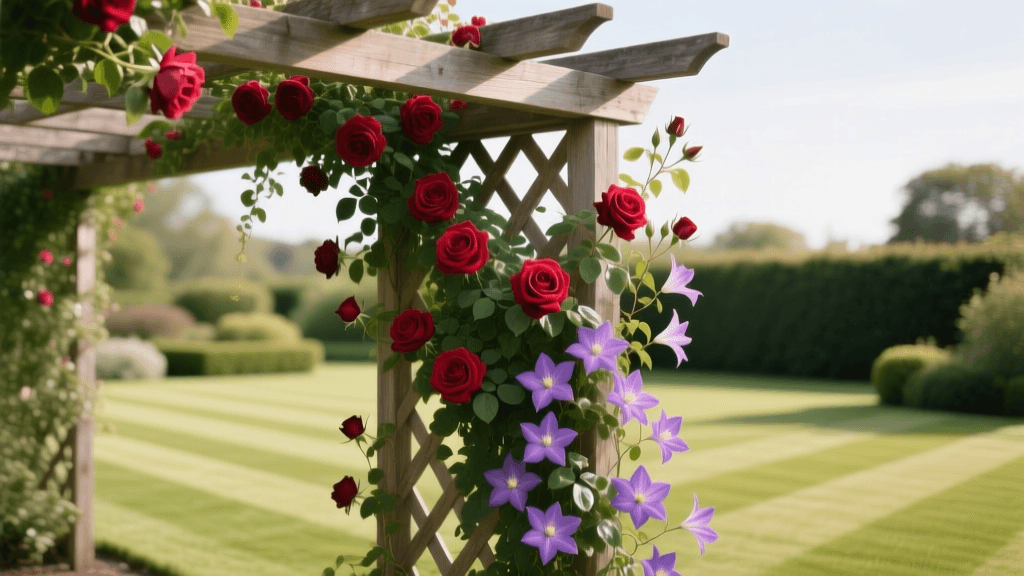
Planting the Terraces
Document the planting process. Use a medium telephoto lens (50mm-85mm) with a wide aperture (f/2.8) to isolate specific plant specimens against the blurred background of the segmental wall. This technique, known as bokeh, draws the viewer's eye to the delicate foliage of creeping thyme, trailing rosemary, or ornamental grasses while keeping the textured wall recognizable in the background.
Managing Sealers and Glare
Many homeowners choose to apply a wet-look sealer to their segmental blocks in 2026 to enhance the color and protect against efflorescence. While beautiful, sealers create intense specular highlights (glare) when photographed. Equip your lens with a Circular Polarizer (CPL) filter. By rotating the CPL, you can cut through the surface glare, revealing the true, deep colors of the sealed concrete blocks without the distracting white hot-spots caused by the sun.
2026 Gear Guide for Hardscape Documentation
Choosing the right equipment is essential for capturing both the sweeping scale of the terraced yard and the minute details of the block joints. Below is a curated gear table for landscape documentation in 2026.
| Equipment Type | 2026 Recommended Model | Best Use Case in Terracing | Estimated Cost |
|---|---|---|---|
| Smartphone | iPhone 17 Pro Max | LiDAR slope mapping, quick daily progress logs, and social media updates. | $1,399 |
| Mirrorless Camera | Sony A7R V | High-resolution portfolio shots, large prints, and detailed texture captures. | $3,298 |
| Drone | DJI Air 3S | Aerial top-down mapping, capturing the full footprint of multi-tier terraces. | $1,099 |
| Time-Lapse Camera | Enlaps Tikee 3 Pro | Automated, weather-proof 4K time-lapse of the entire multi-week build. | $1,890 |
| Lens | 24-70mm f/2.8 GM II | Versatile focal range for both wide terrace shots and medium block details. | $2,298 |
Mastering the Construction Time-Lapse
A time-lapse video condenses weeks of grueling excavation, block hauling, and soil moving into a mesmerizing 30-second clip. To achieve this, mount a dedicated time-lapse camera, such as the Enlaps Tikee 3 Pro, on a secure, weatherproof tripod or clamp it to a nearby tree or fence post that will not be disturbed during construction.
Set the interval to capture one frame every 10 minutes during working hours. Ensure the camera's solar panel is facing south to maintain battery life throughout the multi-week project. When editing the final video, sync the most dramatic moments—such as the placement of the coping stones or the rolling out of the sod on the new terraces—with the beat of your background music. Experts at B&H Photo Explora consistently recommend using intervalometers and dedicated solar-charged rigs for long-term outdoor projects to avoid the risk of manual camera failure.
Organizing Your 2026 Landscape Archive
Documentation is only as good as your filing system. Create a robust digital archive for your terracing project. Use a standardized naming convention for your files, such as YYYYMMDD_TerraceTier1_GeogridInstallation_RAW. Embed IPTC metadata into your images, including GPS coordinates, the specific brand and model of the segmental blocks used, and the contractor's contact information.
Back up your high-resolution RAW files and 4K drone footage to a dual-drive NAS (Network Attached Storage) system at home, alongside an encrypted cloud backup. This ensures that your comprehensive record of the sloped backyard terracing project is safe from hardware failure, providing you with a permanent, stunning visual legacy of your landscape transformation.
Conclusion
Photographing a sloped backyard terracing project with a segmental retaining wall is about much more than just taking pretty pictures. It is a vital practice of structural verification, artistic expression, and historical record-keeping. By utilizing the advanced LiDAR, drone, and mirrorless technologies available in 2026, and by methodically documenting every phase from the base trench to the final terrace planting, you elevate a standard construction project into a masterfully documented landscape achievement.