Lawn Care
Snow Mold Prevention and Spring Recovery Mowing 2026
The Hidden Link Between Mowing Patterns and Snow Mold
As we navigate the 2026 lawn care season, extreme weather fluctuations and heavier winter precipitation in many northern and transitional zones have made snow mold a primary concern for homeowners and turf managers alike. Snow mold is not just a product of winter weather; it is heavily influenced by how you prepare your turf in the late fall and how you approach your first cuts in the spring. While fungicides and aeration often get the spotlight, your mowing techniques and patterns are the most critical, cost-effective cultural controls available for preventing Microdochium nivale (pink snow mold) and Typhula incarnata (gray snow mold).
According to turf pathology experts, snow mold thrives in the microclimate created beneath snow cover when grass is left too long or matted down by poor mowing patterns. Long grass blades bend and overlap, creating a dense, humid canopy at the soil level that restricts air exchange and traps moisture. This environment is a breeding ground for fungal mycelium. By mastering specific late-fall step-down mowing schedules and strategic spring recovery patterns, you can drastically reduce snow mold incidence and accelerate your lawn's green-up in 2026.
Late Fall Mowing: The Step-Down Method
The most common mistake homeowners make in November is simply stopping their mowing routine once the grass slows its growth. To prevent snow mold, you must implement a 'Step-Down' mowing schedule over the final four to five weeks of the growing season. This gradual reduction in cutting height acclimates the turf to lower light conditions and hardens the crown without shocking the plant.
According to guidelines published by UMass Amherst Extension, leaving cool-season grasses at their peak summer height of 3.5 to 4 inches entering winter guarantees matting under the weight of snow. The goal is to reach a final winterizing height of 1.5 to 2.0 inches, depending on your specific grass type.
Fall Mowing Step-Down Schedule for Cool-Season Grasses
| Timeline (Pre-Winter) | Target Mowing Height | Mower Deck Setting | Clipping Management |
|---|---|---|---|
| 4 Weeks Before Frost | 3.0 inches | Notch 3 or 4 | Mulch finely |
| 3 Weeks Before Frost | 2.5 inches | Notch 2 or 3 | Mulch or side-discharge |
| 2 Weeks Before Frost | 2.0 inches | Notch 2 | Bag if heavy thatch |
| Final Cut (Dormancy) | 1.5 to 1.75 inches | Notch 1 or 2 | Bag all clippings |
Note: Always follow the one-third rule. Never remove more than one-third of the grass blade in a single pass, even during the step-down phase, to prevent crown stress.
The Geometry of Prevention: Late Fall Mowing Patterns
How you drive your mower is just as important as the height of your deck. Grass develops a 'grain'—a tendency to lean in the direction it is most frequently cut. If you mow in the same horizontal stripes all autumn, the grass will lean heavily to one side. When snow falls, this leaning grass mats flat against the soil, eliminating the vital air pockets that discourage fungal growth.
For your final three mows of 2026, adopt a Diagonal Overlap Pattern. Cut at a 45-degree angle to your property line, and on the next mow, cut at the opposing 45-degree angle. This cross-hatching forces the grass blades to stand upright and strengthens the base of the stem. Upright grass blades act like tiny pillars, holding the snowpack slightly above the soil surface and allowing for essential gas exchange (oxygen in, carbon dioxide out) throughout the winter months.
Spring Recovery Mowing: Navigating the Thaw
When the snow melts and you are faced with the circular, matted, straw-colored patches indicative of snow mold, your instinct might be to immediately fire up the mower and scalp the lawn. This is a critical error. Early spring soil is heavily saturated, and the turf crown is highly vulnerable. Aggressive mowing or tight turning patterns will cause severe soil compaction and tear the weakened root systems, allowing secondary pathogens like dollar spot to invade later in the 2026 season.
As noted by Penn State Extension, mechanical disruption of snow mold patches is necessary, but it should begin with a gentle hand-raking or the use of a specialized dethatching rake to lift the matted mycelium crust, rather than relying on mower blades to chop through the fungal mat.
The 'Perimeter-First' Spring Mowing Pattern
When it is finally time to make your first cut of the spring (ideally when the soil temperature consistently reaches 45°F and the surface is no longer spongy), utilize the Perimeter-First Straight-Line pattern.
- Avoid Zero-Turn Scuffing: Zero-turn mowers and tight-radius push turns tear wet spring turf. Instead, mow two wide perimeter passes around the entire lawn to create a turning zone.
- Straight Line Passes: Mow the interior in long, straight, overlapping lines. Do not mow in circles.
- Elevate the Deck: Set your mower deck to 3.0 inches for the first spring cut. You are merely 'tipping' the grass to encourage upright growth and sunlight penetration to the soil, not aggressively reducing biomass.
2026 Equipment Setup for Snow Mold Management
Modern mowing equipment offers precise adjustments that are invaluable for snow mold prevention and recovery. If you are utilizing a 2026 model like the EGO Power+ 21-inch Select Cut with the Multi-Blade system, ensure you are using the mulching blade during the early fall step-down phase to shred clippings into microscopic pieces that won't contribute to thatch. However, for the absolute final cut before dormancy, swap to the high-lift bagging blade. High-lift blades create maximum vacuum, standing the grass blades perfectly upright before slicing them, ensuring an immaculate, unmatted finish entering winter.
Furthermore, blade sharpness cannot be overstated. A dull blade shreds the tip of the grass, leaving a ragged edge that loses moisture and invites fungal spores to enter the plant tissue. Sharpen your blades at least twice in the fall, and always start the 2026 spring season with a freshly balanced and sharpened blade.
Spring Snow Mold Recovery Timeline
Follow this structured timeline to safely transition your lawn from winter dormancy to vigorous spring growth without exacerbating snow mold damage:
- Week 1 (Post-Thaw): Do not mow. Gently rake snow mold patches with a flexible bamboo leaf rake to break up the fungal crust and allow the soil to dry.
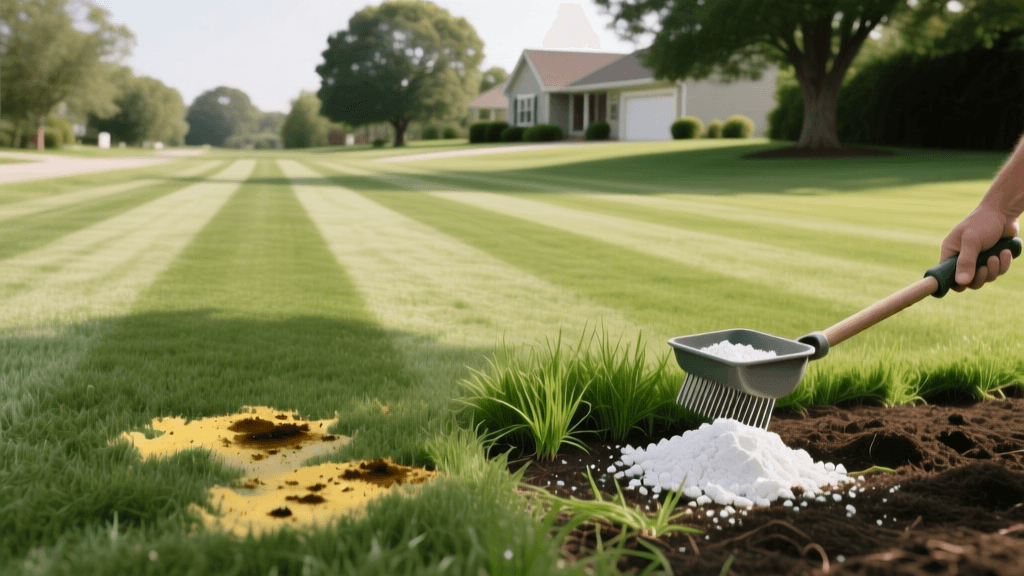
- Week 2 (Soil Drying): Apply a light dose of fast-acting liquid nitrogen (such as a 24-0-0 formulation) to stimulate rapid leaf growth and push the damaged tissue out.
- Week 3 (First Cut): Execute the Perimeter-First pattern at a 3.0-inch height. Bag the clippings to physically remove the dead, mold-infected tissue from the property.
- Week 4 (Second Cut): Lower the deck slightly to 2.75 inches. Switch back to mulching if the lawn is actively growing and the soil has dried sufficiently.
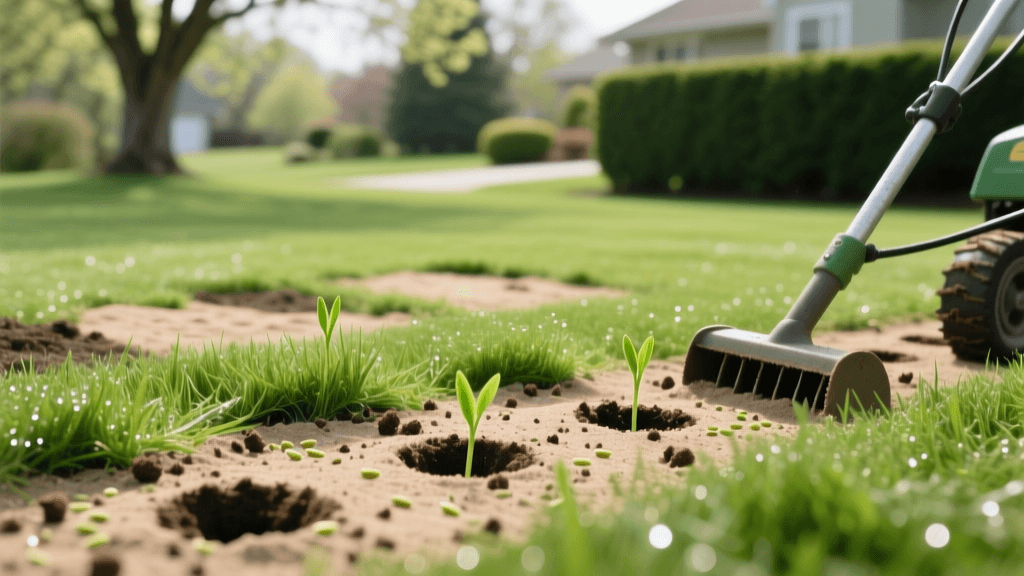
- Week 5 (Core Aeration): If compaction from winter snowpack is evident, perform core aeration to restore oxygen to the root zone, followed by a granular fungicide application if pink snow mold remains active in cool, wet conditions.
Pro Tip for 2026: If you experienced severe gray snow mold (Typhula) that resulted in dead crowns, mowing will not save those patches. Use a heavy-duty dethatching rake to remove the dead mat, loosen the top inch of soil, and overseed with a snow-mold-resistant perennial ryegrass blend as soon as soil temperatures stabilize above 40°F.
Conclusion
Snow mold prevention and spring recovery are not solely dependent on chemical applications or winter weather; they are deeply rooted in your mowing discipline. By executing a calculated step-down height reduction, utilizing diagonal patterns to prevent winter matting, and employing cautious, straight-line mowing techniques during the vulnerable spring thaw, you set the stage for a dense, disease-free lawn. Master these mowing strategies in 2026, and your turf will reward you with a faster, healthier, and more resilient green-up year after year.