Lawn Care
2026 Sod vs Hydroseeding: Costs, Timelines & Photo Tips
Documenting the Green Canvas: Sod vs. Hydroseeding in 2026
For the modern lawn care enthusiast and garden documentarian, installing a new lawn is not just a landscaping project—it is the opening scene of a visual story. Whether you are building a professional landscaping portfolio, creating a captivating time-lapse for social media, or simply preserving the memory of your property's transformation, the choice between sod and hydroseeding dramatically alters your photography schedule, lighting requirements, and narrative arc. As we navigate the 2026 landscaping season, material costs and biological timelines have shifted, making it crucial to plan your garden documentation strategy before the first seed or turf roll arrives.
Capturing the evolution of a lawn requires patience, technical precision, and an understanding of turfgrass biology. The visual journey of sod is one of instant gratification followed by subtle, subterranean changes. Conversely, hydroseeding offers a dramatic, colorful metamorphosis that is a time-lapse photographer's dream. Let us break down the 2026 costs, timelines, and the specific photographic techniques required to document both methods beautifully.
The 2026 Cost and Timeline Matrix
Before setting up your tripod and intervalometer, you need to understand the financial and temporal investment of your chosen method. The following table outlines the 2026 national averages for professional installation and DIY approaches, alongside the visual milestones your camera will capture.
| Feature | Sod Installation (2026) | Hydroseeding (2026) |
|---|---|---|
| Professional Cost (per sq. ft.) | $1.80 - $3.50 | $0.25 - $0.45 |
| DIY Material Cost (per sq. ft.) | $0.60 - $1.20 | $0.10 - $0.20 |
| Day 1 Visual | Instant mature lawn | Green slurry/mulch blanket |
| Germination/Rooting Milestone | Roots anchor in 14-21 days | Green fuzz appears in 5-10 days |
| Full Visual Maturity | Immediate (seams fade in 3 weeks) | 6 to 8 weeks for full coverage |
| Time-Lapse Appeal | Low (static image, focus on rooting) | High (dramatic color and texture shift) |
According to turfgrass researchers at the University of Minnesota Turfgrass Science program, hydroseed mulch matrices retain moisture critical for germination, which also creates a highly reflective surface for early morning photography. This moisture retention is a double-edged sword for photographers: it keeps the seedbed dark and rich, but can cause harsh glare if shooting under direct midday sun.
The Visual Timeline: What Your Camera Will Capture
Understanding the biological timeline of your grass is essential for programming your camera's intervalometer. You must anticipate the visual shifts to ensure your battery life and storage capacity align with the lawn's growth spurts.
Sod Installation: The Instant Transformation
When sod is laid, the visual transformation is instantaneous. From a photography standpoint, the 'after' photo can be taken the moment the installers roll up their trucks. However, the true story of sod is hidden beneath the surface. The critical documentation phase for sod involves capturing the 'knitting' process—the moment the roots bridge the gap between the turf and the native soil.
- Week 1: Focus on the seams. Use a macro lens to document the tight lines between rolls. The grass will look mature, but the soil beneath is saturated. Watch for water glare in your wide shots.
- Week 2-3: The seams begin to blur. This is the time to capture gentle tug-tests on video to demonstrate root establishment.
- Week 4: The first mowing. This is a major visual milestone. Document the transition from an overgrown, stressed state to a crisp, manicured finish.
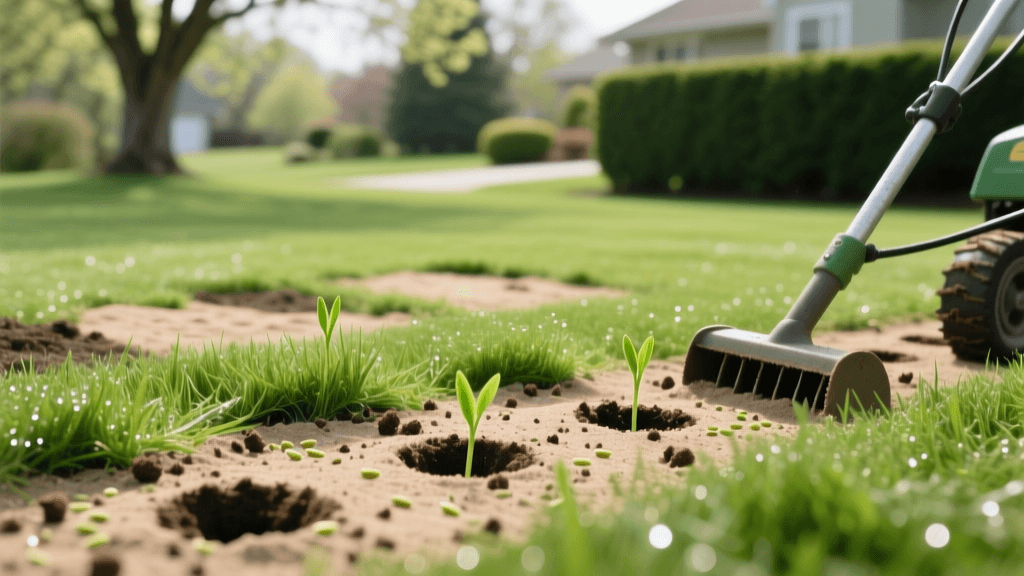
Hydroseeding: The Ultimate Time-Lapse Subject
Hydroseeding is a visual spectacle. The slurry applied on day one contains a vibrant, almost unnatural green dye designed to help contractors see their coverage and to absorb heat. Over the next four weeks, this dye fades, the mulch breaks down, and the true green of the grass emerges. This color shift is mesmerizing on camera but requires careful white-balancing.
- Days 1-4: The yard looks like a vibrant green sponge. The visual interest here is textural rather than botanical.
- Days 5-10: Germination begins. You will capture the 'green fuzz' effect. Time-lapses shot at ground level during this phase are incredibly dynamic as the first cotyledons push through the mulch.
- Days 14-30: The artificial dye fades entirely, replaced by the authentic chlorophyll green of the growing turf. The lawn transitions from a patchy, textured surface to a unified carpet.
- Days 45-60: Full maturity and the first mowing. The time-lapse reaches its satisfying conclusion.
Setting Up Your Garden Documentation Station
To capture a seamless time-lapse or a consistent before-and-after series, your camera must remain absolutely stationary for weeks. In 2026, we have access to incredible weatherproof gear, but the fundamentals of placement remain unchanged.
Camera Placement and Angles
Mount your camera on a heavy-duty steel stake driven at least 18 inches into the ground, or use a permanent architectural feature like a fence post. Tripods are useless for multi-week projects due to wind, lawn maintenance, and accidental bumps. Position the camera at a 45-degree angle, approximately three feet off the ground. This angle captures both the foreground texture and the background landscape, providing a sense of scale.
Intervalometer Settings for 2026 Gear
Modern mirrorless cameras and advanced action cams feature built-in solar-assisted time-lapse modes, but you must configure them correctly for biological growth.
- For Hydroseed Germination (Days 1-21): Set your interval to 1 frame every 15 minutes during daylight hours. This captures the rapid daily growth and the shifting shadows without creating a jittery final video.
- For Sod Rooting (Weeks 1-4): Since the visual changes are slower and more subtle, set your interval to 1 frame every 2 hours.
- Exposure Lock: Always lock your exposure and white balance. If you leave these on Auto, the passing clouds and the fading green dye of the hydroseed will cause your final video to flicker violently.
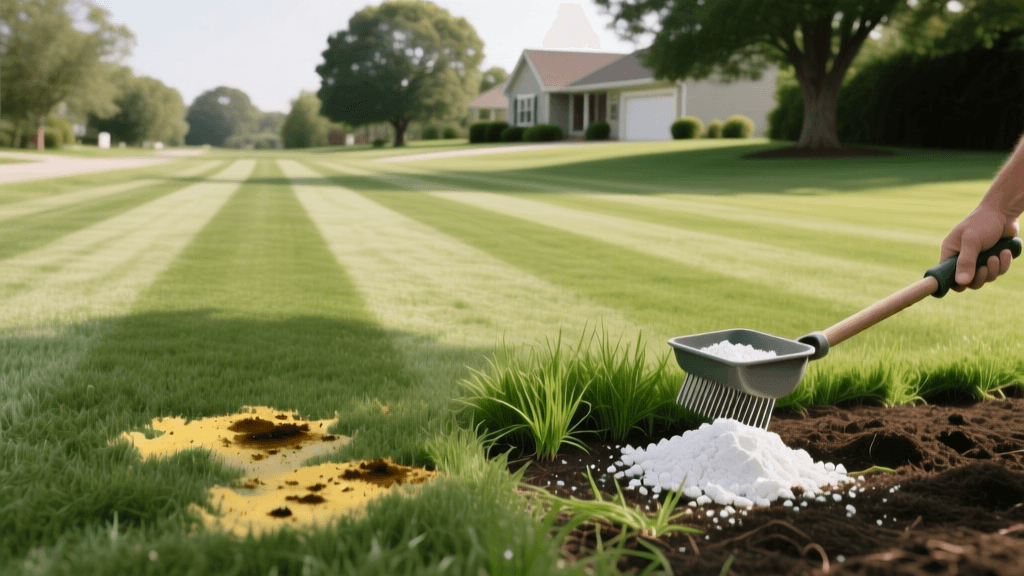
Managing Light, Water, and Reflections
New lawns require immense amounts of water. Proper irrigation is vital for both methods, and the EPA WaterSense program recommends smart irrigation controllers to manage the heavy water requirements of new lawns without wasting resources. For the photographer, this constant watering presents a challenge: reflections.
When the sprinklers hit the fresh sod or hydroseed mulch, the surface becomes highly reflective. If you are shooting video or daily stills, schedule your photography sessions for the 'golden hour'—shortly after sunrise or just before sunset. The low angle of the sun will illuminate the texture of the grass blades and the mulch matrix without bouncing harsh white light directly into your lens. Furthermore, using a circular polarizer (CPL) filter on your lens is non-negotiable in 2026 garden photography; it will cut through the water glare and reveal the rich, saturated colors of the soil and emerging turf.
Establishing Fixed Reference Points
A common mistake in garden documentation is losing the sense of scale. When a bare dirt yard turns into a lush lawn, the viewer's eye has no anchor. To solve this, introduce fixed reference points into your frame before you begin.
Pro Tip: Place a beautifully crafted wooden garden stake, a specific piece of landscape boulders, or a permanent yard ornament in the foreground of your shot. This anchor gives the viewer's eye a place to rest and emphasizes the explosive growth happening around it.
For ongoing maintenance and establishment guidelines, the Penn State Extension provides excellent benchmarks for when a new lawn is ready for its first mowing. Documenting this first mowing is crucial. Frame your shot so the mower enters from the left, cutting a clean swath through the overgrown new grass, revealing the manicured lawn beneath. This single action shot often serves as the perfect climax to a lawn installation documentary.
Post-Processing Your Lawn Documentary
Once your lawn has reached maturity and your camera is safely back indoors, the post-processing phase begins. When stitching your 4K or 8K time-lapse frames, pay special attention to the color grading. Hydroseed dye is notorious for shifting from a vibrant emerald to a sickly yellow-brown as it degrades before the actual grass takes over. Use masking tools in your editing software to isolate the soil bed and gently correct the fading dye, ensuring the transition to natural grass looks organic and healthy.
Additionally, add a subtle date and time stamp overlay in the corner of your video. Viewers love knowing exactly how many days have passed since the hydroseed truck left the driveway. It adds a layer of scientific credibility to your garden documentation.
Conclusion
Whether you opt for the premium, instant gratification of sod or the budget-friendly, highly visual journey of hydroseeding, your 2026 lawn installation is a story waiting to be told. By understanding the true costs, anticipating the biological timelines, and applying disciplined garden photography techniques, you can transform a standard landscaping project into a breathtaking visual archive. Set your stakes, lock your exposure, and let nature do the rest.