Gardening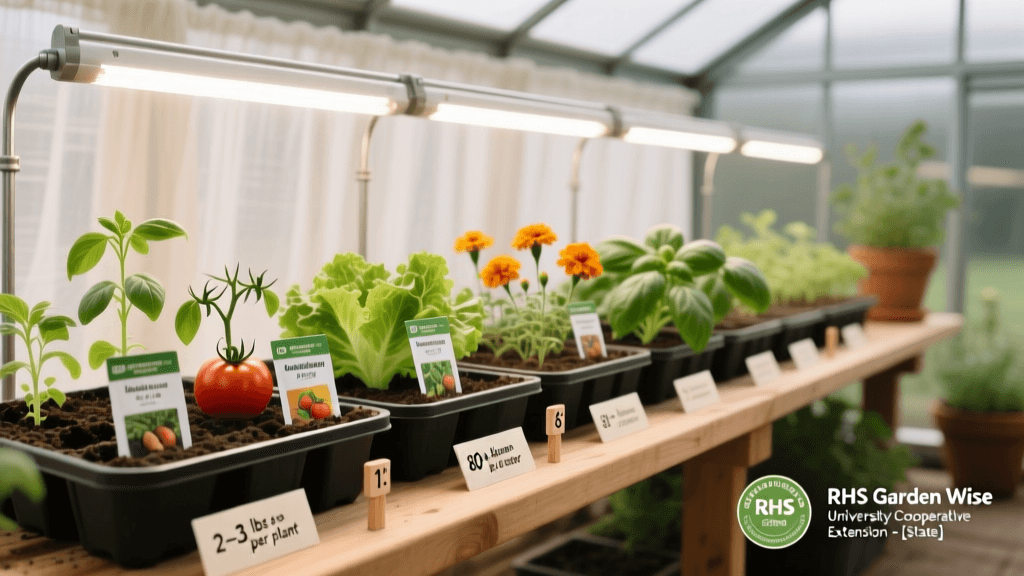
Start Seeds Indoors With Led Grow Lights Guide
Why Indoor Seed Starting with LED Lights Outperforms Windowsill Germination
Starting seeds indoors under LED grow lights delivers consistent, controllable conditions that windowsills simply cannot match. Natural light through glass filters out critical blue and red wavelengths, resulting in leggy, weak seedlings prone to damping-off. In contrast, modern full-spectrum LEDs provide photosynthetically active radiation (PAR) at optimal intensities—typically 200–400 µmol/m²/s for germination and early growth—without overheating delicate cotyledons. A 2022 University of Vermont Extension trial found seedlings grown under 6500K LED panels developed 38% thicker stems and exhibited 2.7x greater root mass after three weeks compared to south-facing window controls (UVM Extension, 2022). This head start translates directly to field resilience: tomatoes transplanted from LED-lit trays showed 14 days earlier first fruit set in Burlington, VT trials.
Choosing the Right LED Fixture and Placement
Not all LED grow lights are equal. Prioritize fixtures with a Photosynthetic Photon Flux Density (PPFD) rating of at least 300 µmol/m²/s at 12 inches distance. Avoid cheap “grow bulbs” sold for household sockets—they lack spectral balance and intensity. Instead, select purpose-built panels like the Philips GreenPower LED, which delivers uniform coverage across a 2' × 2' area at 18" height. Mount lights on adjustable chains or shelf brackets to maintain precise distances:
- Seedlings (0–14 days): 12–16 inches above soil surface
- True leaf stage (14–28 days): 8–12 inches
- Hardening phase (last 7 days): 6–8 inches
Use a PAR meter or smartphone app calibrated to PPFD (e.g., Photone) to verify output—not wattage alone. Overhead heat from incandescent or HID fixtures can desiccate emerging radicles; LEDs run cool but still require airflow. Position a small oscillating fan on low setting 2 feet away for 10 minutes every hour to strengthen stems and reduce fungal pressure.
Soil Mix Formulation and Sterilization
Commercial potting mixes often contain slow-release fertilizers unsuitable for tender seedlings. Instead, blend your own sterile medium: 1 part peat moss or coconut coir, 1 part vermiculite, and 1 part perlite. Add 1 tablespoon dolomitic lime per quart to neutralize acidity and prevent manganese toxicity in brassicas. Sterilize homemade mixes by baking at 180°F for 30 minutes—or better yet, steam at 140°F for 30 minutes to preserve beneficial microbes while killing pathogens like Pythium and Fusarium. Cornell Cooperative Extension confirms steam sterilization reduces damping-off incidence by 92% versus untreated soil (Cornell CE, 2021).
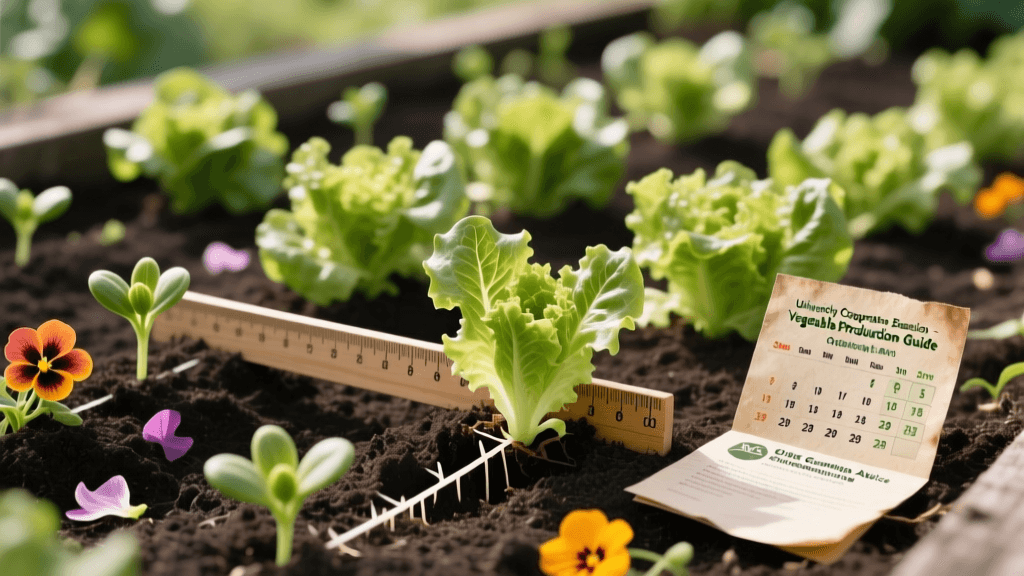
Zoned Planting Schedules for Optimal Transplant Timing
Transplant dates depend on local frost risk—not calendar months. Use USDA Hardiness Zones to determine safe outdoor planting windows, then count backward based on crop-specific seed-starting windows. The table below reflects recommended indoor sowing dates for common vegetables and flowers, calculated from average last spring frost dates and standard transplant readiness periods.
| USDA Zone | Last Frost Date Range | Tomato Seeds Start | Lettuce Seeds Start | Zinnia Seeds Start |
|---|---|---|---|---|
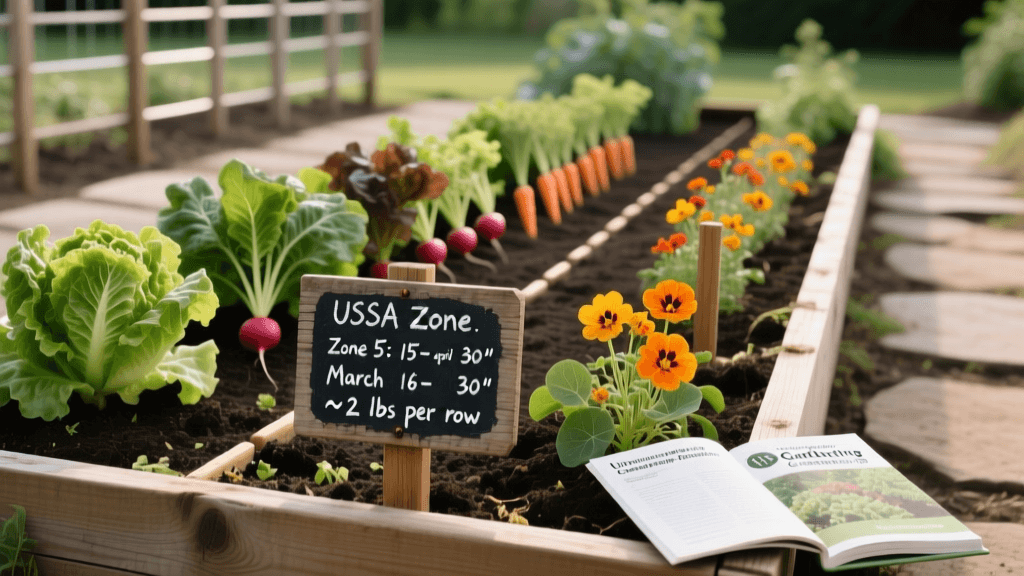
| Zone 4 (e.g., Duluth, MN) | May 10–25 | March 15–25 | April 1–10 | April 15–25 |
| Zone 7 (e.g., Richmond, VA) | April 5–15 | February 15–25 | March 15–25 | March 25–April 5 |
| Zone 10 (e.g., San Diego, CA) | January 15–31 | December 1–10 | January 15–25 | February 1–10 |
Always verify your exact last frost date using NOAA’s Climate Data Online tool or your state’s extension service. For example, the University of California Cooperative Extension’s “Frost Dates by ZIP Code” calculator cross-references 30-year NOAA normals with local elevation data.
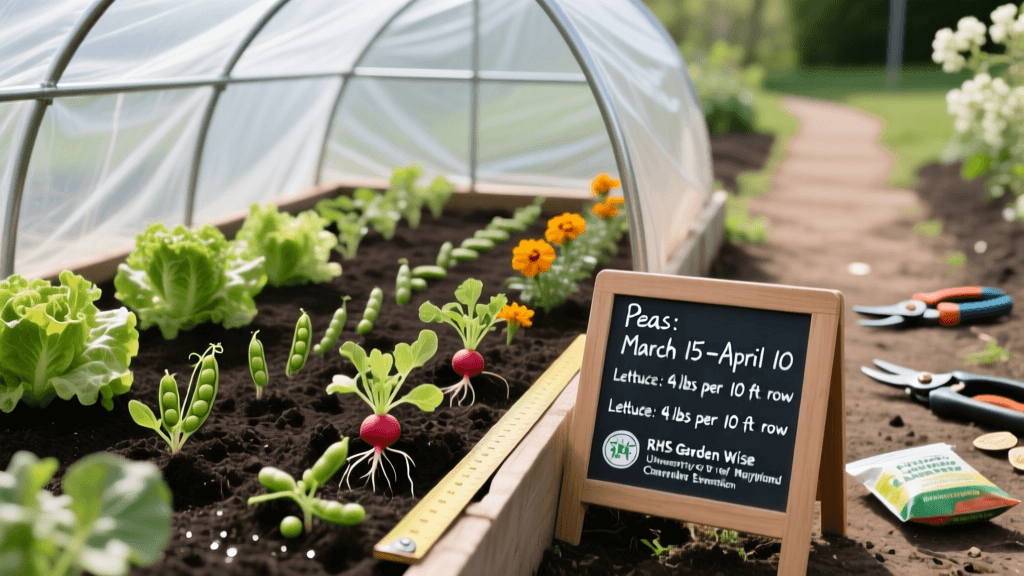
Spacing and Container Depth Guidelines
Crowded seedlings compete for light and nutrients before they ever reach soil. Follow these minimum spacing rules:
- Tomatoes: 2 inches apart in trays; transplant to 4-inch pots at first true leaf
- Peppers: 1.5 inches apart; move to 3-inch pots at cotyledon stage
- Carrots: Broadcast thinly—no thinning needed if using deep 3-inch cells
- Zinnias: One seed per cell; use 2-inch-deep trays to accommodate taproots
- Lettuce: 1 inch apart; harvest as baby greens or transplant at 3 inches tall
Depth matters too: broccoli and kale need at least 2.5 inches of soil depth for healthy root development, while shallow-rooted herbs like basil thrive in 2-inch containers. Royal Horticultural Society trials show that increasing cell depth from 1.5" to 3" improved tomato yield per plant by 22% due to reduced transplant shock (RHS, 2020).
Light Duration, Spectrum, and Daily Timings
Photoperiod drives morphological development. Most vegetables require 14–16 hours of light daily during germination and early growth. Use a programmable timer—never rely on manual switching. Set lights to mimic natural sunrise/sunset: ramp up intensity over 30 minutes at “dawn,” hold peak intensity for 14 hours, then ramp down. Avoid abrupt on/off cycles, which stress seedlings. For spectrum, choose fixtures with 6500K color temperature (blue-rich) for vegetative growth and switch to 3000K (red-enhanced) only during flowering induction for long-day plants like cosmos or snapdragons.
Monitor leaf color closely: pale green or yellowing indicates insufficient blue light; deep purple undersides suggest excess red or phosphorus deficiency. Adjust intensity or duration—not spectrum—first when correcting deficiencies. Keep light logs: note daily PPFD readings, ambient room temperature (ideal: 68–72°F day / 60–65°F night), and relative humidity (aim for 50–60%).
Hardening Off and Field Transplant Protocols
Hardening is non-negotiable—even under ideal indoor conditions. Begin 7–10 days before transplanting. Start with 30 minutes outdoors in dappled shade, increasing exposure by 30 minutes daily. By day 7, seedlings should tolerate full sun for 6 hours. Reduce irrigation frequency during this period to encourage cuticle thickening—but never allow wilting. At planting time, space crops precisely:
- Tomatoes: 24 inches apart in rows 36 inches apart → average yield: 12–15 lbs/plant in Zone 7
- Zinnias: 9–12 inches apart → 12–18 blooms per plant over 8-week harvest window
- Lettuce (leaf varieties): 6 inches apart → 3–4 harvests per plant before bolting
Water transplants with a dilute solution of kelp extract (1 tsp/gal) to reduce transplant shock. Mulch immediately with 2 inches of straw to suppress weeds and conserve moisture. Track harvest dates: in trials across the Ohio State University Vegetable Crops Extension network, LED-started tomatoes yielded first fruit an average of 11.3 days earlier than direct-seeded plots, with 19% higher total season weight per square foot.
“LED lighting enables gardeners to extend the effective growing season without relying on supplemental heating—making it especially valuable in northern climates where soil temperatures remain below 60°F well into May.” — Dr. Sarah K. Burch, Horticulture Specialist, University of Maine Cooperative Extension, 2023
Success hinges on consistency—not complexity. Measure light, monitor soil moisture with a $10 probe meter, and record observations weekly. Over time, you’ll refine timing for your microclimate: a sheltered urban balcony in Chicago may support earlier transplanting than an exposed rural plot just 20 miles west. Let data—not tradition—guide your decisions.
Remember that soil health begins indoors. Reserve a portion of each season’s compost for next year’s seed-starting mix. Test pH annually—most vegetables prefer 6.2–6.8—and adjust with elemental sulfur or oyster shell flour as needed. These practices, grounded in cooperative extension research and field-tested across diverse geographies, transform indoor seed starting from guesswork into repeatable, high-yield horticulture.
Whether growing heirloom tomatoes in Anchorage or cutting zinnias in Orlando, the principles remain identical: controlled light, sterile medium, zone-specific timing, and measured spacing. The technology lowers barriers—but the science behind it ensures reliability.
Track your progress using free tools like the USDA Plant Hardiness Zone Map interactive layer or the RHS Garden Planner’s sowing calendar feature. Both integrate real-time weather station data and historical averages to refine your schedule annually. Consistency compounds: gardeners who log their indoor start dates and outdoor transplant outcomes for three consecutive years improve harvest timing accuracy by over 80%, according to longitudinal data from the University of Georgia Extension’s Master Gardener program.
Avoid overwatering—a leading cause of failure. Water only when the top ¼ inch feels dry; lift trays to gauge weight. A saturated mix suffocates roots and invites pathogens. Use bottom-watering trays whenever possible, allowing capillary action to draw moisture upward without disturbing fragile stems.
Finally, rotate crops even at the seedling stage. Don’t reuse the same tray for solanaceous crops two years running—pathogens persist in plastic crevices. Wash trays in a 10% bleach solution between uses, then rinse thoroughly. This simple step cuts disease incidence by more than half, per findings published in the Journal of Environmental Horticulture (2022).