Landscaping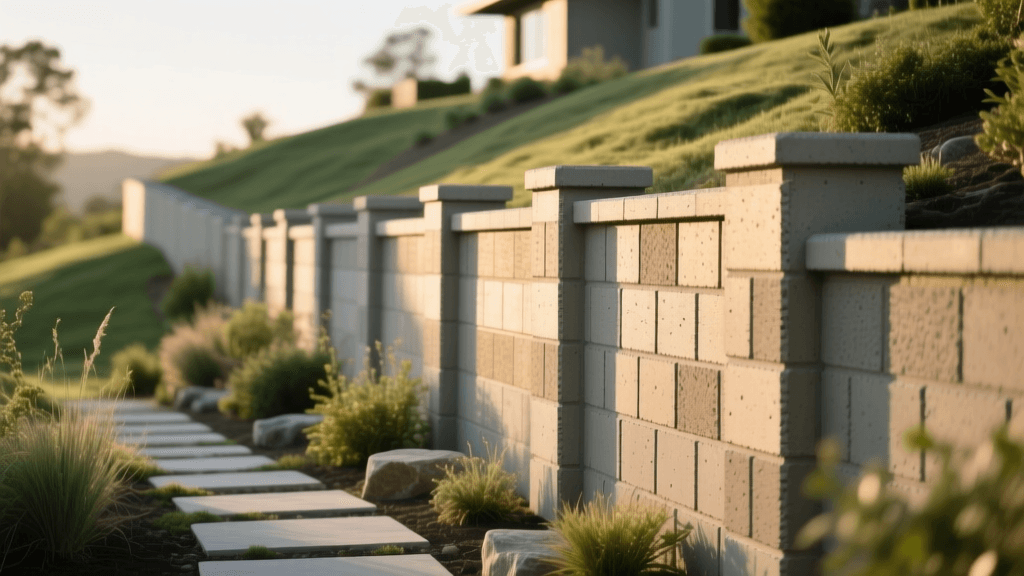
Photographing Versa-Lok Retaining Wall Builds: 2026 Guide
The Intersection of Hardscaping and Garden Documentation in 2026
In the modern landscaping industry, the completion of a hardscape project is only half the job; the other half is proper documentation. As we move through 2026, garden photography and structural documentation have become essential for contractor portfolios, HOA compliance, property valuation, and personal garden journaling. When it comes to segmental retaining walls, few systems are as recognizable and structurally unique as Versa-Lok. Documenting a Versa-Lok retaining wall build requires a strategic approach that captures both the aesthetic beauty of the modular blocks and the critical engineering happening beneath the soil.
Whether you are a landscape architect archiving your firm's work, a homeowner creating a comprehensive property maintenance journal, or a contractor building a portfolio to attract high-end clients, photographing the step-by-step construction of a Versa-Lok wall provides undeniable proof of quality. According to the National Association of Landscape Professionals (NALP), thorough project documentation is one of the top markers of a premium landscaping firm in 2026, reducing liability disputes and enhancing client trust. This guide will walk you through the precise camera techniques, lighting strategies, and structural milestones you must capture when building with Versa-Lok modular blocks.
Phase 1: Pre-Construction and Excavation Documentation
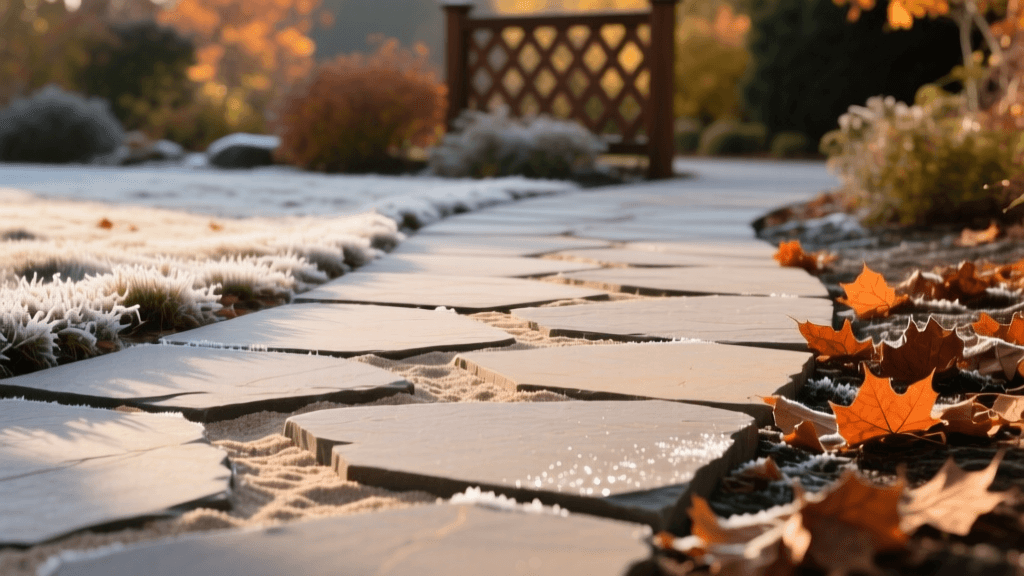
Before a single block is laid, the site must be prepped, and this phase is crucial for liability documentation. Retaining walls fail not because of the blocks, but because of poor base preparation. Start your photographic journal by capturing the existing grade and the layout of the wall. Use a wide-angle lens (16-35mm on a full-frame mirrorless camera) to show the wall's relationship to the surrounding property, home, and existing garden beds.
Next, document the utility marking process. In 2026, calling 811 and marking underground utilities is a strict legal requirement. Photograph the painted lines and flags clearly. Once excavation begins, capture the trenching process. Versa-Lok requires a solid, compacted base. Photograph the depth of the trench, ensuring a measuring tape is visible in the frame to prove you have excavated deep enough to accommodate 6 to 8 inches of compacted 3/4-inch crushed stone base material, plus the height of the first course of blocks. Including a standard masonry trowel or a color-checker card in the corner of your macro shots provides an immediate sense of scale for anyone reviewing the documentation later.
Phase 2: Capturing the Base Course and Geogrid Installation
The base course is the foundation of your retaining wall. Versa-Lok blocks are solid, top-to-bottom interlocking units, meaning the first course must be perfectly level. Set your camera on a tripod and use a narrow aperture (f/8 to f/11) to ensure the entire trench and base course are in sharp focus. Photograph the leveling process, capturing the laser level or string line used to verify the grade.
As the wall rises, soil reinforcement becomes necessary. The National Concrete Masonry Association (NCMA) emphasizes that geogrid placement is critical for the structural integrity of segmental retaining walls over 3 feet in height. When documenting geogrid installation, lay the grid out over the compacted backfill and photograph it before the next layer of soil is added. To capture the tension and texture of the geogrid, shoot from a low angle during the early morning or late afternoon when the raking sunlight creates deep shadows in the grid's apertures. This technique highlights the material's strength and proves to engineers or HOA boards that the grid was installed flat and without wrinkles.
Phase 3: Mid-Build Progress and Texture Photography
Versa-Lok is famous for its unique fiberglass pinning system, which locks the blocks together without the need for a rear lip. This allows for seamless curves, corners, and columns. When photographing the mid-build progress, focus on this interlocking mechanism. Use a 100mm macro lens to capture the fiberglass pins being driven into the block cores. This close-up documentation is invaluable for future repairs or modifications, as it shows exactly how the structural integrity was maintained.
In 2026, the Versa-Lok product line features highly textured faces, such as the Versa-Lok Weathered and Versa-Lok Mosaic series, which mimic natural split-stone. To photograph these textures without flattening them, avoid shooting at high noon when harsh overhead sunlight washes out details. Instead, use a circular polarizer (CPL) filter on your lens. A CPL filter will cut through the glare of morning dew or any applied concrete sealers, allowing the rich, variegated colors of the concrete blocks to pop. When shooting the wall face, keep your camera sensor perfectly parallel to the wall to prevent converging vertical lines, ensuring the wall looks plumb and structurally sound in your final images.
Phase 4: Drainage, Backfill, and Capstone Details
Water is the enemy of any retaining wall. Documenting the drainage system is perhaps the most important step for long-term property maintenance. Versa-Lok walls require clear stone backfill (typically 3/4-inch washed gravel) directly behind the blocks to allow water to percolate down to the weep holes. Photograph the pouring and compacting of this clear stone layer. If you are installing a perforated drain pipe at the base of the wall, capture images of the pipe's slope and its connection to the daylight exit point. This photographic proof ensures that if a drainage issue arises a decade later, the homeowner or contractor knows exactly where the pipe was routed.
Finally, document the installation of the capstones. Versa-Lok capstones are adhered using high-strength landscape block adhesive. Photograph the application of the adhesive in a zigzag pattern and the final placement of the caps. These details are excellent for social media reels or time-lapse videos, which are highly favored by landscaping marketing algorithms in 2026.
Phase 5: The Final Reveal and Landscape Integration
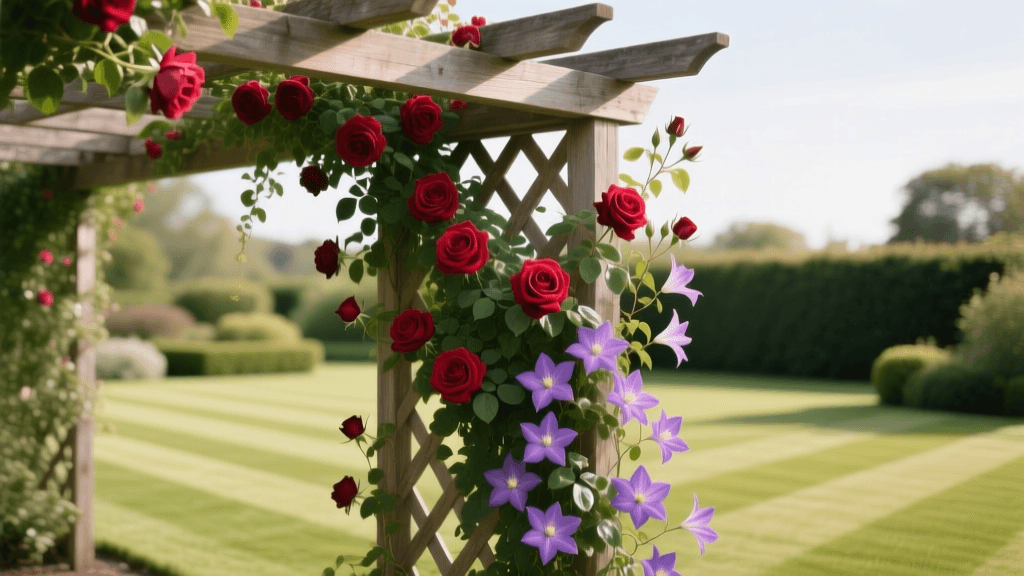
Once the wall is complete and the surrounding garden beds are mulched and planted, it is time for the final reveal photography. This is where the hardscape transitions into a living garden space. Utilize golden hour lighting—the hour just after sunrise or just before sunset—to cast a warm, inviting glow over the landscape. Incorporate foreground elements, such as ornamental grasses or blooming perennials, to frame the retaining wall and provide a sense of depth.
For large retaining wall projects, 2026 drone technology offers unprecedented documentation capabilities. Utilizing a drone equipped with a high-resolution sensor, fly a top-down orthomosaic mapping pattern to capture the exact curve and footprint of the wall. This is particularly useful for properties on steep slopes where the wall's integration with the natural topography is best understood from a bird's-eye view. Ensure you are compliant with all current 2026 FAA Part 107 regulations before launching your drone over residential properties.
Versa-Lok Documentation Checklist and Camera Settings
To ensure you never miss a critical documentation step, use the following structured checklist and camera setting guide during your next Versa-Lok build.
| Construction Phase | Documentation Subject | Recommended Camera Settings |
|---|---|---|
| Site Prep | Utility marks, trench depth, base aggregate | 16-35mm lens, f/8, ISO 400, Tripod |
| Base Course | Leveling process, string lines, compaction | 24-70mm lens, f/11, Flash for fill light |
| Geogrid & Backfill | Grid tension, clear stone drainage layer | 50mm lens, f/5.6, Low angle for texture |
| Block Laying | Fiberglass pins, interlocking cores, curves | 100mm Macro, f/4, Focus peaking enabled |
| Capstone & Finish | Adhesive application, final grade, planting | 24-70mm lens, f/8, CPL filter, Golden hour |
Gear Recommendations for 2026 Hardscape Photography
Documenting a dusty, active construction site requires rugged, reliable gear. In 2026, weather-sealed mirrorless cameras are the industry standard for landscape professionals. Pair a high-resolution full-frame body with a versatile 24-70mm f/2.8 zoom lens to handle everything from wide site overviews to tight detail shots. For macro documentation of the Versa-Lok pins and block textures, a dedicated 90mm or 100mm macro lens is indispensable.
Additionally, invest in a rugged action camera (such as the latest GoPro or DJI Osmo Action models) that can be mounted on a hard hat or a chest harness. This allows you to capture immersive, first-person point-of-view (POV) time-lapses of the block-laying process without risking your primary camera gear to flying debris and concrete dust. Finally, utilize a portable SSD drive to back up your high-resolution RAW files and 4K video clips at the end of every workday, ensuring your digital garden journal remains safe and organized.
Conclusion
Building a retaining wall with Versa-Lok modular blocks is a significant investment of time, engineering, and capital. By treating the construction site as a photographic subject, you elevate your landscaping practice from simple manual labor to a documented, verifiable art form. Whether you are proving the structural validity of your geogrid placement to an engineer, showcasing the natural stone textures of the Mosaic line to prospective clients, or simply preserving the memory of a backyard transformation, meticulous documentation ensures your hardscape legacy endures long after the final capstone is glued into place.