Pest Control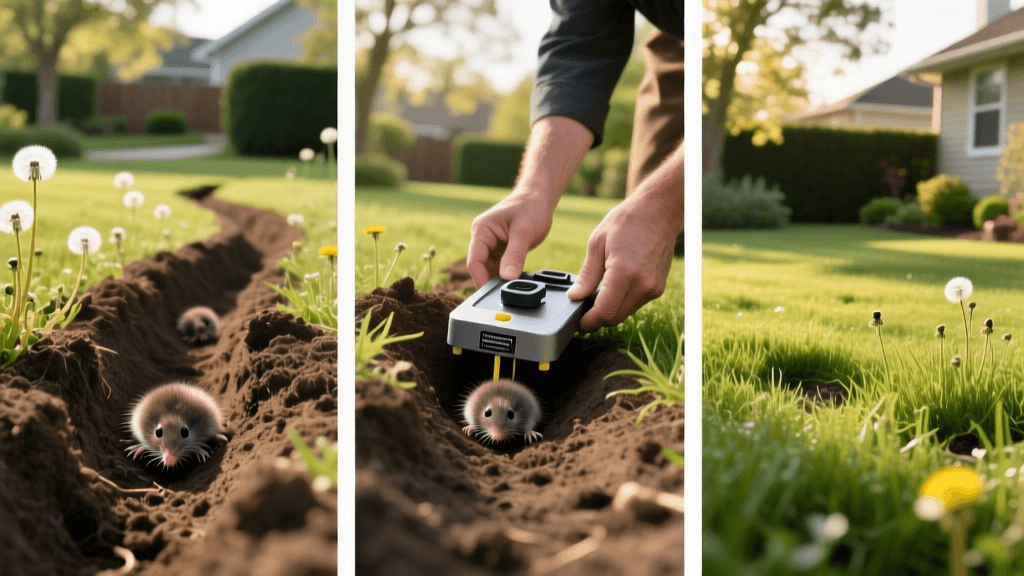
2026 Victor Out O'Sight Mole Trap Photo Documentation
The Intersection of Garden Photography and Pest Control
Garden photography is often associated with capturing the vibrant blooms of spring or the golden hues of autumn foliage. However, in 2026, a growing movement of meticulous gardeners and landscape professionals are using their cameras for a more practical purpose: Integrated Pest Management (IPM) documentation. Photographing your pest control efforts is not just about creating a visual diary; it is a vital tool for tracking seasonal patterns, sharing actionable data with local agricultural extension offices, and creating educational content for the gardening community.
When dealing with subterranean pests like moles, visual documentation becomes especially critical. Moles cause extensive damage to root systems and create unsightly surface tunnels that can ruin a carefully manicured lawn. Among the various control methods available, the Victor Out O'Sight trap remains a gold standard for lethal mole control. This comprehensive guide will walk you through the process of identifying active mole runways, safely placing the Victor Out O'Sight trap, and meticulously documenting the entire process through your camera lens.
Phase 1: Identifying and Photographing Active Mole Runways
Before you can set any trap, you must locate an active runway. Moles dig deep, permanent tunnels for nesting and travel, but they also create shallow, surface-level tunnels while foraging for earthworms and grubs. Not all surface tunnels are active. To find an active runway, perform the "stomp test": gently press down a small section of the raised tunnel with your foot and mark the spot. If the tunnel is repaired and pushed back up within 24 to 48 hours, you have found an active runway.
From a photographic perspective, this is your first opportunity to document the infestation. Use a wide-angle lens (such as a 24mm or 35mm on a full-frame mirrorless camera) to capture the scale of the lawn damage. Shoot during the "golden hour"—shortly after sunrise or just before sunset—when the low angle of the sun casts long shadows, dramatically highlighting the raised ridges of the mole tunnels against the grass.
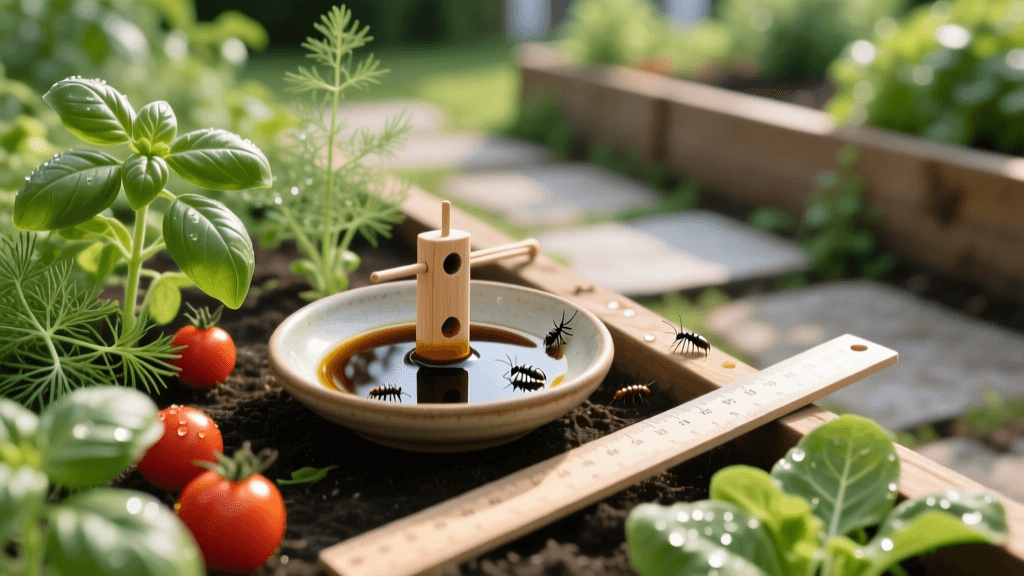
Next, switch to a macro lens (90mm to 105mm) to capture close-up details of the disrupted soil and damaged grass roots. Including a recognizable scale reference in your macro shots, such as a garden trowel or a wooden ruler, provides valuable context for your garden journal. According to the University of Minnesota Extension, understanding the difference between deep runways and surface foraging tunnels is crucial for effective trap placement, and photographing the soil structure can help you identify which is which.
Phase 2: Setting and Documenting the Victor Out O'Sight Trap
The Victor Out O'Sight is a scissor-jaw, choker-style trap designed to be placed entirely underground within the active runway. As of 2026, the trap continues to be a top-tier mechanical solution, typically retailing between $18 and $24. Because the trap is highly sensitive and features powerful springs, safety is paramount. Always wear thick leather gloves and safety glasses when handling the set trap.
Documentation during this phase serves as an instructional record. Set your camera on a tripod and use a mid-range aperture (f/5.6 to f/8) to ensure both the trap and the surrounding soil are in sharp focus. You will need to excavate a small section of the active runway using a hand trowel. Photograph the cross-section of the tunnel, noting the depth and the compactness of the soil walls. This data is incredibly useful for future IPM planning.
Once the tunnel is cleared, carefully insert the set Victor Out O'Sight trap into the runway. The trigger pan should rest flush on the bottom of the tunnel. Photograph the trap in situ before covering it. This overhead shot is excellent for tutorials or personal records, proving that the trap was placed correctly in the center of the runway. Finally, cover the trap loosely with excavated soil to block out light, as moles will abandon a tunnel if they detect a draft or sunlight. Capture a final image of the disguised trap location, perhaps marking it subtly with a discreet garden flag so you can safely locate it later without stepping on it.
Photography Checklist for Trap Documentation
| Shot Type | Camera Setting | Purpose |
|---|---|---|
| Wide Lawn Damage | f/8, ISO 100, 24mm | Establish context and scale of the infestation. |
| Tunnel Cross-Section | f/2.8, ISO 400, 100mm Macro | Show depth, soil texture, and root damage. |
| Trap Placement | f/5.6, ISO 200, 50mm | Instructional record of proper Victor Out O'Sight positioning. |
| Disguised Location | f/4, ISO 100, 35mm | Record the final covered state and marker placement. |
Phase 3: Post-Catch Documentation and Safe Disposal
Checking your traps should be done every 24 hours. When you approach the documented site, do so carefully. If the Victor Out O'Sight has successfully caught a mole, the scissor jaws will be fully closed and protruding slightly from the soil. Photograph the closed trap from a safe distance before handling it. In the context of garden photography and public sharing, it is best practice to focus your lens on the closed mechanism and the displaced soil rather than the animal itself, maintaining a respectful and educational tone for your audience.
The Internet Center for Wildlife Damage Management emphasizes the importance of proper disposal and sanitation after removing subterranean pests. Wear your leather gloves, carefully unspring the trap, and document the process of burying the mole in a designated compost or waste area away from your primary garden beds. Photograph the cleaned and reset trap, noting any soil buildup that needs to be washed off before the next deployment. Maintaining clean traps ensures the sensitive trigger mechanism functions flawlessly in the damp soil environment.
Phase 4: Capturing the Lawn Recovery Process
The final phase of your photographic pest control journal is documenting the lawn's recovery. Once the active mole population has been managed, the physical damage to your turf remains. Use your camera to track the repair process over several weeks. Begin by photographing the collapsed tunnels and the mounds of bare soil left behind. This is the ideal time to implement lawn repair strategies, such as raking the mounds flat, aerating the compacted soil, and overseeding with a turfgrass blend suited to your 2026 climate zone.
To create a compelling visual narrative, set up a fixed-point time-lapse or take weekly progress photos from the exact same angle and height. Use a tripod and mark the legs' positions on the ground with small stakes. Consistent lighting and framing will allow you to stitch these images together later, showcasing the bare, damaged soil slowly transforming back into a lush, green lawn. This visual proof of recovery is not only deeply satisfying for the gardener but also serves as powerful evidence of the efficacy of your IPM strategy when consulting with landscaping professionals or local horticultural societies.
Conclusion
Integrating photography into your pest control routine elevates garden maintenance from a series of chores to a documented science. By carefully photographing the identification of active runways, the precise placement of the Victor Out O'Sight trap, and the subsequent lawn recovery, you build a valuable archive of your landscape's health. In 2026, leveraging modern mirrorless cameras, macro lenses, and digital journaling apps makes this process easier and more rewarding than ever. Armed with your camera and the right mechanical traps, you can protect your turf and capture the resilience of your garden in every frame.