Gardening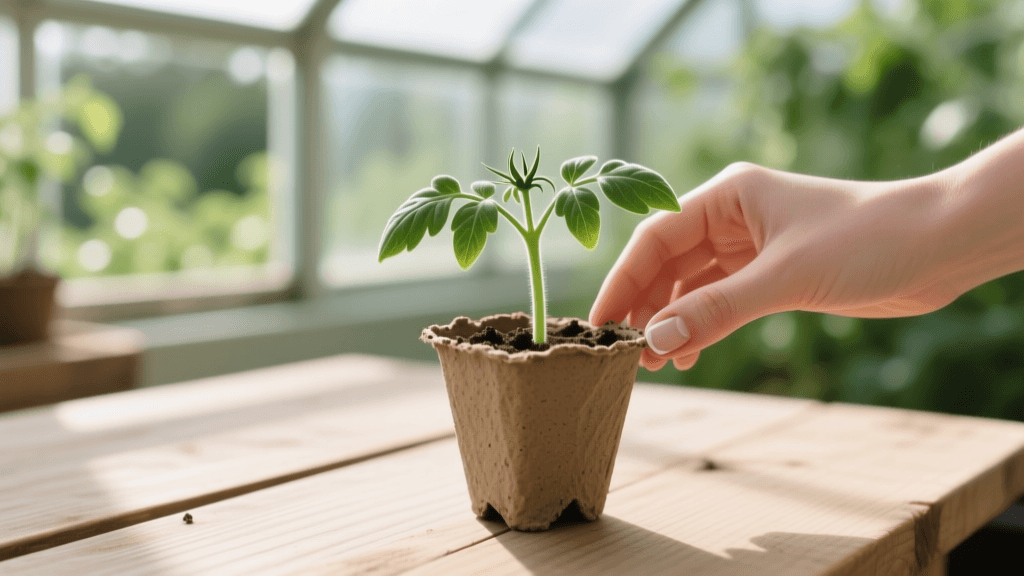
When To Plant Tomatoes: Seed To Harvest Timing Guide
The Ultimate When-To Timing Guide for Tomatoes
Tomatoes are the undisputed crown jewel of the home vegetable garden, offering a flavor and texture that supermarket varieties simply cannot match. However, the secret to a massive, disease-free harvest is not just about what you plant, but precisely when you plant it. Tomatoes are highly sensitive to temperature fluctuations, and mistiming your seed starting, transplanting, or harvesting can lead to stunted growth, blossom drop, or frost damage. This comprehensive when-to timing guide will walk you through every critical phase of the tomato growing season, ensuring your plants thrive from seed to harvest.
Step 1: Pinpointing Your Frost Dates and Soil Temperature
The entire tomato planting schedule revolves around your local climate and the last expected spring frost date. Tomatoes are tender perennials grown as annuals, meaning they will not survive freezing temperatures. According to the USDA Plant Hardiness Zone Map, understanding your specific zone is the first step in calculating your planting calendar. You must identify your 'last spring frost date,' which serves as the anchor point for all your indoor and outdoor timing calculations.
While air temperature is important, soil temperature is the hidden metric that dictates transplant success. Tomato roots stall and become susceptible to diseases like phytophthora if placed in cold, wet earth. You should wait until the soil temperature at a depth of four inches consistently reads at least 60°F (15°C), though 65°F to 70°F is the ideal target range. Invest in a basic soil thermometer and check the temperature in the morning for the most accurate reading before making any transplanting decisions.
Step 2: When to Start Tomato Seeds Indoors
The golden rule for starting tomato seeds indoors is to sow them 6 to 8 weeks before your last expected spring frost date. Starting them too early results in leggy, root-bound seedlings that struggle to adapt outdoors, while starting them too late delays your harvest into the peak heat of late summer, which can inhibit fruit set.
To ensure successful germination, seeds require a warm environment and a sterile, well-draining seed starting mix. Avoid using heavy garden soil, which can harbor damping-off fungi. Place your seed trays on a heat mat set to 75°F-80°F to speed up germination, which typically occurs within 5 to 10 days. Once sprouted, remove the heat mat and provide 14 to 16 hours of light daily using LED grow lights positioned just two inches above the seedlings to prevent stretching.
| Timeline | Action Required | Environment & Care |
|---|---|---|
| 6-8 Weeks Before Frost | Sow seeds in cell trays | 75-80°F soil temp, high humidity dome |
| 4-6 Weeks Before Frost | Pot up to 3-inch containers | 65-70°F, strong overhead lighting |
| 3-4 Weeks Before Frost | Begin gentle air circulation | Use oscillating fan to strengthen stems |
| 1-2 Weeks Before Frost | Begin hardening off process | Gradual outdoor exposure, reduce water |
Step 3: When and How to Harden Off Seedlings
You cannot move tender indoor seedlings directly into the harsh outdoor elements; the sudden exposure to wind, direct UV rays, and temperature swings will cause severe transplant shock or sunscald. The hardening off process must begin 7 to 10 days before your intended outdoor transplant date. This gradual acclimation thickens the plant's cuticle and prepares it for outdoor survival.
Follow this structured daily timeline for hardening off your tomato seedlings:
- Days 1-2: Place seedlings outdoors in a fully shaded, wind-protected area for 2 hours, then bring them back inside.
- Days 3-4: Increase outdoor time to 4 hours, introducing them to dappled morning sunlight.
- Days 5-6: Leave them out for 6 to 8 hours, allowing exposure to direct morning sun and gentle breezes.
- Day 7: Leave the plants outdoors all day and night, provided nighttime temperatures remain strictly above 50°F (10°C).
Step 4: When to Transplant Tomatoes Outdoors
Transplanting is a critical juncture in the tomato timeline. You should only transplant when nighttime air temperatures are consistently above 50°F and the soil has warmed to at least 60°F. In most temperate zones, this window falls between late April and early June. Planting too early in cold, wet soil will stunt the plant for the rest of the season, a condition gardeners refer to as 'cold feet.'
The University of Minnesota Extension recommends planting tomatoes deeply to encourage a robust root system. Tomatoes possess the unique ability to sprout adventitious roots from their buried stems. When transplanting, pinch off the bottom two sets of leaves and bury the stem up to the remaining top foliage. This deep planting anchors the plant and vastly increases its water and nutrient uptake capacity.
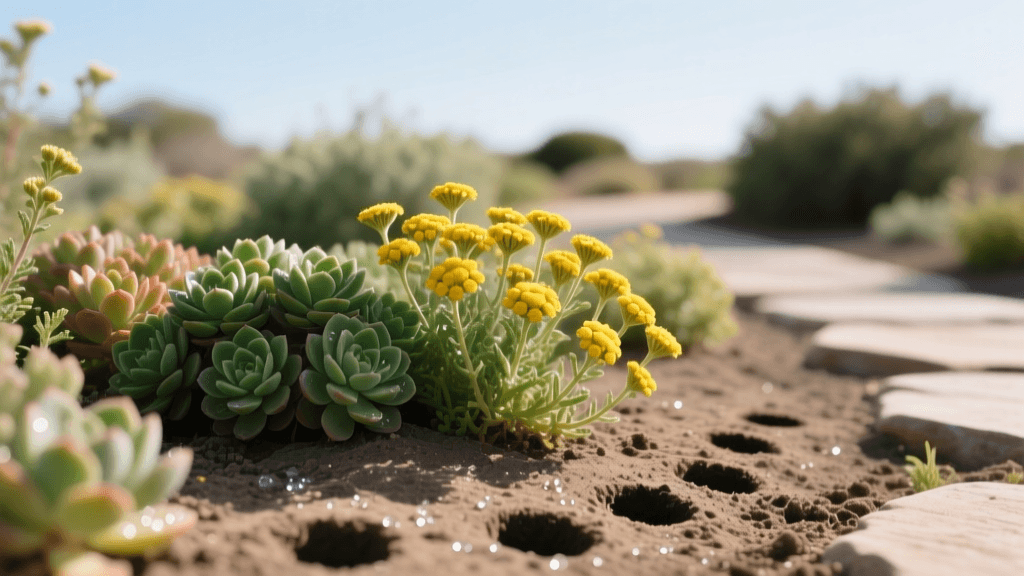
Spacing is another vital timing and placement factor. Determinate (bush) varieties should be spaced 24 to 36 inches apart, while indeterminate (vining) varieties require 36 to 48 inches of space to accommodate their sprawling growth and ensure adequate airflow, which is crucial for preventing fungal diseases like early blight.
Step 5: When to Prune Suckers and Apply Mulch
Timing your cultural maintenance is just as important as planting. For indeterminate tomato varieties, pruning 'suckers' (the shoots that grow in the crotch between the main stem and the branches) should begin when the suckers are small, about 2 to 4 inches long. Pinch them out in the early morning when the plant is turgid and full of water, which allows the wounds to heal quickly before evening humidity sets in. Pruning directs the plant's energy into fruit production rather than excessive foliage.
Mulching is another time-sensitive task. Do not apply mulch immediately after transplanting, as this will trap the winter's cold in the soil. Wait until early summer, when the soil has thoroughly warmed, before applying a 2 to 3-inch layer of organic mulch, such as straw or shredded leaves. This timing conserves moisture, suppresses weeds, and prevents soil-borne fungal spores from splashing onto the lower leaves during heavy summer rains.
Step 6: When to Harvest for Maximum Flavor
Knowing exactly when to pick your tomatoes can mean the difference between a bland, mealy fruit and a sweet, complex masterpiece. While many gardeners wait for the tomato to turn fully red on the vine, this leaves the fruit vulnerable to birds, insects, and cracking from sudden rainstorms.
The Old Farmer's Almanac notes that tomatoes can be harvested at the 'breaker stage'—the point when the fruit first shows a distinct blush of pink or red at the blossom end. At this physiological stage, the tomato has sealed itself off from the vine and will continue to ripen perfectly on your kitchen counter without any loss of flavor or nutritional value. To harvest, gently grasp the fruit and snap it upward at the knuckle joint, or use clean pruning shears to avoid damaging the vine.
Conclusion
Mastering the when-to timing of tomato gardening transforms a chaotic backyard chore into a highly predictable, rewarding science. By anchoring your schedule to your local frost dates, respecting soil temperatures, and following a disciplined timeline for hardening off, transplanting, and harvesting, you set the stage for a bountiful crop. Keep a gardening journal each year to track your specific microclimate's temperature shifts, and you will refine your tomato timing to perfection season after season.