Gardening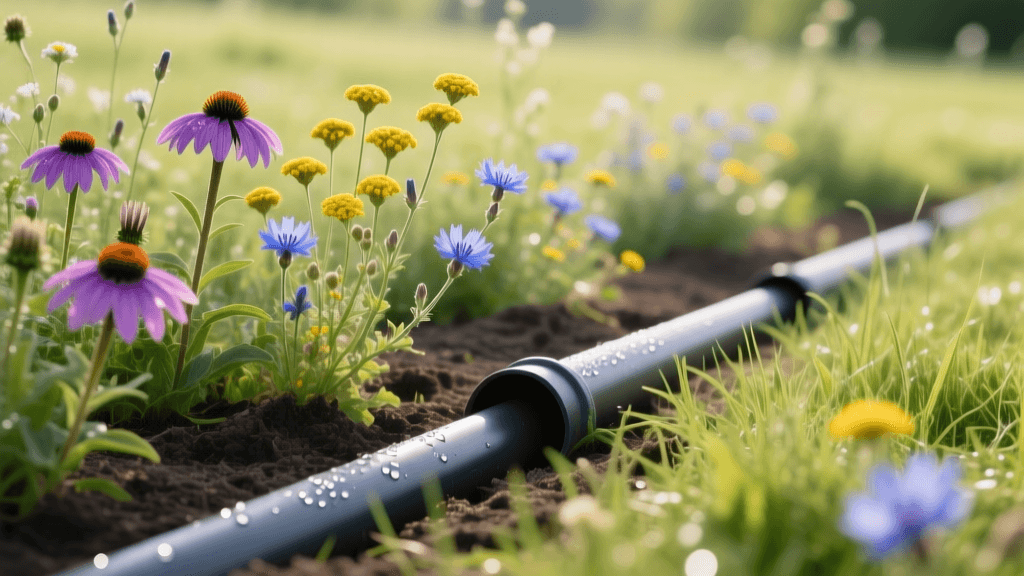
2026 Guide: Native Wildflower Meadows & Landscape Drainage Pipes
Transforming Poorly Drained Yards into Thriving Native Meadows
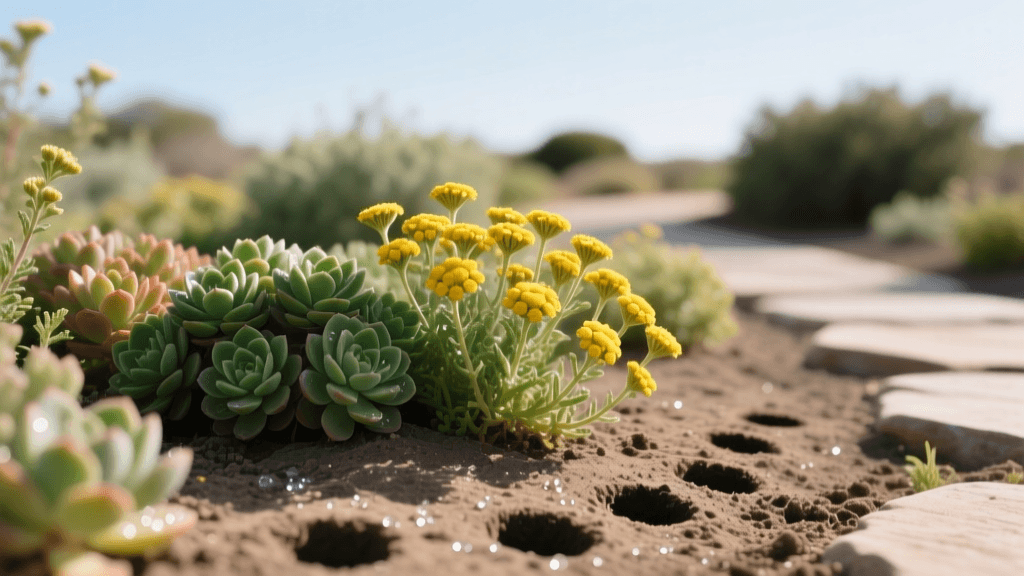
Establishing a native wildflower meadow from a seed mix is one of the most rewarding and ecologically beneficial landscaping projects you can undertake in 2026. Native meadows reduce water consumption, eliminate the need for chemical fertilizers, and provide critical habitat for declining pollinator populations. However, many homeowners face a significant, often overlooked hurdle: poor soil drainage. While native plants are famously drought-tolerant once established, their seeds and young taproots are highly susceptible to rot, fungal pathogens, and oxygen deprivation in waterlogged soil. If your yard suffers from standing water, heavy clay compaction, or slow percolation rates after heavy spring rains, broadcasting a premium seed mix directly onto the surface will likely result in disappointing germination and widespread seedling failure.
The solution lies in subsurface water management. By strategically installing landscape drainage pipes before preparing your seedbed, you can fundamentally alter the hydrology of your site. This comprehensive 2026 guide will walk you through selecting the right drainage infrastructure, trenching and installation techniques, and the precise steps for sowing and maintaining a native wildflower meadow over your newly corrected soil profile.
The Hidden Enemy of Wildflower Seeds: Waterlogged Soil
When you purchase a high-quality native wildflower seed mix, you are investing in species like Purple Coneflower (Echinacea purpurea), Black-eyed Susan (Rudbeckia hirta), and various native milkweeds (Asclepias spp.). According to the Xerces Society for Invertebrate Conservation, these species are evolutionary adapted to well-draining prairies and open woodlands. When soil pores become completely saturated with water, oxygen is displaced. Without oxygen, the metabolic processes required for seed germination halt, and anaerobic bacteria thrive, quickly rotting the seed embryo.
Furthermore, excessive moisture creates the perfect breeding ground for soil-borne fungal diseases such as Pythium and Phytophthora, commonly known as damping-off diseases. These pathogens will destroy delicate wildflower seedlings within days of emergence. In 2026, with climate models predicting more erratic, high-volume precipitation events in many regions, proactive drainage is no longer optional for successful meadow establishment; it is a foundational requirement. Integrating landscape drainage pipes ensures that excess surface and subsurface water is rapidly channeled away from the root zone, maintaining the delicate air-to-water ratio necessary for robust taproot development.
Selecting the Best Landscape Drainage Pipe for Meadows
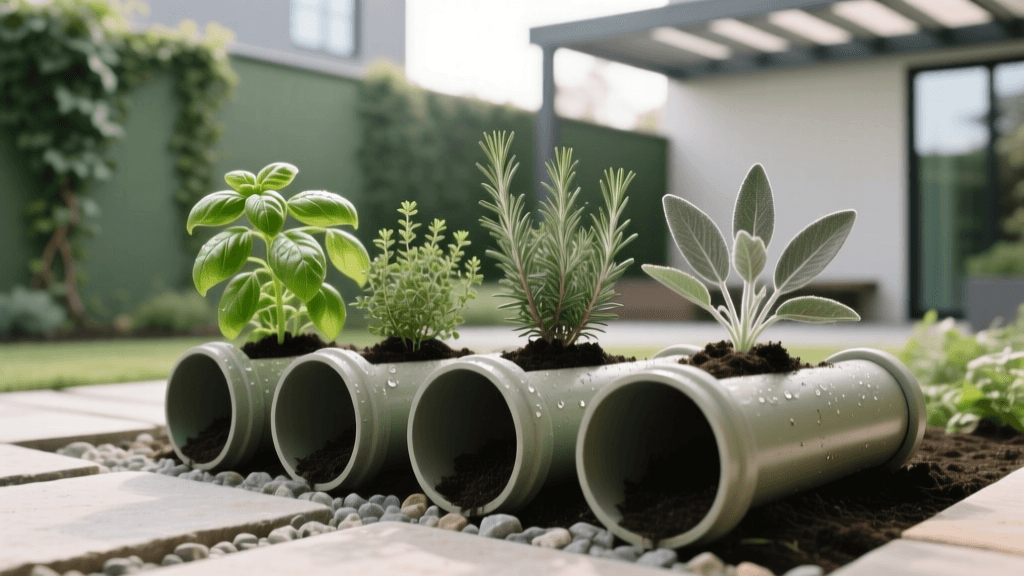
Not all drainage pipes are created equal. For a wildflower meadow installation, you need a system that can handle high volumes of water during peak spring runoff without collapsing under the weight of soil preparation equipment. The two primary contenders in the modern landscaping market are corrugated high-density polyethylene (HDPE) and rigid Schedule 40 PVC.
| Pipe Type | Cost per Foot (2026) | Durability & Crush Resistance | Best Application in Meadows |
|---|---|---|---|
| Corrugated Slotted HDPE | $1.20 - $1.80 | Moderate; flexible but can crush under heavy tractor traffic | Shallow French drains, perimeter runoff capture, DIY installations |
| Schedule 40 PVC (Perforated) | $2.50 - $3.50 | Extremely High; rigid and handles heavy soil compaction | Deep trenching, areas requiring future mechanical tilling, heavy clay soils |
| Corrugated Solid HDPE | $1.10 - $1.60 | Moderate; used for transport, not collection | Daylighting water away from the meadow to a storm drain or dry well |
For most residential meadow projects, a combination approach works best. Use perforated Schedule 40 PVC in the primary collection zones where you might need to drive a heavy tractor or rototiller during the initial seedbed preparation, and use corrugated slotted HDPE for secondary branch lines to keep costs manageable.
Step-by-Step Drainage Pipe Installation
Proper installation is critical. A poorly graded pipe will simply create an underground puddle, exacerbating your waterlogging issues. The Environmental Protection Agency's Green Infrastructure guidelines emphasize the importance of proper slope and filtration in subsurface drainage systems to prevent long-term siltation and failure.
1. Mapping and Trenching
Identify the lowest points in your yard where water naturally pools. Plan a trenching route that moves water away from these depressions toward a suitable outlet, such as a municipal storm drain, a dry creek bed, or a deep dry well. Dig your trenches to a depth of 14 to 18 inches. The width should be roughly 10 inches to allow room for a gravel envelope. Crucially, you must maintain a consistent downward slope of at least 1/8 inch per foot of pipe run. Use a laser level or a string line with a line level to verify your grade before proceeding.
2. Laying the Foundation and Fabric
Line the bottom and sides of the trench with a high-quality, non-woven geotextile landscape fabric. Do not use cheap woven weed barrier, as it will clog with fine soil particles over time. The non-woven fabric acts as a filter, allowing water to pass through while keeping silt and clay out of your gravel and pipe. Leave enough excess fabric on the sides to completely wrap over the top of the pipe later.
3. Gravel Base and Pipe Placement
Add a 2-inch layer of washed, angular drainage gravel (typically 3/4-inch crushed stone) to the bottom of the trench. Avoid rounded river rock, as it does not lock together and can shift, altering your carefully measured slope. Place your perforated drainage pipe on top of the gravel bed with the perforations facing downward. This counter-intuitive placement forces water to rise through the gravel bed before entering the pipe, which significantly reduces the amount of fine sediment entering the system.
4. Backfilling and Wrapping
Cover the pipe with another 4 to 6 inches of washed gravel. Once the pipe is fully encased, fold the excess landscape fabric over the top of the gravel, creating a complete 'burrito' wrap. This prevents topsoil from migrating down into the gravel bed. Finally, backfill the remaining trench depth with your native topsoil, mounding it slightly above grade to account for natural settling over the coming weeks.
Preparing the Seedbed Over Drainage Systems
Once your drainage infrastructure is backfilled and the soil has settled (usually after two to three weeks and a few heavy rain events), it is time to prepare the seedbed. A common mistake novice meadow gardeners make is treating the soil like a traditional vegetable garden. Native wildflowers thrive in relatively poor, low-fertility soils. Adding rich compost, manure, or synthetic fertilizers will only encourage aggressive, non-native weeds to outcompete your slow-growing wildflower seedlings.
Instead, focus on creating a clean, firm, and fine seedbed. Eliminate existing vegetation using a process called stale seedbed preparation. Shallowly till the top two inches of soil to bring weed seeds to the surface, allow them to germinate over a two-week period, and then kill them using a flame weeder or a shallow pass with a hoe. This drastically reduces the weed seed bank in the top layer of soil where your wildflower seeds will be sown. Finally, use a heavy lawn roller to compact the soil slightly. A firm seedbed ensures that the tiny wildflower seeds make direct contact with the soil moisture and prevents them from washing away during heavy rains.
Sowing Your 2026 Native Wildflower Seed Mix
Selecting the right seed mix is paramount. Ensure your mix is sourced from regional ecotypes adapted to your specific hardiness zone and soil type. The National Wildlife Federation strongly recommends utilizing locally sourced native seeds to ensure maximum genetic resilience and to provide the most appropriate nutritional resources for local pollinator populations.
Calculating Seeding Rates and Using Carriers
Native wildflower seeds are incredibly small and difficult to broadcast evenly by hand. A standard seeding rate for a diverse meadow mix is 10 to 15 pounds of pure live seed (PLS) per acre, which translates to roughly 1/4 to 1/3 pound per 1,000 square feet. To achieve an even distribution, mix your seed with a bulk carrier material. Dampened play sand, fine vermiculite, or untreated sawdust work perfectly. Use a ratio of 1 part seed to 3 parts carrier.
Broadcasting and Pressing
Divide your seed and carrier mixture in half. Broadcast the first half walking in parallel lines across the length of your meadow site. Then, broadcast the second half walking in parallel lines across the width, creating a cross-hatch pattern. This crisscross method guarantees uniform coverage and prevents bare patches. After broadcasting, do not bury the seeds. Most native wildflower seeds require light to trigger germination. Instead, use a cultipacker or a heavy lawn roller to press the seeds firmly into the soil surface. This ensures vital seed-to-soil contact without smothering them.
First-Year Meadow Maintenance and Water Management
The first year of a native meadow is dedicated entirely to root development and weed suppression, not floral displays. Your newly installed landscape drainage pipes will have already done the heavy lifting of preventing catastrophic waterlogging, but you must still manage surface moisture carefully. If the top inch of soil dries out completely during the first six weeks of germination, the shallow seedling roots will perish. Water lightly and frequently using a fine mist sprinkler head to avoid displacing the seeds or overwhelming your new drainage system.
Weed management in the first year is achieved through strategic mowing. Set your mower deck to a height of 6 to 8 inches. Whenever annual weeds reach a height of 10 to 12 inches, mow the entire meadow. This cuts the heads off aggressive annual weeds before they can drop their own seeds, while allowing the slower-growing native wildflower rosettes, which hug the ground, to continue photosynthesizing undisturbed. By the end of the first growing season, your subsurface drainage pipes will have protected the delicate taproots from rot, setting the stage for a spectacular, deep-rooted, and drought-resistant native wildflower explosion in the years to come.