Gardening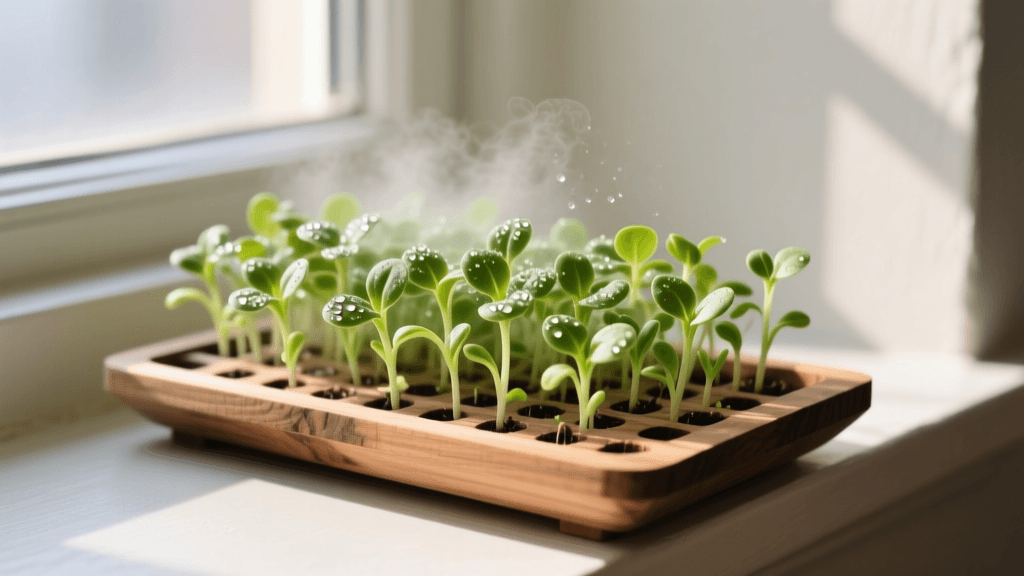
Windowsill Microgreens 2026: Seed Tray Aeration & Seeding Guide
The Intersection of Aeration and Seeding in Microgreens
As urban gardening continues to evolve in 2026, growing microgreens on a sunny windowsill has transitioned from a niche hobby to a staple of modern home food production. However, the secret to a lush, mold-free harvest does not lie solely in sunlight or water. The true foundation of a successful microgreen crop is the precise intersection of aeration and seeding. While traditional lawn care relies on mechanical core aeration to relieve soil compaction, microgreen cultivation requires a nuanced approach to medium aeration, root-zone oxygenation, and seed density management. When seeds are sown too thickly in a poorly aerated medium, the result is inevitably hypoxia (oxygen starvation) and damping-off disease. This comprehensive guide will walk you through the exact aeration and seeding techniques required to maximize your windowsill seed tray kit yields this year.
Selecting the Right 2026 Windowsill Seed Tray Kit
Modern indoor gardening has seen significant innovations in tray design. The best windowsill seed tray kits in 2026 prioritize passive airflow. Unlike older, solid-bottom plastic trays that trapped stagnant water and suffocated roots, contemporary kits feature elevated mesh inserts or ribbed bases. These designs create a vital air gap between the bottom of the growing medium and the outer catch tray. When selecting a kit for your windowsill, look for the following features:
- Elevated Mesh Inserts: Essential for bottom-watering and allowing oxygen to reach the taproots from below.
- Vented Humidity Domes: Adjustable vents allow you to control environmental aeration, preventing the buildup of stagnant, humid air that invites fungal pathogens.
- Compact Footprints: 5x5 inch or 6x6 inch trays are ideal for standard windowsills, though the principles of aeration and seeding scale directly from standard 10x20 commercial flats.
Investing in a high-quality, BPA-free tray system with built-in aeration channels will drastically reduce the manual labor required to keep your root zones oxygenated.
Mastering Medium Aeration for Shallow Root Zones
Microgreens possess incredibly delicate, shallow root systems. In a lawn, roots plunge deep into the earth to seek oxygen; in a seed tray, they are entirely dependent on the structure of the growing medium you provide. According to research from the University of Wisconsin-Madison Extension, the physical structure of the growing medium is the primary determinant of root health and water retention balance.
Coco Coir vs. Hemp Mats: Aeration Profiles
In 2026, the two dominant mediums for windowsill microgreens are buffered coco coir and biodegradable hemp mats. Each requires a different approach to aeration:
- Coco Coir: Coir is prized for its moisture retention, but it can easily become compacted, suffocating roots. To ensure proper aeration, you must 'fluff' the coir before hydrating it. Never pack coir tightly into your seed tray. Fill the tray to the brim, then gently level it off with a straight edge, leaving the soil structure loose and friable. Many expert growers in 2026 mix in 10% perlite or pumice by volume to artificially increase the aeration pockets within the coir.
- Hemp Mats: Hemp mats provide inherent structural aeration, as the woven fibers naturally create microscopic air pockets. However, they dry out much faster than coir. To optimize aeration in hemp mats, ensure the mat is cut precisely to the dimensions of your tray so roots do not bypass the mat and grow directly into stagnant water at the bottom of the tray.
Precision Seeding: Density and Distribution
Seeding density is the most critical factor in environmental aeration. If you overseed your tray, the emerging cotyledons will form an impenetrable canopy. This canopy traps humidity at the soil line, completely halting air circulation and creating a breeding ground for mold. Proper seeding ensures that each seedling has enough physical space to allow air to flow freely around its stem.
According to the Johnny's Selected Seeds Grower's Library, calculating the exact gram weight per square inch is vital for uniform germination and optimal airflow. For a standard 10x20 tray, densities are well documented, but for smaller 5x5 windowsill trays, you must divide those commercial recommendations by exactly eight.
Seed Density and Aeration Chart (2026 Standards)
| Variety | Density (per 10x20 Tray) | Density (per 5x5 Windowsill Tray) | Pre-Soak Required? | Canopy Aeration Need |
|---|---|---|---|---|
| Radish (Daikon) | 15 - 20 grams | 2 - 2.5 grams | No | Moderate |
| Pea Shoots | 150 - 200 grams | 20 - 25 grams | Yes (8-12 hrs) | High (Requires trellis/space) |
| Sunflower (Black Oil) | 100 - 125 grams | 12 - 15 grams | Yes (4-8 hrs) | High (Prone to mold if dense) |
| Broccoli | 10 - 12 grams | 1.2 - 1.5 grams | No | Low (Small canopy) |
| Basil (Genovese) | 10 - 12 grams | 1.2 - 1.5 grams | No | Moderate (Mucilaginous seed) |
The Broadcasting Technique
To achieve even distribution and prevent clumping (which destroys localized aeration), use the 'salt shaker' method or a specialized micro-seed broadcaster. Hold the seeds about 12 inches above the tray and broadcast them in a crisscross pattern. After broadcasting, gently press the seeds into the medium using a clean, flat piece of cardboard or a tamper. Do not bury the seeds. Burying microgreen seeds cuts off their access to atmospheric oxygen and light, severely stunting germination rates.
The Blackout Period: Weighting and Airflow
Following seeding, most microgreens require a 'blackout' period to simulate being buried underground, which encourages rapid, uniform stem elongation. However, this period is where aeration mistakes are most commonly made. Instead of using a solid, non-porous plastic lid that traps ethylene gas and moisture, use a breathable blackout cover or an inverted tray with ventilation holes.
Furthermore, applying weight to the top of the seeds during the first 48 to 72 hours forces the roots to drive deep into the aerated medium rather than pushing the seed up out of the soil. Use a 2 to 5-pound weight (such as a clean brick or specialized tray weight) distributed evenly over the surface. This physical pressure ensures intimate seed-to-soil contact, which is essential for moisture uptake without requiring a waterlogged, un-aerated environment.
Watering Strategies that Preserve Root Oxygen
The University of Minnesota Extension emphasizes that overwatering is the primary cause of microgreen failure, as it displaces oxygen in the root zone. To maintain perfect aeration while keeping plants hydrated, you must transition to bottom-watering immediately after the blackout period ends.
- Days 1-3 (Blackout): Mist the surface lightly once or twice a day to keep the seeds moist while they establish their initial taproots.
- Days 4-Harvest (Under Canopy): Lift the inner mesh tray and pour water directly into the bottom catch tray. The coco coir or hemp mat will wick the moisture upward via capillary action. This leaves the top layer of the medium and the base of the stems completely dry, maximizing surface aeration and virtually eliminating the risk of stem rot.
- Flushing: Once every two days, use slightly more water to flush the medium, preventing the buildup of nutrient salts that can restrict root respiration.
Troubleshooting Hypoxia and Damping Off
Even with the best 2026 seed tray kits, environmental factors on a windowsill can fluctuate. Here is how to identify and correct aeration and seeding issues:
- White Fuzz vs. Mold: Beginners often mistake root cilia (microscopic root hairs seeking moisture) for mold. Root hairs are a sign of a healthy, well-aerated root zone searching for water. True mold looks like a spiderweb draped over the soil surface and smells musty. If true mold appears, your seeding density is too high, or your environmental aeration (room airflow) is too low.
- Leggy, Weak Stems: If your microgreens are falling over, they likely lacked adequate weight during the blackout period, or the seed density was so high that they competed for light rather than developing strong, oxygen-fed root anchors.
- Stunted Growth: If seeds germinate but stop growing, the medium is likely compacted and waterlogged. Switch to a coir-perlite mix and strictly enforce bottom-watering to restore oxygen to the rhizosphere.
Conclusion
Growing microgreens on a windowsill in 2026 is a highly rewarding endeavor that bridges the gap between culinary arts and horticultural science. By viewing your seed tray through the lens of aeration and precision seeding, you transform a simple plastic container into a thriving, oxygen-rich ecosystem. Remember to fluff your medium, weigh your seeds to the gram, utilize elevated mesh for passive airflow, and respect the delicate balance between moisture and oxygen. With these techniques, your windowsill will yield continuous, vibrant, and intensely flavored harvests all year long.