
Winterize Raised Beds: Soil Health & Pathogen Control
The Critical Link Between Winter Maintenance and Garden Health
For homeowners who embrace the garden-to-table lifestyle, the transition from autumn harvest to winter dormancy is a critical period that dictates the success of the following year's crops. Bridging the gap between outdoor landscaping and indoor culinary excellence requires a deep understanding of soil biology. When you neglect seasonal maintenance, you risk harboring plant pathogens, depleting essential soil nutrients, and inviting structural decay to your outdoor living spaces. Winterizing your raised garden beds is not merely about tidying up the yard; it is a proactive health measure for your soil ecosystem.
Healthy soil translates directly to nutrient-dense produce. By implementing a rigorous fall and winter maintenance routine, you protect the intricate web of mycorrhizal fungi and beneficial bacteria that make nutrients bioavailable to your plants. This comprehensive guide will walk you through the exact steps, products, and timing required to winterize your raised beds, ensuring your garden remains a vibrant, pathogen-free extension of your home's health and wellness ecosystem.
Step 1: Sanitation and Pathogen Eradication
The first step in seasonal garden maintenance is thorough sanitation. Spent crops and decaying foliage can serve as overwintering sites for destructive pathogens and pests. However, the method of removal depends heavily on the health of the plant during the growing season.
Handling Diseased vs. Healthy Biomass
If your summer crops, particularly Solanaceae family members like tomatoes, peppers, and eggplants, showed signs of fungal or bacterial diseases such as early blight (Alternaria solani) or late blight (Phytophthora infestans), complete removal is non-negotiable. Do not compost these materials in your standard home compost bin, as most residential setups do not reach the sustained 140°F to 160°F required to kill resilient spores. Instead, bag the diseased biomass and dispose of it via municipal green waste facilities that utilize high-heat commercial composting, or burn it where local ordinances permit.
For healthy crops, particularly nitrogen-fixing legumes like bush beans and peas, practice the 'chop and drop' method. Using a pair of sterilized bypass pruners, cut the plants at the soil line. Leave the root systems intact in the soil. As these roots decompose over the winter, they release fixed nitrogen and create microscopic channels that improve soil aeration and drainage. This simple technique preserves the delicate soil structure and prevents the disruption of beneficial fungal networks that occur when plants are forcefully uprooted.
Step 2: Strategic Soil Testing and Amendment
Many gardeners wait until spring to test their soil, but late fall (October through early November) is the optimal time for soil analysis and amendment application. Amendments like agricultural lime and elemental sulfur require several months of moisture and microbial activity to alter soil pH. By testing and amending in the fall, you ensure the soil chemistry is perfectly balanced by the time spring planting arrives.
Invest in a comprehensive soil test from a reputable laboratory, such as Logan Labs or your local university extension office. These tests typically cost between $20 and $30 and provide precise measurements of macronutrients (Nitrogen, Phosphorus, Potassium), micronutrients, cation exchange capacity (CEC), and organic matter percentage. Based on your results, apply the necessary amendments evenly across the bed surface and lightly incorporate them into the top two inches of soil using a hand cultivator.
| Soil Issue | Target Metric | Recommended Amendment | Application Rate (per 100 Sq Ft) | Estimated Cost |
|---|---|---|---|---|
| Low pH (Acidic) | 6.2 - 6.8 | Pelletized Garden Lime | 5 - 10 lbs (based on SMP buffer test) | $12 per 40lb bag |
| High pH (Alkaline) | 6.2 - 6.8 | Elemental Sulfur | 1 - 2 lbs | $18 per 5lb bag |
| Low Phosphorus | 30 - 50 ppm | Bone Meal or Rock Phosphate | 2 - 3 lbs | $15 per 4lb bag |
| Low Potassium | 150 - 250 ppm | Sulfate of Potash (0-0-50) | 1 - 1.5 lbs | $22 per 5lb bag |
| Depleted Organic Matter | 5% - 8% | Composted Leaf Mold | 2 - 3 cubic feet | $8 per bag (or free if DIY) |
Step 3: Sowing Winter Cover Crops
Leaving soil bare over the winter is one of the most detrimental practices for long-term garden health. Bare soil is vulnerable to erosion from winter rains, nutrient leaching, and the compaction caused by freeze-thaw cycles. To combat this, integrate cover cropping into your seasonal maintenance routine. Cover crops act as a living mulch, suppressing winter weeds while actively improving soil biology.
For raised beds intended for heavy-feeding spring crops like brassicas and tomatoes, a mix of cereal rye (Secale cereale) and hairy vetch (Vicia villosa) is highly recommended. The cereal rye provides an extensive, fibrous root system that scavenges leftover nitrogen and breaks up compacted soil layers. Simultaneously, the hairy vetch, a cold-hardy legume, works with rhizobia bacteria to pull nitrogen from the atmosphere and fix it into the soil. Sow this mix at a rate of 2 pounds of rye and 1 pound of vetch per 1,000 square feet. For a standard 4x8 foot raised bed (32 square feet), you will only need about 1.5 ounces of the seed mix, making it an incredibly cost-effective investment at roughly $2 per bed. Broadcast the seeds evenly in late September to mid-October, rake them into the top quarter-inch of soil, and water gently to ensure germination before the first hard freeze.
Step 4: Applying the Right Winter Mulch
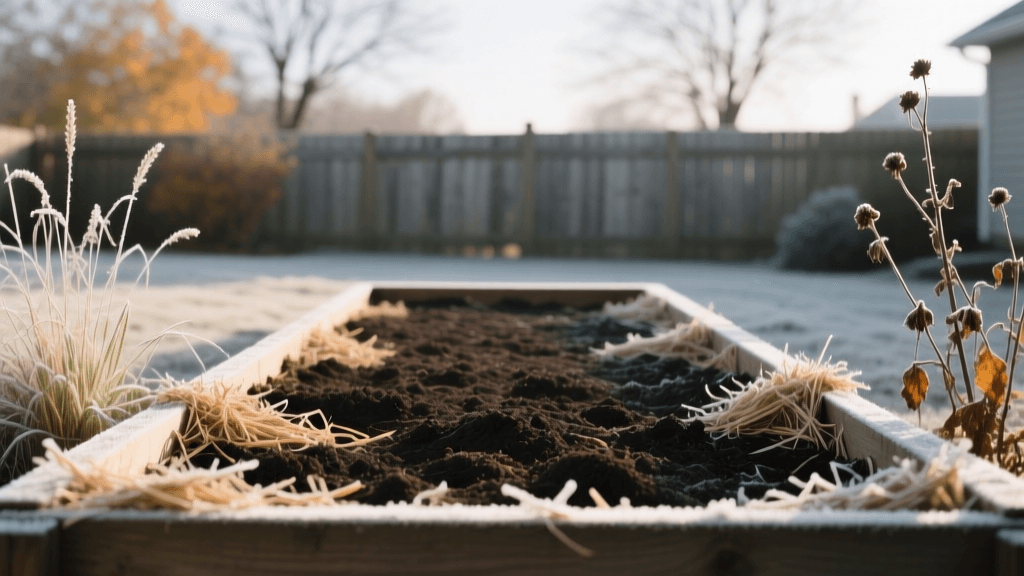
If cover crops are not viable for your specific garden layout, or if you are preparing beds for early spring root vegetables that require bare soil, applying a thick layer of organic winter mulch is mandatory. The goal of winter mulch is not to warm the soil, but to insulate it, preventing the extreme temperature fluctuations that can cause frost heaving and root damage to perennial crops like garlic, asparagus, and overwintering herbs.
Select a mulch with a high carbon-to-nitrogen (C:N) ratio that will break down slowly over the winter. Shredded oak or maple leaves are excellent, provided they are shredded first to prevent matting and water repellency. Alternatively, seed-free straw (not hay, which introduces weed seeds) is a premier choice. Apply a 3 to 4-inch layer of straw or shredded leaves over the soil surface. Avoid using pine needles in beds designated for alkaline-loving crops, as they can mildly acidify the soil surface over time. Furthermore, never use black walnut leaves or mulch, as they contain juglone, a natural herbicide that will stunt or kill sensitive garden plants like tomatoes and peppers the following spring.
Step 5: Structural Integrity and Rodent Exclusion
Seasonal maintenance extends beyond the soil to the physical infrastructure of your outdoor living space. Raised beds, particularly those constructed from untreated cedar or redwood, require annual inspection and preservation. The freeze-thaw cycles of winter can cause wood to warp, crack, and degrade if left unprotected.
After clearing the beds, inspect the interior and exterior wood surfaces. Sand down any rough or splintering areas. To protect the wood without introducing toxic chemicals into your garden-to-table ecosystem, apply a generous coat of 100% raw linseed oil. Avoid 'boiled' linseed oil, which contains metallic drying agents and chemical solvents that can leach into the soil. Raw linseed oil costs approximately $25 per gallon and penetrates deeply to repel moisture. Apply it with a natural bristle brush on a dry day when temperatures are above 50°F, allowing 48 hours for it to cure before winter rains begin.
Additionally, winter is the prime season for rodent infestations. Voles and mice often seek refuge in the warm, insulated environment of raised beds, where they will chew through the roots of your perennials and garlic. To exclude them, staple 1/4-inch galvanized hardware cloth to the bottom and lower sides of your raised beds. If your beds are already built, dig a shallow 6-inch trench around the exterior perimeter and bury the hardware cloth vertically to create an impenetrable subterranean barrier.
Expert Insights on Soil Biology
The importance of these seasonal practices is heavily supported by agricultural science. According to the Cornell University Cooperative Extension and the USDA Natural Resources Conservation Service (NRCS), maintaining continuous living roots in the soil through cover cropping and preserving soil structure via minimal tillage are the two most effective ways to increase Soil Organic Matter (SOM). The NRCS notes that every 1% increase in soil organic matter allows the soil to hold an additional 20,000 gallons of water per acre, drastically improving drought resilience and nutrient retention. By dedicating a weekend to these precise winterization steps, you are not just cleaning up your yard; you are actively engineering a resilient, high-yield ecosystem that will support your health and culinary pursuits for years to come.

