
Gardening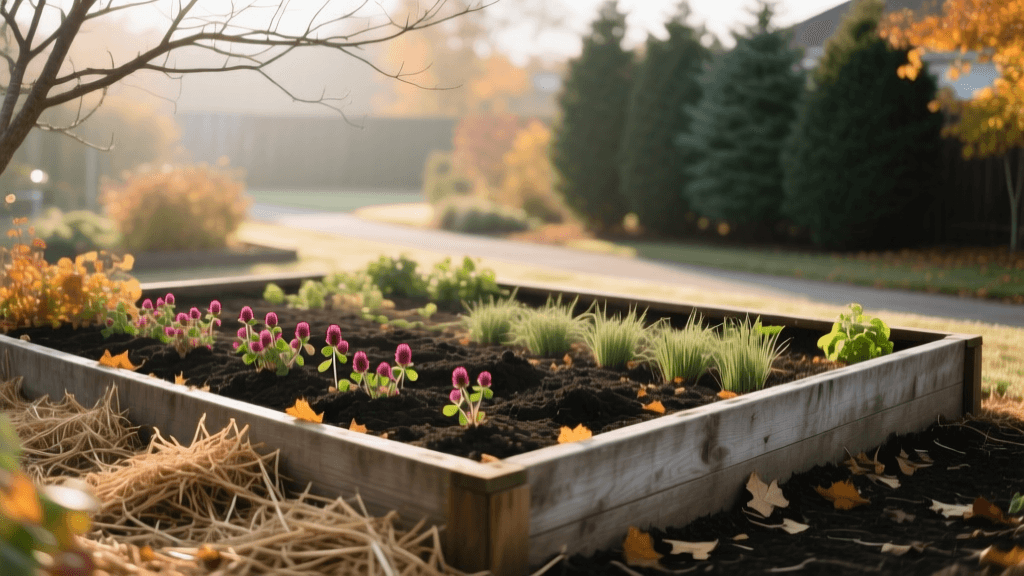
Winterizing Raised Vegetable Beds: Soil Health Guide
The Importance of Fall and Winter Soil Maintenance
As the growing season winds down and the first frost approaches, many gardeners mistakenly believe their work is finished. However, from a seasonal maintenance and soil health perspective, late fall is arguably the most critical time for your raised bed vegetable garden. Raised beds, by their very nature, drain faster and warm up quicker in the spring, but they are also highly susceptible to nutrient leaching, soil compaction, and erosion during harsh winter months if left bare and unprotected.
Proper winterization goes far beyond simply cleaning up dead tomato vines. It involves actively managing the soil food web, preventing the overwintering of fungal pathogens, and preparing the physical structure of your beds to withstand freeze-thaw cycles. By implementing a strategic late-fall maintenance routine, you can drastically reduce springtime labor, suppress early weeds, and ensure your soil is biologically active and nutrient-dense the moment spring planting arrives.
Step 1: Sanitation and Pathogen Management
The first step in seasonal garden health maintenance is thorough sanitation. Many common vegetable diseases, such as early blight (Alternaria solani), powdery mildew, and septoria leaf spot, overwinter in infected plant debris left in the soil.
What to Remove and Destroy
- Solanaceous Crops: Pull all tomatoes, peppers, and eggplants by the roots. If there is any sign of blight or fungal disease, do not compost them. Bag them and send them to the municipal landfill or burn them where local ordinances permit.
- Cucurbits: Squash and cucumber vines often harbor squash vine borer pupae and powdery mildew spores. Remove all vines and inspect the base of the plants for cocoons.
- Brassicas: Remove cabbage and broccoli stalks to prevent the overwintering of cabbage worm pupae and clubroot disease.
What to Compost
Healthy, disease-free plant matter, such as spent bean stalks, lettuce, and root crop tops, can be chopped and added directly to your compost bin or used as a base layer for sheet composting (lasagna gardening) in the raised bed.
Step 2: Soil Testing and Targeted Amendments
Before adding any fertilizers or bulk compost, it is essential to understand your soil's current chemical profile. According to the University of Massachusetts Amherst Extension, routine soil testing every two to three years prevents the toxic buildup of phosphorus and potassium, which can lock out vital micronutrients like zinc and iron.
Actionable Advice:
- Timing: Collect soil samples in late October or early November.
- Method: Use a soil probe or trowel to take 5 to 6 core samples from your raised bed at a depth of 6 inches. Mix them in a clean plastic bucket.
- Cost and Turnaround: Sending a sample to your local university cooperative extension typically costs between $15 and $25, with results returning in 2 to 3 weeks.
- Amending: Based on the results, apply targeted amendments. For general organic matter replenishment, apply a 2-inch layer of high-quality compost. For a standard 4x8 foot raised bed (32 square feet), this requires approximately 5.5 cubic feet of compost. Products like Coast of Maine Quoddy Blend Lobster Compost or Espoma Organic Compost Starter are excellent choices, costing roughly $6 to $12 per cubic foot.
Step 3: Planting Fall Cover Crops (Green Manure)
Leaving soil bare over winter invites erosion and weed invasion. Cover crops act as a living mulch, protecting the soil structure, scavenging leftover nitrogen, and feeding soil microbes through root exudates. The Penn State Extension Master Gardener program highly recommends utilizing a mix of grasses and legumes to maximize both biomass production and nitrogen fixation.
Cover Crop Comparison Chart for Raised Beds
| Cover Crop | Type | Seeding Rate (per 100 sq ft) | Primary Benefit | Termination Method |
|---|---|---|---|---|
| Winter Rye | Grass | 2.0 lbs | Massive biomass, weed suppression, cold-hardy | Cut at base before seed set in spring |
| Crimson Clover | Legume | 0.5 lbs | Fixes nitrogen, attracts early pollinators | Mow or pull before flowering |
| Hairy Vetch | Legume | 1.0 lbs | Nitrogen fixation, excellent ground cover | Crimp or mow at early flowering |
| Daikon Radish | Brassica | 0.25 lbs | Bio-drilling (breaks up compaction), winter-kills | Winter-kills in hard freezes (Zone 6 and below) |
Planting Tip: For raised beds, a mix of Winter Rye and Hairy Vetch is ideal. Broadcast the seed evenly over the raked soil surface in late September to mid-October, lightly rake it in to a depth of 1/4 inch, and water gently. The total seed cost for a 4x8 bed is usually under $5.
Step 4: Mulching for Moisture and Microbe Protection
If you choose not to plant a cover crop, or if you have beds reserved for early spring planting (like peas or spinach), applying a thick layer of organic mulch is non-negotiable for soil health. Mulch insulates the soil, preventing the drastic freeze-thaw cycles that can push root crops out of the ground (frost heaving) and damage soil structure.
Best Mulching Materials for Winter
- Straw: Seed-free straw is the gold standard for vegetable beds. A standard bale ($8 to $12) covers about 1,000 square feet at a 2-inch depth. For winter protection, apply 3 to 4 inches. Straw allows water to penetrate while insulating the soil.
- Shredded Leaves: Free and abundant in autumn. Never use whole leaves, as they mat down and create an anaerobic barrier. Run over them with a lawnmower first. Oak leaves are perfectly fine to use; the myth that they will severely acidify your garden soil has been debunked by multiple university soil labs.
- Wood Chips: Avoid using fresh wood chips directly on the soil surface of vegetable beds, as they tie up surface nitrogen during decomposition. If using wood chips, apply them only to the walking paths between raised beds to suppress weeds and retain path moisture.
Step 5: Structural Maintenance of the Raised Bed
Seasonal maintenance also encompasses the physical infrastructure of your garden. Winter moisture, snow load, and freezing temperatures can degrade bed materials if they are not properly prepped.
Wooden Raised Beds
If your beds are constructed from untreated cedar or redwood, late fall is the time to treat the exterior wood to prolong its lifespan. Avoid chemical sealants or pressure-treated wood stains that could leach into your organic vegetable soil. Instead, apply a generous coat of Raw Linseed Oil or a specialized eco-friendly garden wood sealer like Valhalla Wood Preservative. This costs approximately $25 per quart and will waterproof the wood, preventing rot and warping from winter snowmelt.
Metal and Composite Beds
For galvanized steel or composite beds, inspect the corner brackets and screws. The freeze-thaw cycle causes soil to expand and contract, which can bow the sides of the bed or loosen hardware. Tighten all bolts with a socket wrench and ensure that any internal support cross-ties are secure before the ground freezes solid.
Preparing for the Spring Transition
By completing these five steps, your raised beds will enter winter dormancy in a state of protected, active biological health. When spring arrives, the transition back to planting will be seamless. If you planted cover crops, terminate them 3 to 4 weeks before your intended spring planting date by cutting them at the soil line with a string trimmer or scythe. Leave the roots in the ground to decompose and feed the soil microbiome, and lay the cut foliage on the surface as a natural weed-suppressing mulch. Through dedicated seasonal maintenance, your raised bed soil will become richer, more resilient, and vastly more productive year after year.

