Gardening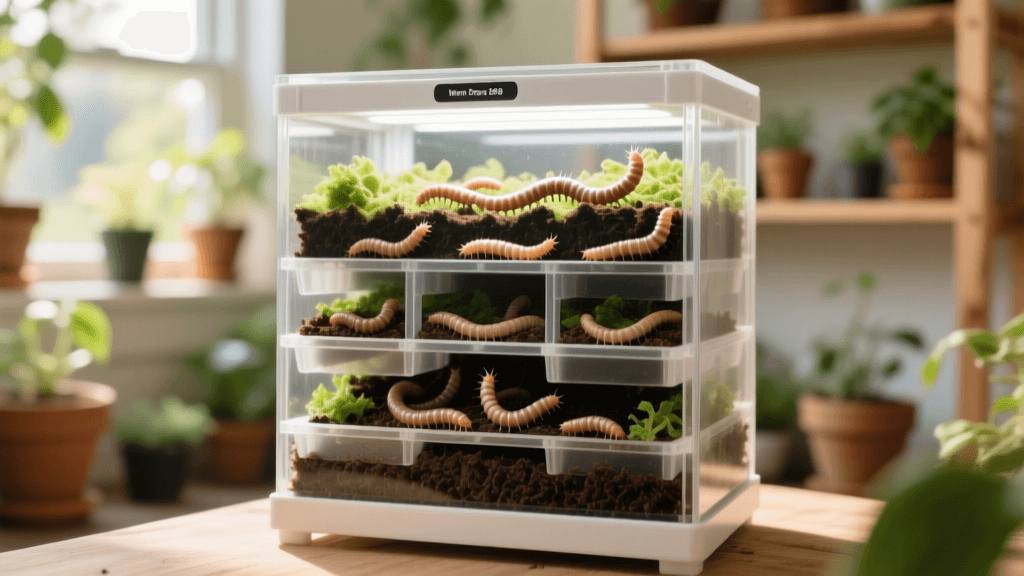
Worm Factory 360 Photography: Documenting Vermicomposting in 2026
The Rise of the Visual Composting Journal in 2026
In 2026, the intersection of urban homesteading and digital garden documentation has reached new heights. While many gardeners focus their lenses on blooming perennials or heirloom tomato harvests, a dedicated community of soil enthusiasts is turning their cameras toward the unsung heroes of the garden: the red wiggler worm (Eisenia fetida). The Worm Factory 360 remains the gold standard for tiered, indoor vermicomposting systems, offering a compact, multi-tray environment that is perfect for both efficient composting and intimate macro photography. Documenting your vermicomposting journey is not just about creating aesthetically pleasing content for social media; it is a vital scientific practice. By maintaining a visual journal, you can track decomposition rates, monitor worm migration between trays, and diagnose moisture or acidity issues before they become fatal to your colony. Whether you are a seasoned macro photographer or a hobbyist armed with the latest 2026 smartphone macro modes, capturing the lifecycle of your Worm Factory 360 provides invaluable insights into the hidden world beneath our feet.
Essential Camera Gear for Macro Compost Photography
Photographing the interior of a Worm Factory 360 presents unique challenges. You are dealing with low-light environments, high-contrast moisture reflections, and subjects that are constantly in motion. To capture the intricate details of fungal hyphae, the rich texture of worm castings, and the segmented anatomy of your red wigglers, you need the right equipment.
- Macro Lenses: If you are using a DSLR or mirrorless camera, a dedicated 90mm or 100mm macro lens is essential for achieving a 1:1 magnification ratio without casting shadows over the bin. For smartphone users, the 2026 generation of clip-on polarizing macro lenses (such as those from Moment or ShiftCam) are game-changers, allowing you to eliminate the harsh glare from wet food scraps and glistening worm skin.
- Diffused Continuous Lighting: Red wigglers are highly sensitive to light. Traditional camera flashes can cause severe stress and erratic burrowing behavior. Instead, utilize a small, adjustable LED ring light or a flexible wand light equipped with a softbox diffuser. This provides the continuous, gentle illumination needed for focus stacking without harming your colony.
- Polarizing Filters: Vermicomposting is a wet process. A circular polarizer (CPL) will cut through the surface reflections of the compost, revealing the deep, matte-black texture of the finished castings and the vibrant red-purple hues of the worms themselves.
A Photographer’s Timeline for the Worm Factory 360
Creating a comprehensive photo journal requires a structured approach. Here is a step-by-step timeline to guide your documentation process from initial setup to the final harvest.
Day 1: The Setup and Inoculation
Your first photo session should capture the baseline environment. Document the preparation of the bedding—shredded corrugated cardboard, coconut coir, and a handful of gritty garden soil. Take wide shots of the empty base tray, followed by macro shots of the moistened bedding texture. When you introduce your pound of red wigglers, capture their initial reaction to the light and their immediate instinct to burrow. This baseline imagery is crucial for comparing bedding volume reduction over the coming weeks.
Week 4: The First Breakdown
By week four, the first tray will show significant biological activity. This is the time to photograph the introduction of food scraps. Document the transition from recognizable vegetable peels to the white, fuzzy bloom of saprophytic fungi and actinomycetes. These microorganisms are the first responders in the composting food web, softening the scraps for the worms. Capturing these fungal networks in high-contrast macro shots provides a stunning visual record of decomposition in action.
Month 3: Upward Migration and Harvest
The genius of the Worm Factory 360 is its vertical migration system. As the bottom tray fills with rich, dark castings, the worms move upward through the grate to the next tray of fresh scraps. Document this transition by photographing the underside of the second tray's grate, where you will often find worms reaching down to pull organic matter into their new home. Finally, document the harvest: the crumbly, coffee-ground texture of the finished vermicompost, and the collection of the nutrient-dense 'worm tea' from the base spigot.
Visual Troubleshooting Chart for Vermicomposting
One of the most practical applications of garden photography is visual troubleshooting. By reviewing your weekly photos, you can spot environmental imbalances in your Worm Factory 360. According to guidelines from the University of Minnesota Extension, maintaining the correct moisture and aeration balance is critical for worm health. Use the following chart to interpret the visual cues in your photographs.
| Visual Cue in Photo | What It Means | Corrective Action |
|---|---|---|
| Glistening, muddy surface with pooling water | Overwatering and poor drainage; anaerobic conditions developing. | Mix in dry, shredded cardboard to absorb excess moisture; ensure the spigot is open. |
| White, fuzzy mold on food scraps | Normal fungal breakdown; indicates a healthy microbial food web. | No action needed. Document for your journal as a sign of active decomposition. |
| Worms clustering tightly near the top lid or sides | Bin environment is toxic (too acidic, too wet, or lacking oxygen). | Aerate the bedding gently; mix in crushed eggshells to neutralize acidity. |
| Presence of tiny, translucent white worms | Pot worms (Enchytraeids); thrive in highly acidic, wet conditions. | Reduce acidic foods (like citrus and tomatoes); add dry bedding immediately. |
Ethical Lighting: Protecting Your Red Wigglers
When documenting your Worm Factory 360, the welfare of your colony must always come first. As noted by the Cornell University Waste Management Institute, red wigglers lack traditional eyes but possess specialized photoreceptor cells along their bodies that are acutely sensitive to ultraviolet and intense visible light. Prolonged exposure to harsh lighting can cause them to experience severe stress, leading to decreased feeding rates and even attempted escapes from the bin. Never use a direct, undiffused flash when opening the lid for a photo session. Instead, rely on ambient room light supplemented by a warm-toned (3000K-4000K) LED panel positioned at a 45-degree angle. This technique, known as 'raking light,' enhances the three-dimensional texture of the compost and the segmentation of the worms while keeping light intensity at a safe, tolerable level. Limit your lid-off photography sessions to no more than five minutes to prevent the bedding from drying out under the heat of the lights.
Building Your 2026 Digital Garden Archive
In 2026, managing a visual garden journal goes far beyond simply saving photos to a camera roll. To truly benefit from your vermicomposting documentation, you need a structured digital archive. Utilize metadata tagging within your photo files to log crucial environmental data. Most modern cameras and smartphones allow you to edit EXIF data or add custom tags. Tag your images with the tray number, the date, the approximate moisture level, and the types of food scraps added that week. For example, a filename like WF360_Tray2_2026-04-12_MoistureHigh_CoffeeGrounds.jpg makes it incredibly easy to search your archive later. Consider using cloud-based garden journaling apps that integrate photo uploads with local weather data and lunar cycles, providing a holistic view of how external environmental factors might be influencing the internal microclimate of your indoor Worm Factory 360. By treating your vermicomposting photography as a rigorous, data-driven science project, you will not only capture breathtaking macro images of nature's recyclers but also become a master of soil biology, ensuring your garden is fed with the finest, home-grown black gold available.