Gardening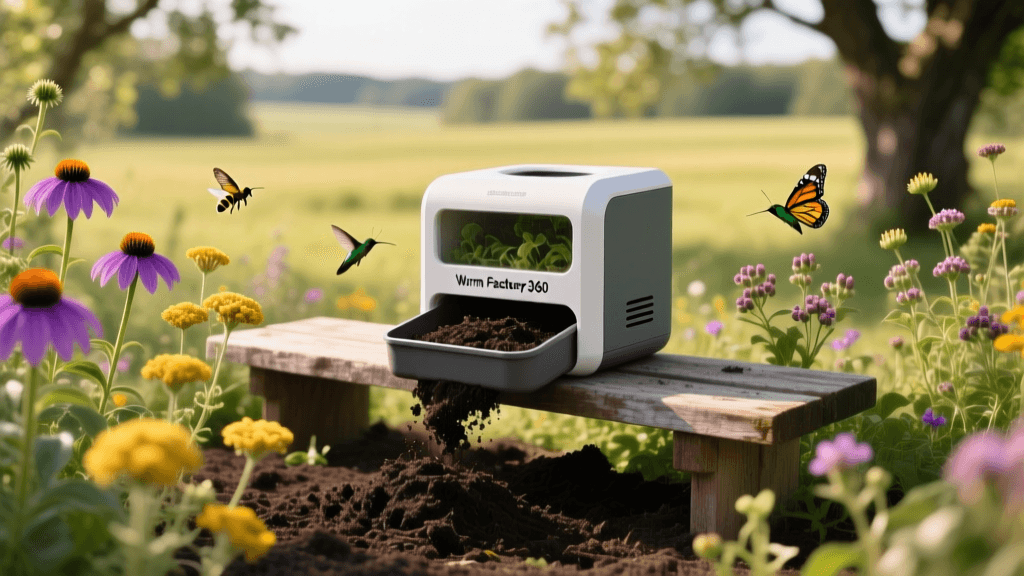
Worm Factory 360 Vermicomposting for Pollinator Gardens 2026
The Hidden Foundation of Pollinator-Friendly Design
As we plan our outdoor spaces for the 2026 growing season, the focus of modern landscaping has rightfully shifted toward ecological stewardship. While selecting the right nectar-rich blooms is crucial, the true foundation of any thriving pollinator garden lies beneath the surface. Synthetic fertilizers can cause rapid, weak plant growth, alter nectar chemistry, and introduce harmful salts into the soil ecosystem that negatively impact ground-nesting bees and beneficial soil microbes. To cultivate a truly resilient, pollinator-friendly garden, horticulturists are turning to vermicomposting. By utilizing the Worm Factory 360 and red wiggler worms (Eisenia fetida), gardeners can produce a steady supply of premium, living soil amendments that promote robust root systems, enhance drought tolerance, and maximize flower production without the ecological risks of chemical alternatives.
Why the Worm Factory 360 is the 2026 Standard for Home Vermicomposting
For home gardeners managing a pollinator-friendly landscape, space and odor control are paramount. The Worm Factory 360 remains a top-tier vermicomposting system in 2026 due to its compact 16-by-16-inch footprint and multi-tray vertical design. Unlike traditional single-bin composters that require manual turning and messy harvesting, this system utilizes a continuous flow-through method. As the red wigglers consume the organic matter in the bottom tray, they naturally migrate upward through the grid floors toward fresh food sources in the next tray. This leaves behind pure, finished worm castings—often referred to as 'black gold'—in the lower trays, making harvesting effortless. Furthermore, the integrated leachate collection system captures nutrient-dense 'worm tea,' which can be diluted and applied directly to your pollinator beds to stimulate microbial life and deter foliar diseases.
Step-by-Step Setup for Your Red Wiggler Colony
Establishing a healthy worm colony is straightforward if you follow a few critical guidelines to ensure your Eisenia fetida population thrives from day one.
- Prepare the Bedding: Red wigglers require a moist, carbon-rich environment to thrive. Soak shredded, unbleached newspaper or coconut coir in water until it reaches the consistency of a wrung-out sponge. Fill the bottom tray of your Worm Factory 360 about three-quarters full with this bedding.
- Add a Grit Source: Worms lack teeth and rely on a gizzard to grind their food. Sprinkle a handful of pulverized eggshells or fine horticultural sand over the bedding to aid their digestion and help regulate the bin's pH levels.
- Introduce the Worms: For a standard household generating moderate kitchen scraps, starting with one pound of red wigglers (approximately 1,000 worms) is ideal. Gently place them on top of the bedding and leave the lid off for an hour in a well-lit room; worms are photophobic and will quickly burrow down into the safety of the bedding.
- Initial Feeding: Wait 48 hours before adding your first food scraps to allow the worms time to acclimate to their new environment. Bury a small amount of soft fruit scraps in one corner of the tray and cover them completely with bedding to prevent fruit flies.
Feeding Your Worms: A Pollinator Gardener’s Guide
What you feed your worms directly impacts the nutrient profile of the castings they produce. A balanced diet ensures your castings are rich in the micronutrients necessary for vibrant pollinator blooms. According to the United States Environmental Protection Agency, maintaining a proper balance of nitrogen-rich 'greens' and carbon-rich 'browns' is essential for odor-free, efficient composting.
| Category | Safe to Feed (The 'Do's') | Avoid Completely (The 'Don'ts') |
|---|---|---|
| Fruit & Veggie Scraps | Melon rinds, apple cores, carrot peels, coffee grounds, tea bags. | Citrus peels (too acidic), onions, garlic, spicy peppers. |
| Carbon / Bedding | Shredded brown cardboard, unbleached paper, dried fall leaves, coconut coir. | Glossy magazine paper, waxed cardboard, treated wood shavings. |
| Garden Waste | Spent annual flowers, soft pruned stems, crushed eggshells. | Diseased plant material, weeds gone to seed, pesticide-treated clippings. |
Harvesting Black Gold: Applying Castings to Native Pollinator Beds
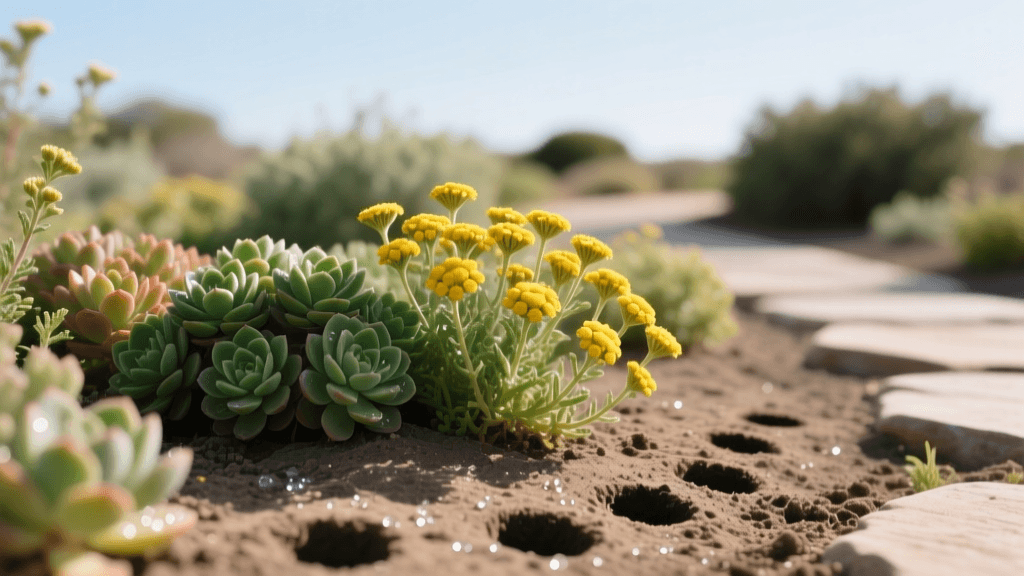
The primary goal of integrating vermicompost into a pollinator garden is to foster deep, resilient root systems in native plants like Purple Coneflower (Echinacea purpurea), Butterfly Weed (Asclepias tuberosa), and Bee Balm (Monarda didyma). These plants generally prefer well-draining soil and can actually suffer from 'flopping' or excessive vegetative growth if subjected to high-nitrogen synthetic fertilizers. Worm castings provide a slow-release, perfectly balanced nutrient profile that enhances bloom density without overwhelming the plant.
Soil Preparation for New Plantings: When installing new pollinator-friendly perennials in the spring of 2026, avoid amending the entire garden bed, which can create a 'bathtub effect' where roots refuse to expand into the surrounding native soil. Instead, mix worm castings at a 10% to 15% ratio with the native soil you excavated from the planting hole. This inoculates the immediate root zone with beneficial microbes and mycorrhizal fungi.
Top-Dressing Established Beds: For existing pollinator gardens, apply a 1/4-inch to 1/2-inch layer of pure worm castings around the base of your plants in early spring, just as new basal growth emerges. Gently scratch the castings into the top inch of the soil surface and water thoroughly. As the season progresses, the nutrients will slowly percolate down to the root zone, supporting sustained flowering from early summer through late autumn.
Brewing Vermicompost Tea for Foliar Feeding
To give your pollinator garden an extra boost during the peak heat of summer, brew aerated vermicompost tea. This liquid extract is teeming with beneficial bacteria that can outcompete foliar pathogens like powdery mildew, which frequently affects Bee Balm and Phlox. To brew, place one cup of fresh Worm Factory 360 castings into a mesh bag and suspend it in a five-gallon bucket of dechlorinated water. Add one tablespoon of unsulfured blackstrap molasses to feed the microbes, and use an aquarium air pump to aerate the mixture for 24 to 36 hours. Dilute the finished tea at a 1:3 ratio with water and apply it as a soil drench or a gentle foliar spray in the early morning hours to protect leaves and nourish the soil food web simultaneously.
Troubleshooting Your Worm Factory 360
Even experienced gardeners occasionally encounter issues with their vermicomposting systems. If your bin develops a sour or anaerobic odor, it is usually a sign of overfeeding or excess moisture. Halt feeding immediately, add generous amounts of dry, shredded cardboard to absorb the moisture, and gently fluff the bedding to introduce oxygen. If you notice fruit flies, ensure that all food scraps are buried at least two inches beneath the bedding surface and consider placing a piece of damp newspaper directly over the food zones as a physical barrier. Escaping worms are typically a symptom of high acidity or extreme temperatures; adding a handful of pulverized eggshells will neutralize acidity, while relocating the bin to a shaded, temperature-controlled environment (ideally between 55°F and 77°F) will keep your colony comfortable and active.
Conclusion: Cultivating a Thriving Ecosystem
Designing a pollinator-friendly garden extends far above the soil line. By integrating the Worm Factory 360 into your 2026 gardening routine, you are closing the loop on household waste while simultaneously cultivating the living soil necessary to support vital pollinator populations. As noted by the Xerces Society for Invertebrate Conservation, organic soil management practices are fundamental to creating safe, toxic-free havens for bees, butterflies, and beneficial insects. Furthermore, resources from Cornell University's Waste Management Institute highlight that the microbial diversity introduced by vermicompost is unparalleled in home gardening. By feeding your worms, you are ultimately feeding your garden, ensuring a vibrant, buzzing, and ecologically balanced landscape for years to come.