Landscaping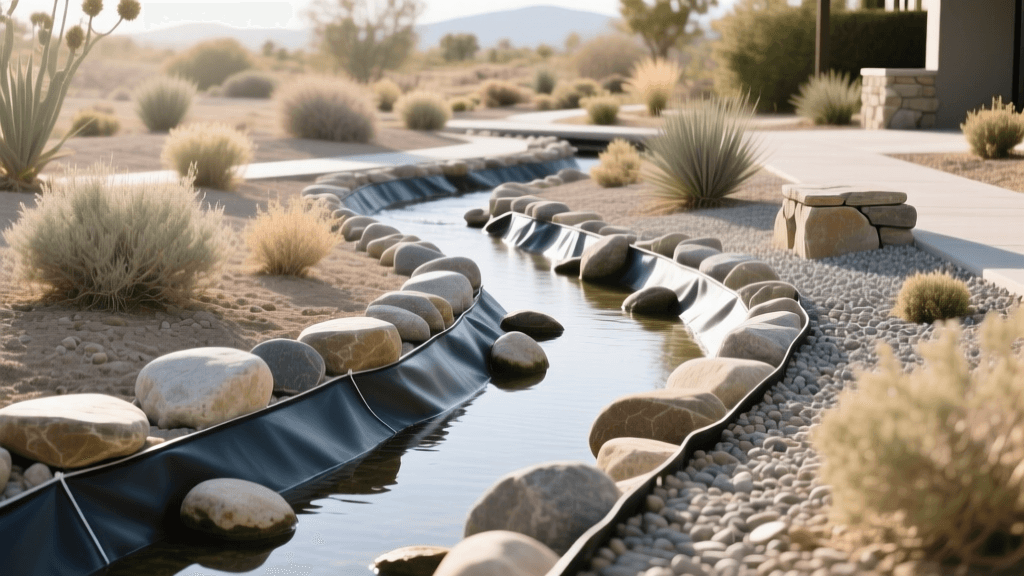
2026 Dry Creek Bed Design: River Rock & Fabric Guide
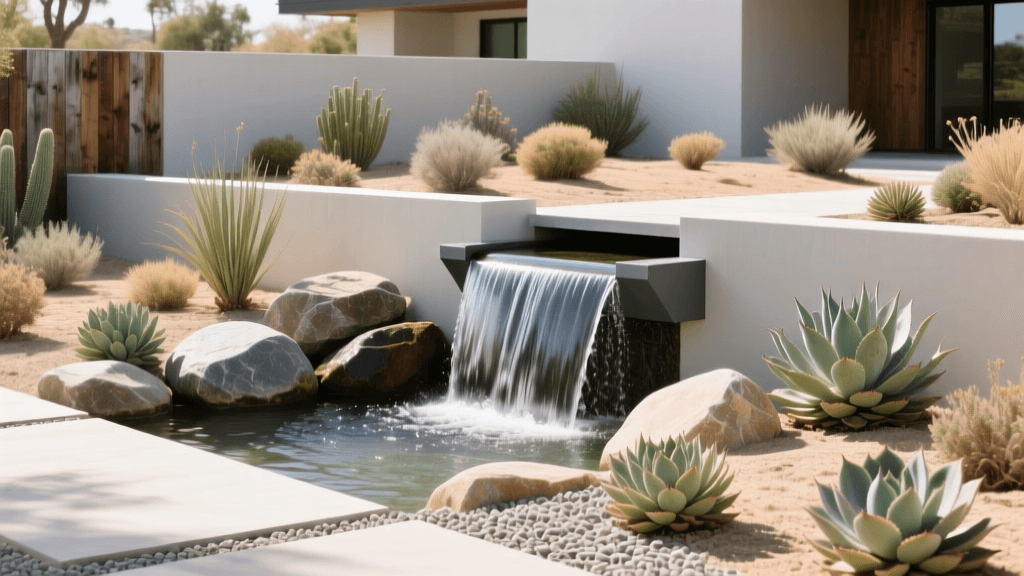
The Rise of Xeriscaping and Dry Creek Beds in 2026
As water conservation becomes a critical priority for homeowners across the globe, xeriscaping has evolved from a niche desert gardening technique into a mainstream landscaping necessity. In 2026, extreme weather patterns—ranging from prolonged droughts to sudden, intense flash floods—have forced property owners to rethink traditional turf lawns. One of the most effective, aesthetically pleasing, and functional solutions to emerge is the dry creek bed. When properly designed with river rock and high-quality landscape fabric, a dry creek bed solves complex drainage issues while dramatically boosting curb appeal without demanding a single drop of irrigation.
According to the EPA WaterSense program, outdoor water use accounts for nearly a third of all residential water consumption in the United States. By replacing water-thirsty turf in low-lying, problematic drainage zones with a xeriscape dry creek bed, homeowners can significantly reduce their water footprint. Furthermore, the USDA Water Conservation initiatives heavily promote permeable hardscaping and rainwater routing techniques to prevent soil erosion and protect local watersheds. This guide will walk you through the exact materials, design principles, and installation steps required to build a stunning, durable dry creek bed this year.
The Anatomy of a Functional Dry Creek Bed
A dry creek bed is not simply a trench filled with stones. It is a carefully engineered landscape feature designed to mimic the natural hydrology of a seasonal stream. To achieve a natural look and optimal drainage, your design must incorporate three distinct zones:
- The Source (Headwaters): Where the water enters the bed. This is often tied to a downspout, a French drain outlet, or a natural slope.
- The Channel (Meander): The winding path of the creek. Natural streams never flow in straight lines; they curve, widen, and narrow based on the terrain.
- The Outlet (Delta): Where the water safely disperses into a dry well, a rain garden, or a municipal drainage easement.
By utilizing river rock and heavy-duty landscape fabric, you create a permeable channel that allows water to percolate slowly into the soil while the rocks dissipate the kinetic energy of rushing water, preventing soil erosion.
Selecting the Right Materials for 2026
The success of your xeriscape project hinges on material selection. In 2026, advancements in geotextile manufacturing and sustainable stone sourcing have given landscapers better options than ever before.
1. Landscape Fabric: Woven vs. Non-Woven
For a dry creek bed, you must use a woven geotextile landscape fabric. Non-woven fabrics (which resemble felt) are designed for moisture retention and will quickly clog with silt, leading to stagnant water and weed growth. A heavy-duty woven polypropylene fabric (rated between 4.5 oz and 6 oz per square yard) provides the perfect balance of weed suppression and water permeability. It allows rainwater to pass through into the native soil while keeping the river rock from sinking into the mud.
2. River Rock and Boulders
To mimic a natural stream, you need a variety of stone sizes. Relying on a single size of rock will make the feature look artificial and manufactured.
- Anchor Boulders (12 to 24 inches): Used on the outside of curves to mimic natural erosion points and hold the fabric in place.
- Cobbles (3 to 5 inches): Used to transition between the large boulders and the smaller river rock.
- River Rock (1 to 3 inches): The primary material that fills the center of the channel, representing the flowing water.
2026 Material Cost and Performance Comparison
Budgeting accurately is essential for hardscaping. Below is a comparison of the primary materials needed for a dry creek bed, reflecting average regional pricing and performance metrics for the 2026 landscaping season.
| Material | 2026 Avg. Cost | Best Application | Drainage & Permeability |
|---|---|---|---|
| River Rock (1-3 in.) | $120 - $180 / ton | Main creek bed channel flow | Excellent water flow |
| Fieldstone Boulders | $250 - $400 / ton | Outside curves & anchor points | N/A (Solid mass) |
| Crushed Granite (3/4 in.) | $60 - $90 / ton | Banktop pathways & edging | Good, but compacts over time |
| Woven Geotextile (5oz) | $0.45 - $0.65 / sq. ft. | Sub-base weed & soil barrier | High permeability rate |
| Pea Gravel | $50 - $80 / ton | Shallow bank transitions | Good, but washes away easily |
Step-by-Step Installation Guide
Follow these actionable steps to ensure your dry creek bed is built to last through decades of weather cycles.
Step 1: Mapping and Excavation
Begin by marking the path of your creek using marking paint or a garden hose. Ensure the path follows the natural slope of your yard. Dig a trench that is roughly 1.5 to 2 feet wide and 6 to 8 inches deep. Create gentle, sweeping curves. On the outside of each curve, dig slightly deeper and wider to accommodate your anchor boulders. Build up a small berm (about 2 inches high) on the downhill side of the trench to keep water from spilling over the edges prematurely.
Step 2: Soil Compaction and Fabric Layout
Tamp down the native soil at the bottom of the trench using a hand tamper. This prevents uneven settling later. Roll out your woven geotextile landscape fabric over the entire trench. The fabric should extend at least 6 inches beyond the edges of the creek bed on both sides. If you need multiple widths of fabric, overlap the seams by a minimum of 6 inches to prevent weeds from sneaking through the gaps.
Step 3: Securing the Fabric
Use 6-inch galvanized or steel landscape staples (pins) to secure the fabric to the soil. Place a staple every 2 feet along the edges and seams. In 2026, many professionals recommend using biodegradable jute netting over the fabric on steep slopes to hold the soil in place until the rocks are laid, though for standard residential grades, steel pins are sufficient.
Step 4: Placing the Boulders and Cobbles
Before adding the river rock, place your large anchor boulders. Bury the bottom third of each boulder in the soil (cutting an X in the fabric to do so) to make them look like natural outcroppings rather than rocks dropped from above. Place them on the outside of the curves. Next, arrange your 3-to-5-inch cobbles around the base of the boulders to create a natural transition.
Step 5: Filling with River Rock
Finally, pour the 1-to-3-inch river rock into the center of the channel. The rock layer should be about 2 to 3 inches deep. Do not overfill the trench; the top of the river rock should sit slightly below the surrounding soil grade or the top of your berm. This ensures that when heavy rain hits, the water stays inside the rock channel rather than washing over the fabric and eroding your lawn.
The Psychology of Natural Rock Placement
The biggest mistake DIYers make is creating a uniform, perfectly even layer of rock. Nature is chaotic. To make your dry creek bed look authentic, vary the depth of the river rock. Create shallow 'riffles' where the rock is only an inch deep, and deeper 'pools' where the rock is four inches deep. Scatter a few individual cobbles randomly in the middle of the river rock to simulate debris and natural stone movement. Avoid lining the edges with perfectly straight rows of stones; instead, let the fabric edges remain hidden beneath a messy, naturalistic overlap of varying stone sizes.
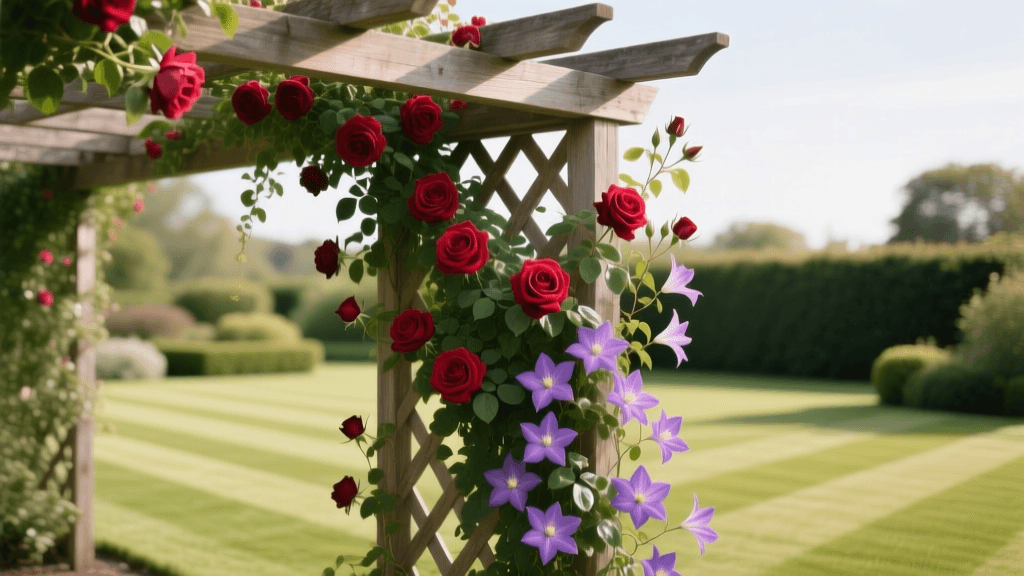
Xeriscape Plant Pairings for the Banks
A dry creek bed is only half the design; the planting zones on the banks complete the xeriscape vision. Choose drought-tolerant, deep-rooted plants that thrive in low-water environments but can handle occasional splash-zone moisture during heavy rains.
- Ornamental Grasses: Blue Fescue, Muhly Grass, and Karl Foerster Feather Reed Grass add movement and soften the hard edges of the rocks.
- Succulents and Agaves: Hens and Chicks (Sempervivum) tucked into the crevices of the boulders provide striking architectural contrast.
- Groundcovers: Creeping Thyme or Sedum can be planted on the outer banks to spill slightly over the rocks, anchoring the fabric edges and preventing soil erosion.
- Shrubs: Dwarf Yaupon Holly or Texas Sage planted further back on the banktop provide year-round structure and require minimal irrigation once established.
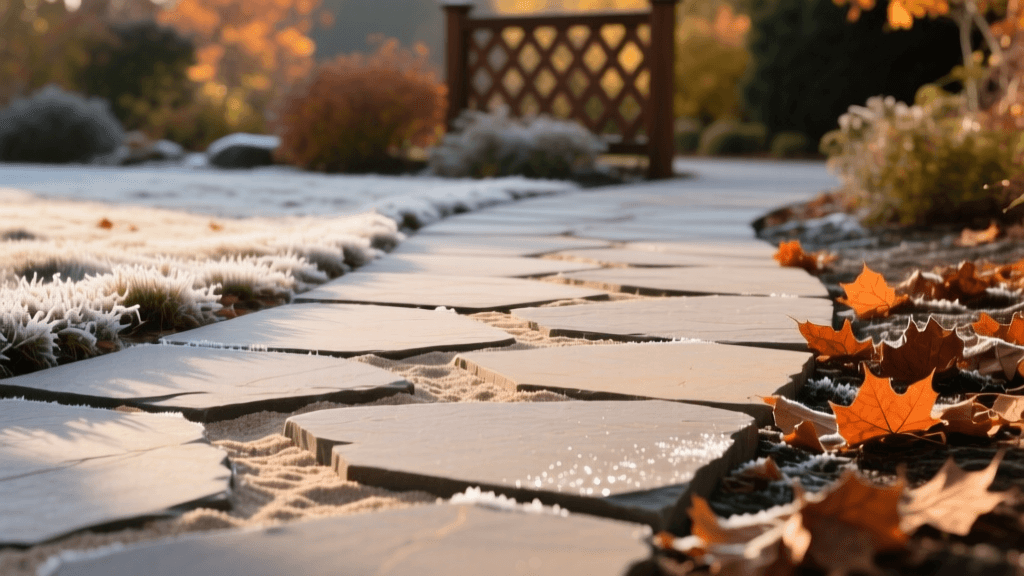
Maintenance in a Changing Climate
One of the primary benefits of a xeriscape dry creek bed is its remarkably low maintenance profile. However, it is not entirely maintenance-free. In the autumn, use a leaf blower on a low setting to remove fallen leaves and debris from the river rock. If organic matter is allowed to decompose in the rocks, it will create a soil layer that invites weed seeds. In the spring, inspect the landscape fabric edges to ensure they have not been exposed by heavy water flow, and add a fresh layer of river rock if any settling has occurred. With these minimal steps, your dry creek bed will remain a pristine, water-saving focal point in your landscape for decades to come.
Conclusion
Designing a dry creek bed with river rock and landscape fabric is a masterclass in functional xeriscaping. By combining the permeability of modern woven geotextiles with the natural beauty of varied stone sizes, you can eliminate yard flooding, reduce your reliance on irrigation, and create a stunning visual feature that elevates your property value. As we continue to adapt our landscapes to the environmental realities of 2026 and beyond, embracing low-water hardscaping solutions is one of the smartest investments a homeowner can make.