Gardening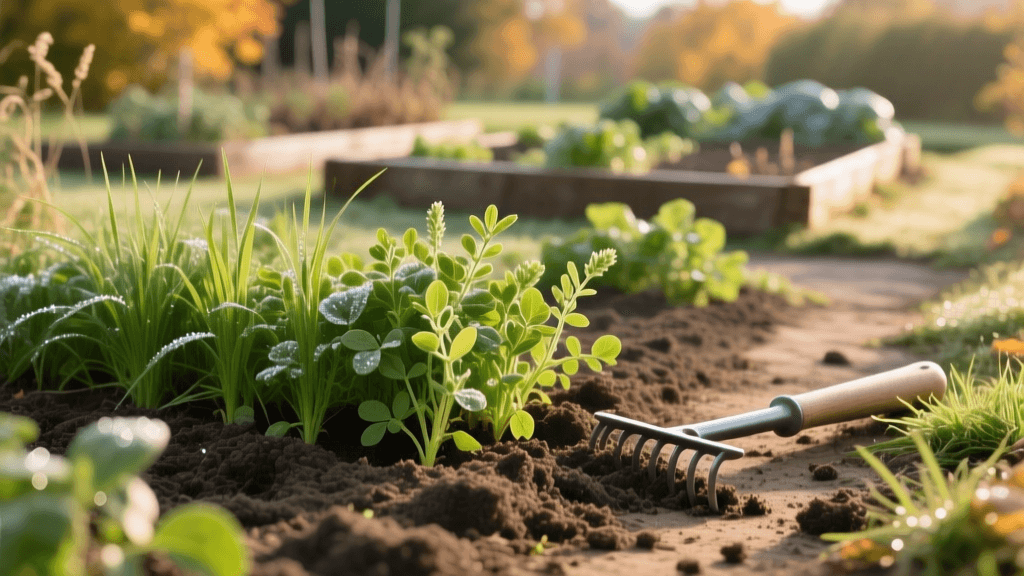
Aeration and Overseeding Techniques for Garden Cover Crops
The Transition: From Summer Harvest to Winter Soil Building
When the summer vegetable harvest winds down and the first chill of autumn enters the air, most gardeners begin thinking about putting their beds to sleep. However, the most productive and resilient garden soils are never truly dormant. Transitioning your garden beds from heavy summer feeders to winter soil-builders requires a strategic approach to soil preparation. While aeration and overseeding are techniques most commonly associated with turfgrass management, applying these exact principles to your vegetable garden through the use of cover crops (often called 'green manure') is one of the most effective ways to combat soil degradation, replenish organic matter, and suppress winter weeds.
According to the Sustainable Agriculture Research and Education (SARE) program, integrating cover crops into your seasonal rotation can increase water infiltration, reduce erosion, and naturally break up compacted soil layers. But simply scattering seed over a hard, compacted garden bed will result in poor germination and wasted money. To truly unlock the benefits of winter cover crops, you must employ targeted garden aeration and precise overseeding techniques.
The Hidden Problem of Garden Soil Compaction
Throughout the growing season, your garden beds endure immense physical stress. Frequent foot traffic, the rolling of heavy wheelbarrows laden with compost or harvest, and the dense root masses of crops like tomatoes and squash all contribute to soil compaction. This is especially problematic in clay-heavy soils or raised beds that were not properly amended in the spring. Compaction creates a 'hardpan' layer just a few inches below the surface, which restricts root penetration, limits oxygen flow to soil microbes, and causes water to pool or run off rather than infiltrate.
'Soil compaction is the silent yield-killer in home gardens. Without proper aeration, even the most nutrient-dense compost cannot reach the deep root zones where it is needed most.'
Aerating the garden bed before overseeding fractures this hardpan, creating micro-channels for water, air, and the delicate roots of your winter cover crops. Unlike lawn aeration, which often relies on heavy, gas-powered machinery, garden bed aeration requires a more nuanced, low-impact approach to preserve the delicate soil food web and the structural integrity of your raised beds.
Choosing the Right Aeration Tools for Garden Beds
Because garden beds are typically confined spaces (often 3 to 4 feet wide for raised beds), standard lawn aerators are impractical and can damage wooden or stone bed borders. Instead, gardeners should rely on specialized manual tools designed for deep, structural soil fracturing.
1. The Broadfork (For In-Ground and Large Raised Beds)
The broadfork is the gold standard for garden aeration. A high-quality tool, such as the Meadow Creature V3 Broadfork (retailing between $160 and $220), features heavy-duty steel tines that penetrate deep into the soil. The user steps the tines into the ground and pulls back on the handles, lifting and fracturing the soil without turning it over. This preserves the vital layers of topsoil and subsoil while introducing massive amounts of oxygen. For a standard 4x10 foot bed, a broadfork aeration pass takes about 20 minutes and provides aeration down to 10 or 12 inches.
2. The Manual Core Aerator (For Small or Shallow Raised Beds)
If you are working with smaller raised beds or container gardens where a broadfork cannot maneuver, a manual step-on core aerator is your best alternative. Tools like the Yard Butler Manual Core Aerator (approximately $45) extract small plugs of soil, leaving them on the surface to break down and top-dress the bed. While it does not reach the depth of a broadfork (typically maxing out at 3 to 4 inches), it provides excellent surface-level aeration and seed-to-soil contact zones for overseeding.
Selecting Cover Crop Seeds for Overseeding
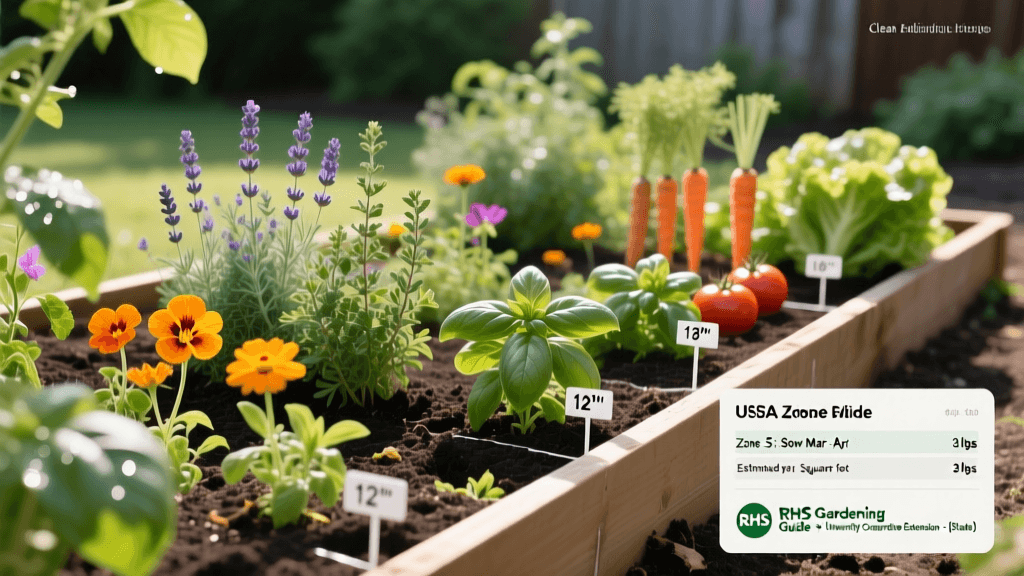
Once the soil is properly aerated, the next step is overseeding. The choice of cover crop depends on your climate zone, your goals (nitrogen fixation vs. biomass production), and your budget. According to The Old Farmer's Almanac, matching the seed type to your local first-frost date is critical for successful establishment.
Here is a comparison of the most popular winter cover crops for home garden overseeding:
| Cover Crop Type | Seeding Rate (per 1,000 sq ft) | Ideal Aeration Depth | Approx. Seed Cost | Primary Garden Benefit |
|---|---|---|---|---|
| Winter Cereal Rye | 2.0 - 3.0 lbs | 6 - 10 inches | $12 - $18 | Massive root biomass and weed suppression |
| Crimson Clover | 0.5 - 1.0 lbs | 3 - 5 inches | $20 - $25 | Atmospheric nitrogen fixation and early spring blooms |
| Hairy Vetch | 1.0 - 2.0 lbs | 4 - 8 inches | $25 - $30 | Heavy nitrogen fixation and soil armor |
| Oats and Pea Mix | 3.0 - 4.0 lbs | 3 - 6 inches | $15 - $20 | Winter-kills in cold zones, leaving easy-to-plant mulch |
Step-by-Step Aeration and Overseeding Technique
To ensure maximum germination and deep root establishment, follow this precise sequence for aerating and overseeding your garden beds in the fall.
Step 1: Clear and Prep the Bed
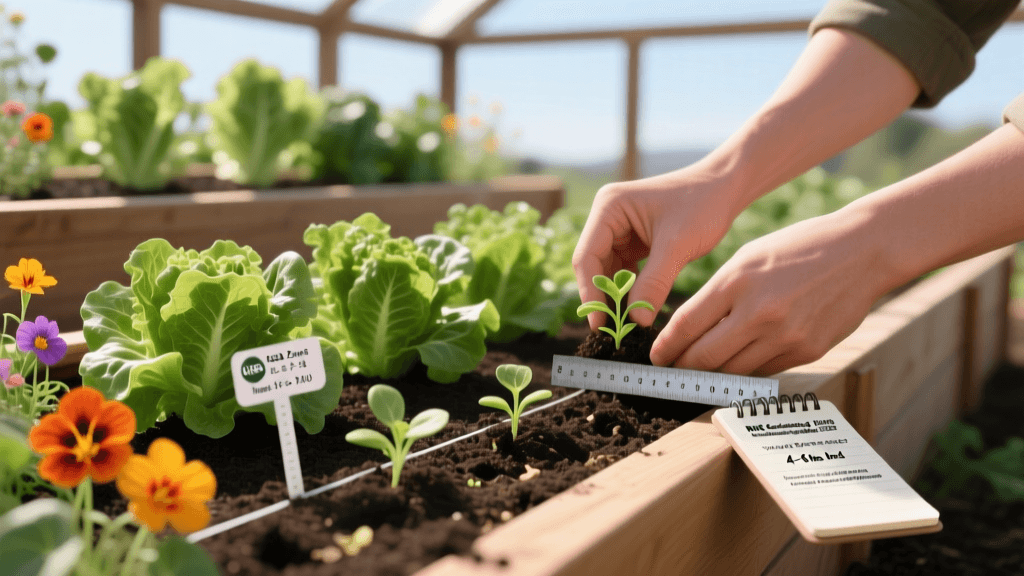
Remove all spent summer crops, pulling out large root balls and clearing away heavy mulch or diseased plant debris. The soil surface should be relatively bare to allow the aeration tools to penetrate cleanly and the seeds to make direct contact with the soil.
Step 2: Perform the Aeration Pass
Using your broadfork or manual core aerator, work in a grid pattern across the bed. If using a broadfork, space your insertions every 6 to 8 inches. Push the tines in as deep as they will go, pull back just enough to hear the soil crack and lift, then step back and repeat. Do not aggressively churn the soil; the goal is fracturing, not tilling.
Step 3: Calibrate and Spread the Seed
For even distribution, use a handheld broadcast spreader like the Scotts Whirl Hand-Powered Spreader ($15). Calibrate your seed output based on the rates in the table above. Walk the length of the bed, spreading half of your total seed volume. Then, walk the width of the bed (perpendicular to your first pass) and spread the remaining half. This cross-hatch overseeding technique prevents bald spots and ensures a dense, uniform stand of cover crops.
Step 4: Rake for Seed-to-Soil Contact
Cover crop seeds, especially small ones like clover, require excellent seed-to-soil contact to germinate. Use a stiff-tined leaf rake or a specialized landscaping rake to gently work the seeds into the aeration holes and the top quarter-inch of the soil. If you used a core aerator, the process of dragging the rake will naturally break apart the extracted soil cores, covering the seeds in the process.
Step 5: Water and Protect
Water the bed immediately with a gentle, fine-mist shower head to avoid washing the seeds away. Keep the top inch of soil consistently moist for the first 7 to 10 days until germination occurs. If you have heavy bird pressure or expect a sudden, severe frost before the seeds establish, cover the bed with a lightweight floating row cover or a thin layer of straw mulch.
Timing, Climate Zones, and Spring Termination
Timing is everything when overseeding garden beds. In northern climate zones (Zones 3-5), you should aerate and overseed winter rye or oats by late August or early September. In milder zones (Zones 6-8), you can wait until late September or mid-October, often interseeding the cover crops into the garden while late-season crops like kale and Brussels sprouts are still maturing.
Come spring, the termination of your cover crop is just as important as the fall overseeding. About three to four weeks before you plan to plant your spring vegetables, you must terminate the cover crop to prevent it from competing with your new plants. For small gardens, the most effective and low-cost termination method is 'tarping.' Mow or weed-whack the cover crop down to the soil surface, lay a heavy-duty black silage tarp over the bed, and secure the edges with sandbags. The lack of sunlight and the heat trapped under the tarp will kill the cover crop and accelerate its decomposition, leaving behind a nutrient-rich, perfectly aerated seedbed ready for your spring tomatoes and peppers.
Conclusion
Applying professional aeration and overseeding techniques to your home vegetable garden transforms the off-season into a period of active soil regeneration. By investing in the right manual aeration tools, selecting the appropriate cover crop seeds, and ensuring meticulous seed-to-soil contact, you build a resilient, biologically active soil ecosystem. The result is a garden that requires less synthetic fertilizer, retains water more efficiently, and produces dramatically higher yields year after year.